There s Not Enough Source Footage
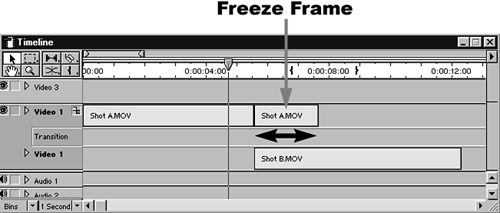
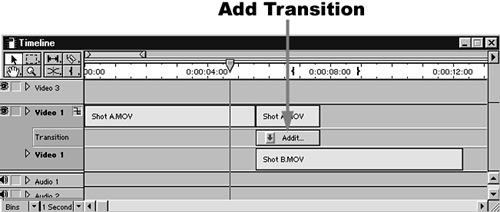
There's Not Enough Source FootagePeople new to the business tend to cut the camera's recording too quickly, such as just after the on-camera talent finishes speaking. This creates a problem in postproduction, because you have very little "handle" footage to work with to create a pause or breath before going into the next scene. Generally, when I'm on location or in a studio shooting a scene, I try to let the camera roll a few extra seconds to make sure that I have enough footage to use in case I want to add a transition. If the footage is cut too tightly, you're faced with one of two situations: choose a very simple, very quick transition, or begin the transition earlier into the end of the outgoing scene. This can look very strange if a person is speaking and the transition is taking place over his last few words. One trick that I have found that saves me when I am faced with this problem is to add a freeze frame of the last frame of video and apply the transition to that freeze frame. This works well if you do not leave the freeze frame up there too long. My suggestion is to edit the freeze frame for the time that you plan to have your transition take effect. By that I mean that if you are using a standard 30-frame (1-second) transition, edit in exactly 30 frames of the freeze frame, and have the transition start at the first frame of the freeze frame and end on the last frame (see Figure 5.15). This disguises the freeze frame as much as possible without forcing you to cut the edit point too tightly to the end of the clip. Figure 5.15. Use dissolves that are the same length as the freeze frame to extend a transition.
For example:
This should give you a nice clean transition without starting the transition too early, cutting off the end of the outgoing scene and having it butt up against the start of the incoming frames. Using a freeze frame as a buffer really creates a nice touch that is extremely helpful in any tight editing area. |

