Printing with REALbasic
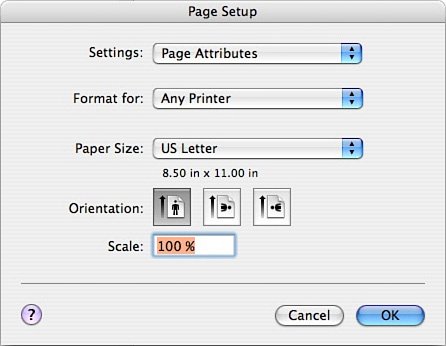
| In REALbasic, printing is managed using a Graphics object, but it has to be a Graphics object instantiated by a StyledTextPrinter, and the StyledTextPrinter object must be instantiated by calling the EditField.StyledTextPrinter method. The example was derived from the sample given in the LanguageReference illustrating how to print a page with two columns. I've added a few features to make it more interestingnamely, I've created it so that a header is created on each page that designates the page number. There are a few different considerations when printing. The simplest way to get started is with the OpenPrinterDialog function, which looks like this: REALbasic.OpenPrinterDialog([PageSetup as Printer Setup], [window as Window]) as Graphics When you call this function, a standard print dialog box is shown to the user. An example of how it looks on a Macintosh is shown in Figure 10.10: Figure 10.10. Print dialog box.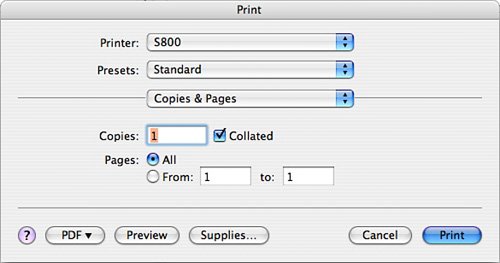 If the user clicked the Print button, a Graphics object is returned, which is the object you will print to. Prior to calling the OpenPrinterDialog function, you may also want to give your users an opportunity to set up the printer according to their needs. To do this, you need to instantiate a PrinterSetup object and call the following method: PrinterSetup.PageSetupDialog([window as Window]) In practice, you use the PrinterSetup object like this: Dim ps as PrinterSetup ps = New PrinterSetup If ps.PageSetupDialog Then g = OpenPrinterDialog(ps) // do some printing Else // user pressed cancel End If The PrinterSetup dialog box is shown in Figure 10.11: Figure 10.11. Printer setup dialog box. The following properties specify the page height and width in pixels: PrinterSetup.PageHeight as Integer PrinterSetup.PageWidth as Integer If you are printing to a standard 8.5 inch by 11 inch page, the value for PageWidth would be 612 (8.5*72), and the value for PageHeight would be 792 (792*72). Next, the following two properties measure the difference between the margin and the edge of the physical pagenot that these values are read-only: PrinterSetup.PageLeft as Integer PrinterSetup.PageTop as Integer The following measures the height and width of the printable area on the page (basically, the total page height minus the margin, or the total page width minus the margin): PrinterSetup.Height as Integer PrinterSetup.Width as Integer These values are always supposed be zero, and represent the Left and Top origin of the printable area. PrinterSetup.Left as Integer PrinterSetup.Top as Integer (must be 0) The following two read-only methods let you know what the current resolution is for the printer: PrinterSetup.HorizontalResolution as Integer PrinterSetup.VerticalResolution as Integer These two allow you to set the resolution to the highest value. PrinterSetup.MaxHorizontalResolution as Integer PrinterSetup.MaxVerticalResolution as Integer Finally, the following property serves as a way to store settings from previous sessions. After the printer setup has been created, you can get access to a String that specifies what was chosen. You can save this value, and then use it the next time you print so that the users' settings will be saved. PrinterSetup.SetupString as String StyledTextPrinterSo far, so good, but there is still one more class you need to be aware of before I turn to the example. The StyledTextPrinter class is very simple. There are two properties: StyledTextPrinter.EOF as Boolean StyledTextPrinter.Width as Integer There is only one method: StyledTextPrinter.DrawBlock(X as Integer, Y as Integer, Height as Integer) The purpose of StyledTextPrinter is to help you print large blocks of text. For example, this chapter I am writing is larger than one page, so if I want to print it out I need to know how much text should fit on each page; after I print the page, I need to know where I should start printing for the next page. The DrawBlock method does this. It prints all the text that can fit in the space provided (as determined by the Width property and Height argument). If you have not reached the end of the text you are printing (which you find out by checking the EOF property), the next time you call this method, it will start printing where it left off the previous time. All this has been illustrated in an application example. It consists of an EditField, a RadioButton labeled 2 Columns, and a PushButton labeled Print. The application will print the contents of the EditField when you push the Print button. If you have the RadioButton selected, it will print the text in two columns; otherwise, it will print only one column. Figure 10.12. Print sample window. I created a custom class called StyledPrinter to encompass the functionality I need to print the EditField the way that I want to. It has a Constructor, a few properties that can be set, and one Print method. Listing 10.10. Class StyledPrinter
Listing 10.11. Sub Constructor(TextField as EditField)
Listing 10.12. Sub Print()
The StyledPrinter class is accessed by clicking PushButton1, labeled Print. Listing 10.13. Sub PushButton1.Action() Handles Event
After the page is processed, the output will look like Figure 10.13: Figure 10.13. Printing output.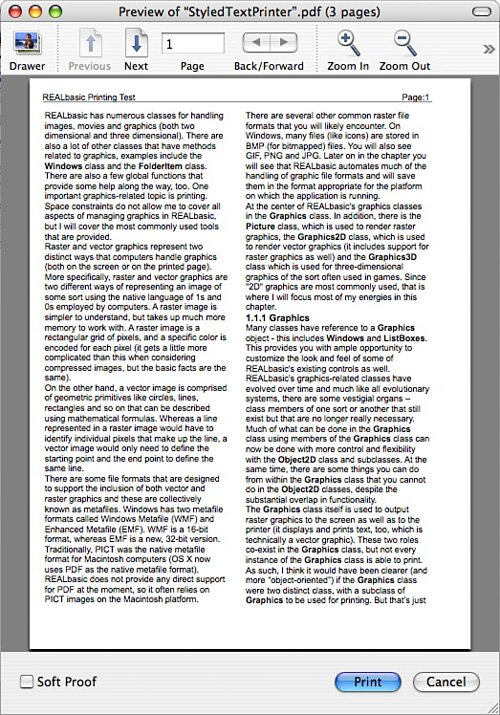 As you can see from the output, the text is printed in two columns, and the header is printed at the top of the page, with the proper page count. You'll also notice, though, that the formatting isn't perfect. For example, the first line of each paragraph isn't indented, and there's no space between each paragraph. You might also notice that words are wrapped only on white space; words aren't hyphenated at the end of the line. There's nothing really wrong with either issue, but it does speak to the point that REALbasic provides basic printing functionality out of the box that is very easy to use, but it does have its limits. More sophisticated requirements will require substantial customization. |

EAN: 2147483647
Pages: 149