Organizing the Dock
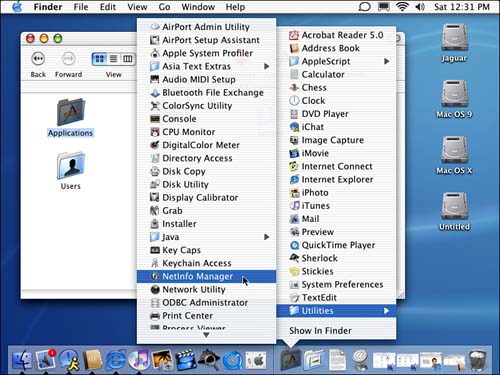
| The default Dock is powerful, but it gets even more powerful when you include the items in it that you use often and organize the Dock to suit your preferences. You can move icons around the Dock, add more applications to it, remove applications that are currently on it, and add your own folders to it so that they are easily accessible. Moving Icons on the DockYou can change the location of any item on the Dock by dragging it. When you move one icon between two others, they will slide apart to "make room" for the icon you are moving. However, you can't move most icons across the dividing line; for example, you can't move an application icon to the right side of the Dock. NOTE You can't move most icons across the dividing line on the dock; however, exceptions to this are dockling icons, which can be placed on either side of the line. You can also move the icons for open applications and icons for applications you have installed on the Dock. However, moving the icons for open applications (that aren't installed on the Dock) doesn't do very much. When you quit the application, the icon disappears. The next time you open the application, its icon moves back to the right end of the application area of the Dock. NOTE The Dock has two icons you can't move at all: Finder and Trash. The Finder icon always appears on the left end of the Dock, and the Trash is always on the right end. Other than these two "end points," you can change all the other icons on the Dock as much as you would like. Adding Icons to the DockYou can add applications, folders, and files to the Dock so that it contains the items you want it to. Drag the item you want to add down to the Dock and drop it where you want it to be installed. Application icons must be placed on the left side of the dividing line, and all others are placed on the right side (the exception is docklings that can be placed on either side). Just as when you moved icons on the Dock, when you add items between other icons already installed on it, the other icons slide apart to make room for them. When you add an item to the Dock, an alias to that item is created and you see its icon on the Dock. TIP You can add multiple items to the Dock at the same time by holding down the Shift key while you select each item you want to drag to the Dock. Removing Items from the DockYou can remove an icon from the Dock by dragging it up onto the desktop. When you do this, the icon disappears in a puff of digital smoke and it no longer appears on the Dock. NOTE Because the icons on the Dock are aliases, removing them doesn't affect the applications or files that those aliases represent. If you drag a minimized window from the Dock, it will snap back to the Dock when you release the mouse button. You remove minimized windows from the Dock by maximizing the windows and then closing them. Adding Folders to the DockYou can also add any folder to the Dock. Just like other items you add, you can click a folder's icon to open that folder (in a new Finder window). However, folder icons on the Dock also provide a very nice feature you can use to quickly access any item in that folder. When you place a folder on the Dock, you can press and hold down the mouse button (or press the Control key down) while you click that folder to pop up a hierarchical menu that shows the contents of that folder (see Figure 5.3). All the subfolders also appear in hierarchical menus as well. Figure 5.3. Adding a folder to the Dock makes all the items that it contains easily accessible; this makes the Dock similar to the Apple menu in previous versions of the Mac OS.
This feature is one of the most useful that the Dock offers. You can use it to create custom menus containing anything on your Mac (literally). The uses for this feature are almost unlimited. Some ideas include the following:
You might find that adding folders to the Dock is even more useful than adding application or file icons. Remember that you can make more "room" on the Dock by removing items from it. For example, you might choose to remove most or all of the application icons from the Dock and instead add the Applications directory to it. This works well, although you do lose the indicator features of an application's icon (such as Mail's new mail alert) if its icon is not installed on the Dock directly. NOTE The Favorites folder for each user account is located within the Library directory in that user's Home directory. |
EAN: 2147483647
Pages: 260
- Structures, Processes and Relational Mechanisms for IT Governance
- Measuring and Managing E-Business Initiatives Through the Balanced Scorecard
- Measuring ROI in E-Commerce Applications: Analysis to Action
- Technical Issues Related to IT Governance Tactics: Product Metrics, Measurements and Process Control
- Governance Structures for IT in the Health Care Industry