Working with Headings in Outline View
3 4
Whether you create an outline from scratch or use the outline created as part of your existing document, you'll invariably want to change some headings around and insert and delete others. Headings are easy to work with in Outline view—with a simple click of a tool, you can change heading levels, move headings in the outline, and even demote the heading to body text, if you like.
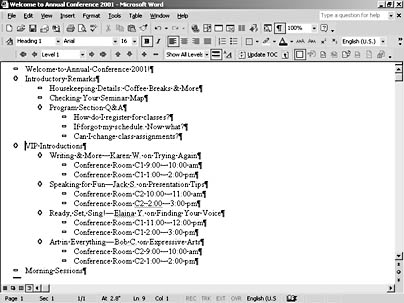
Figure 11-7. When you want to focus only on the thoughts in your outline, you might want to hide the formatting applied to heading levels.
Adding a Heading
When you want to insert a heading in an existing outline, in Outline view, simply place the insertion point following the heading where you want to insert the new heading and press Enter. If you want the heading to be at the same level as the level preceding it, simply type your new heading. If you want to promote or demote the heading level, click the appropriate button before typing your text.
Applying Outline Levels
You can choose the outline level for your heading by using the Outline Level drop-down list on the Outlining toolbar. Simply click in the heading to which you want to apply the outline level; then click the Outline Level down arrow to display the list, as Figure 11-8 shows. Click your choice, and the format is applied to the heading.
Tip - Get different document perspectives
You can easily view your document in both Outline view and Print Layout view at the same time. Just drag the screen divider (located at the top of the vertical scroll bar) down the scroll bar; another pane opens above the current one. To change that area to another view, click in it to make it active and select the view you want. You can then see how your document looks while you're working in Outline view.
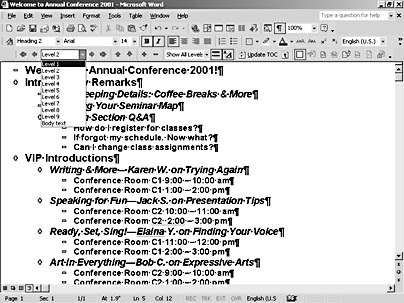
Figure 11-8. If you know which outline level you want to assign to the new heading, choose it directly from the Outline Level drop-down list.
Promoting and Demoting Headings
Once you have text in your outline, you can easily change outline levels, moving a heading from level 1 to level 2, for example, or from body text up to level 3. Put simply, promoting a heading takes it one level higher in the outline, and demoting a heading moves it one level down in the outline. Figure 11-9, shows the various levels available as you promote and demote headings.
Each time you click Demote, Word moves the heading one level down the Outline Level scheme. Outline view shows the change by indenting the heading another 0.5 inch and changing the displayed formatting. Conversely, Promote raises the heading level of the selected text until you reach Heading 1, which is the highest outline level available.
When you want to demote and promote in larger increments, moving a heading all the way to the topmost level, for example, or changing a heading to body text, use the Promote To Heading 1 or Demote To Body Text button.
When might you want to promote or demote text? You could be working on a report, for example, and realize that a topic you've placed at a Heading 2 level really belongs as part of another topic. You can first change the heading levels to reflect the levels they need to be so that they'll fit in the outline where you need them to go; then you can move the selection to that point.
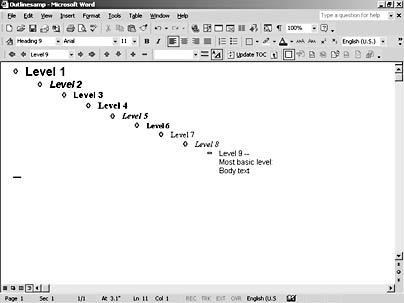
Figure 11-9. Promote and Demote give you a simple way to change the outline level of selected headings.
EAN: 2147483647
Pages: 337