| Thirty-five buttons appear on almost every OOo screen. Others appear only when you're working with text in Writer, a spreadsheet in Calc, a picture in Draw, or a slide show in Impress.
Lots of buttons!  Here's a complete list of the 35 "basic" buttons and what they do. You don't need to memorize them, but it's nice to have an idea of what they all doand to have a page you can come back to if you forget what one is for, and the little mouseover text box doesn't tell you enough to jog your memory. Here are the buttons from left to right, starting with the top row:  New opens a new, blank text document window. New opens a new, blank text document window.
 Open opens an existing document. When you click it, you see a dialog box like the one shown here. (It looks different in Linux and NeoOffice for Mac, but it works the same.) Open opens an existing document. When you click it, you see a dialog box like the one shown here. (It looks different in Linux and NeoOffice for Mac, but it works the same.)
The Open dialog box. 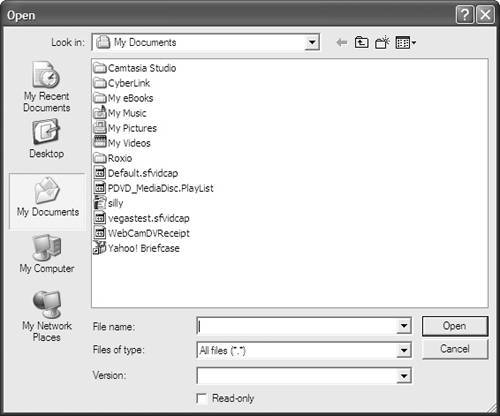  Save saves the document you're working on. Save saves the document you're working on.
 Document as E-mail turns your current document into email and sends it to recipients you select, using whatever email program you choose. (The first time you click this button, you're led through a simple dialog that sets up a link between OOo and your email program.) Document as E-mail turns your current document into email and sends it to recipients you select, using whatever email program you choose. (The first time you click this button, you're led through a simple dialog that sets up a link between OOo and your email program.)
 Edit File changes a read-only document or database table into one you can edit. This works only when you have a read-only file open in your OOo window. Edit File changes a read-only document or database table into one you can edit. This works only when you have a read-only file open in your OOo window.
 Export Directly as PDF automatically saves a copy of your document as a PDF file exactly as it appears on-screen. Export Directly as PDF automatically saves a copy of your document as a PDF file exactly as it appears on-screen.
 Print prints your document exactly as it appears on-screen. (The first time you click this button, you go through a simple printer setup and selection dialog.) Print prints your document exactly as it appears on-screen. (The first time you click this button, you go through a simple printer setup and selection dialog.)
 Page Preview shows how your document will look as a printed page or as a PDF file before you print it or turn it into a PDF. Page Preview shows how your document will look as a printed page or as a PDF file before you print it or turn it into a PDF.
 Manual Spellcheck checks the spelling of every word in your document or the spelling of a word or group of words you highlight before clicking this button. Manual Spellcheck checks the spelling of every word in your document or the spelling of a word or group of words you highlight before clicking this button.
 AutoSpellcheck is the utility that makes the squiggly lines under misspelled words. It's on by default when you install OOo. Click this button, and this feature turns off. Click again, and it's back on. AutoSpellcheck is the utility that makes the squiggly lines under misspelled words. It's on by default when you install OOo. Click this button, and this feature turns off. Click again, and it's back on.
 Cut removes highlighted text from the current document but saves it to the clipboard so that you can copy it someplace else if you want. Cut removes highlighted text from the current document but saves it to the clipboard so that you can copy it someplace else if you want.
 Copy copies your selection to the clipboard but doesn't cut it out of the current document. Copy copies your selection to the clipboard but doesn't cut it out of the current document.
 Paste inserts whatever you most recently cut or copied where the cursor is now, either in the original document or in another one. If you want to save the selection in a format other than the original one, click the little arrow to the right of the clipboard symbol to see several choices. Paste inserts whatever you most recently cut or copied where the cursor is now, either in the original document or in another one. If you want to save the selection in a format other than the original one, click the little arrow to the right of the clipboard symbol to see several choices.
The Paste dialog box. 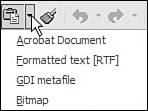  Format Paintbrush is an interesting button. Suppose you have something like a headline in a particular size and font, and you want to make another group of words into a headline that's the same font size and style. You first highlight the words whose style you want to apply to the second group of words, and then click this button, and then highlight the second group. (This is a lot easier to do than to describe.) Format Paintbrush is an interesting button. Suppose you have something like a headline in a particular size and font, and you want to make another group of words into a headline that's the same font size and style. You first highlight the words whose style you want to apply to the second group of words, and then click this button, and then highlight the second group. (This is a lot easier to do than to describe.)
 Undo untypes the last word you typed or unselects your last format change. When you click this button, whatever you just did gets undone. Or you can click the little arrow next to the icon and pick which of your recent actions (not necessarily the last one) you want to undo. (You can undo quite a few words or commands if you keep clicking this button.) Undo untypes the last word you typed or unselects your last format change. When you click this button, whatever you just did gets undone. Or you can click the little arrow next to the icon and pick which of your recent actions (not necessarily the last one) you want to undo. (You can undo quite a few words or commands if you keep clicking this button.)
 Redo is the opposite of Undo. If you unbold a headline, and then you decide you really do want it bold, click this button, and the bold is reapplied. Or retype a word you removed. Again, you can use the little arrow to select a recent action other than your last one. Redo is the opposite of Undo. If you unbold a headline, and then you decide you really do want it bold, click this button, and the bold is reapplied. Or retype a word you removed. Again, you can use the little arrow to select a recent action other than your last one.
 HyperlinkHighlight some text and then click this button. You see a dialog box where you can paste in a URL and, voilà! Instant link! HyperlinkHighlight some text and then click this button. You see a dialog box where you can paste in a URL and, voilà! Instant link!
The Hyperlink dialog box. 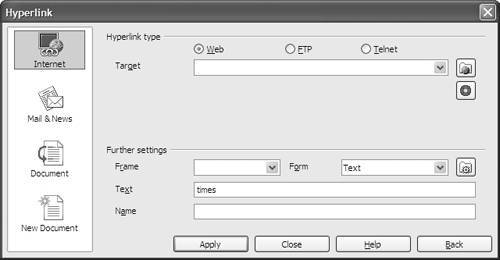  Table inserts tables in your document, which is a good way to make a multiple-column layout. Table inserts tables in your document, which is a good way to make a multiple-column layout.
A table. 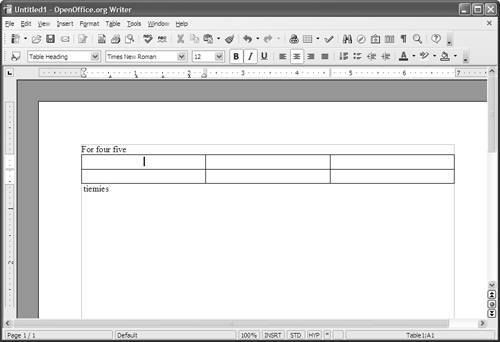  Show Draw FunctionsDid you ever have a sudden desire to add a small heart, a large plus sign, or another simple graphic to a text document? This button helps you do that. It's easier to learn how it works by trying it than by reading an explanation. Experiment a little on your own, and you'll figure it out in just a few minutes. Show Draw FunctionsDid you ever have a sudden desire to add a small heart, a large plus sign, or another simple graphic to a text document? This button helps you do that. It's easier to learn how it works by trying it than by reading an explanation. Experiment a little on your own, and you'll figure it out in just a few minutes.
 Find & Replace searches for a word or a string of text and replaces it with something else. This button brings up a pretty self-explanatory dialog box. Find & Replace searches for a word or a string of text and replaces it with something else. This button brings up a pretty self-explanatory dialog box.
The Find & Replace dialog box. 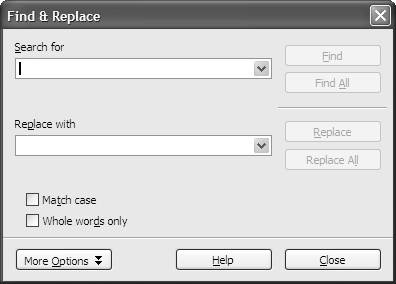  NavigatorThis is an interesting function that lists "classes" of material in your document such as headlines or lists, and gives you a fast way to find them in a large document. NavigatorThis is an interesting function that lists "classes" of material in your document such as headlines or lists, and gives you a fast way to find them in a large document.
 GalleryWant a slick background? Interesting-looking lines instead of plain ruler-type dividers? Lots of other little pretties to make your document lively, up to and including sound files? You can also create or download additional pieces of clip art (and whatever else you want, up to and including movie clips) and add them to your gallery for easy insertion into your OOo documents. GalleryWant a slick background? Interesting-looking lines instead of plain ruler-type dividers? Lots of other little pretties to make your document lively, up to and including sound files? You can also create or download additional pieces of clip art (and whatever else you want, up to and including movie clips) and add them to your gallery for easy insertion into your OOo documents.
 Data Sources calls up whatever database you've decided to use with OOo. Databases are covered in Chapter 10, "OOo Database 'Front End': Your Free Pass." Data Sources calls up whatever database you've decided to use with OOo. Databases are covered in Chapter 10, "OOo Database 'Front End': Your Free Pass."
 Nonprinting CharactersAll word-processing programs use "invisible" characters to indicate spaces, line breaks, paragraph ends, and other formatting details. Click this button and you'll see them. Nonprinting CharactersAll word-processing programs use "invisible" characters to indicate spaces, line breaks, paragraph ends, and other formatting details. Click this button and you'll see them.
 ZoomSometimes you need a close-up view of part of your page, especially if you're trying to do something like line up a picture or chart "just so." Use this button and the dialog box it calls up to set your "zoom" level exactly where you want itand to bring it back to the normal 100% when you're done. ZoomSometimes you need a close-up view of part of your page, especially if you're trying to do something like line up a picture or chart "just so." Use this button and the dialog box it calls up to set your "zoom" level exactly where you want itand to bring it back to the normal 100% when you're done.
The Zoom dialog box. 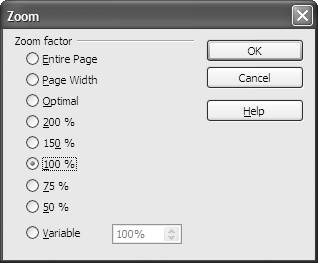  Help calls up the complete OOo manual that's built into the program. It's a pretty good manual overall. Use it often, along with this book, and you'll soon become your neighborhood's OOo expert! Help calls up the complete OOo manual that's built into the program. It's a pretty good manual overall. Use it often, along with this book, and you'll soon become your neighborhood's OOo expert!
 Customize ToolbarsClick this arrow or the one below it on the second toolbar line to add or delete buttons and generally change things around on your toolbars to suit yourself. It's probably best to wait until you have a little experience with OOo to see what buttons you use most and which ones you never use before messing with this, but that's up to you. Customize ToolbarsClick this arrow or the one below it on the second toolbar line to add or delete buttons and generally change things around on your toolbars to suit yourself. It's probably best to wait until you have a little experience with OOo to see what buttons you use most and which ones you never use before messing with this, but that's up to you.
 Styles and Formatting, at the left end of the lower toolbar, opens (or closes) a little window that shows a whole bunch of style and formatting options. This is covered in Chapter 6, "Slick OpenOffice.org Writer Tricks." Styles and Formatting, at the left end of the lower toolbar, opens (or closes) a little window that shows a whole bunch of style and formatting options. This is covered in Chapter 6, "Slick OpenOffice.org Writer Tricks."
The remaining buttons are the group on the right end of the lower toolbar. Here they are from left to right: Numbering On/Off puts numbers in front of paragraphs, in order, and indents them slightly. Bullets On/Off puts bullets (big dots) in front of paragraphs, creating what some people call a "bullet point" style. Decrease Indent moves the left end of an indented paragraph or line closer to the left margin. Increase Indent moves a paragraph or line farther from the left margin. Font Color lets you click the arrow next to the A and change the color of any text you have highlighted (or all the text in your document if you "select all" first). Highlighting is just like using a highlight marker to make a word or group of words stand out, except that you have 90 color choices instead of just the typical yellow. Background Color works the same as Highlighting in the version of OOo that was used to write this book. You may want to test this button to make sure its function hasn't changed since then.
 Once you have a little experience with OOo, you may want to remove buttons you rarely or never use by selecting Tools > Customize > Toolbars. But for now, it's best to leave them in place. |