Configuring File and Folder Views
| Leaving DOS behind (hopefully forever!), let's return to Windows XP's other file management tools. All these tools are basically the same, and all can be customized in the same ways. You can change a lot about My Computer, My Documents, and the other system folders, to create a truly personalized file management environment. Changing the Way Files Are DisplayedYou can choose to view the contents of a folder in a variety of ways. Just click the Views button (in the folder's toolbar) and choose from the following options:
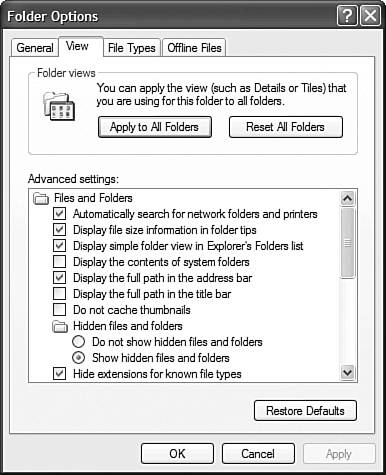
NOTE If you have moved, copied, or deleted some files and folders but don't see the changes, you need to update your display. Select View, Refresh, or press the F5 key. TIP You also can sort your icons by right-clicking in an open area of the folder and selecting Arrange Icons By. If you choose Details view, you can select which details are displayed. Select View, Choose Details to display the Detail Settings dialog box. Check those settings you want to display, and use the Move Up and Move Down keys to place the settings in the order you want. Click OK to lock in your new configuration. Sorting Files and FoldersWhen viewing files in My Computer or My Documents, you can sort your files and folders in a number of ways. To do this, select View, Arrange Icons By, and then choose from the following options:
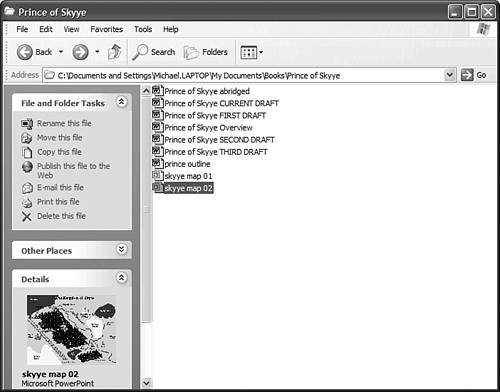
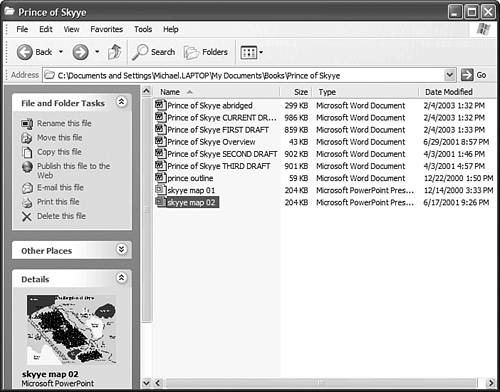
If you're viewing your files in Details view, you can manually sort your files by any setting you've chosen to display. Just click the top of a column to sort by that column. (Click the column a second time to reverse the order of the sort.) Grouping Files and FoldersI'm not done with displaying files and folders just yet. Windows XP includes another option that I really like the ability to display files and folders in similar groups. You've already seen what grouping looks like. My Computer groups items by device type, with a title and thin line above each group. If you like this type of organization, you can apply similar grouping to any and all your folders. To turn on grouping, select View, Arrange Icons By, and then check the Show In Groups option. Windows now groups your files and folders by the criteria you used to sort those items. For example, if you sorted your files by date, they'll now be grouped by date, as shown in Figure 3.12. (Actually, by Today, Last Week, Last Month, and so on.) If you sorted your files by type, they'll be grouped by file type. And so on, for all the different ways of sorting your files. Figure 3.12. Configure Windows XP to group your files by date, type, name, or size.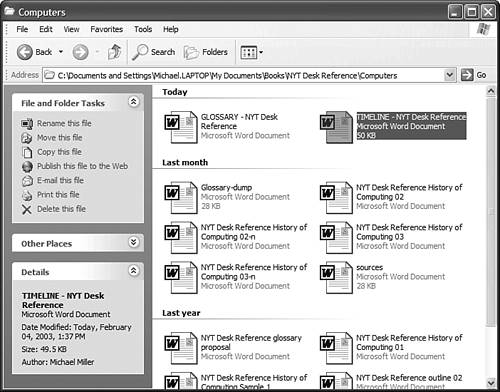 Individual or Universal ViewsNOTE While you're in the Folder Options dialog box, take a look at the Advanced Settings list on the View tab. As you can see, this list contains a number of more obscure configuration settings, such as hiding file extensions and displaying the full path in the title bar. Remember this list if you need to change one of these settings. The neat thing about selecting various views, sorts, and groups is that you can combine all these options in a lot of different ways. For example, you can display details sorted and grouped by date, or tiles sorted and grouped by file type. However you want to view your files, you can. You need to know one more thing about all these different folder views. You can select different views for different folders, or you can choose to apply a custom view to all your folders. By default, when you customize a folder, that view is specific to that folder. To apply a folder view to all the folders on your system, follow these steps:
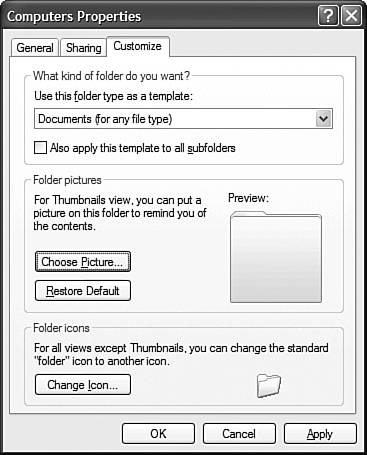
To return your folders to their default states, click the Reset All Folders button. Changing Folder IconsYou're not through customizing folders just yet. Windows XP also lets you change the icon used to represent a folder. Just follow these steps:
Personalizing the Send To MenuWith the advent of Windows XP's activity center pane, you'll probably find that you're doing less right-clicking. (In older versions of Windows, you had to right-click to access many of the common tasks. These same tasks are now on the activity center Tasks list.) That doesn't mean that you should give up right-clicking entirely. The pop-up menu that appears when you right-click a file or folder still contains the Send To menu, which is one of the fastest ways to send a file from one place to another. You can use the Send To menu to send a file to another disk, to another folder, to another user via e-mail, or to a printer for printing. Because using the Send To menu is a quick way to work with files, you might want to add other actions to the menu. For example, you might want to create a Send To item for a Zip drive or commonly used folder. This way you can right-click a file and use the Send To command to copy the file automatically. This is how you add options to the Send To menu:
The next time you right-click a file and select Send To, your new item appears in the list of Send To options. Because I use the Send To menu a lot, this is one of my favorite tips. I hope you can use it! |
EAN: 2147483647
Pages: 270