Arranging Document Windows
| By now you may realize that even the simple act of getting around in a Photoshop document offers many opportunities for saving time and effort. This idea also extends to getting around when you're working with multiple document windows in Photoshop. You can expend time and effort clicking and dragging windows to get them where you want, or you can try some of the ideas in this section. The two most common challenges when working with document windows are getting to the window you want and keeping different windows out of each others' way. To address the first need, Photoshop provides window arrangement controls in the Window > Arrange submenu. The Cascade, Tile Horizontally, and Tile Vertically commands work just as they do in Windows; if you're not familiar with them, you can open three or four images and try out each command to see what they do. When windows overlap so much that you can't easily tell which one to click to bring forward, choose the name of the window from the bottom of the Window menu. Arranging Windows InstantlyThe Window menu includes several commands that can instantly arrange your open windows (Figure 2.12):
Figure 2.12.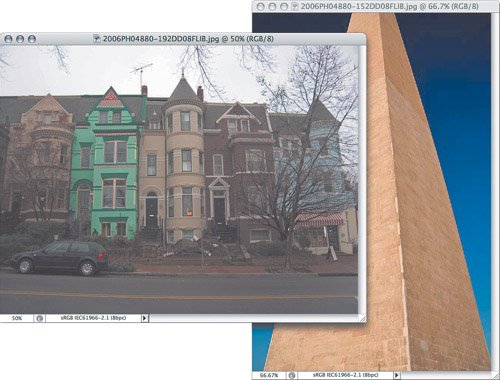 Figure 2.13.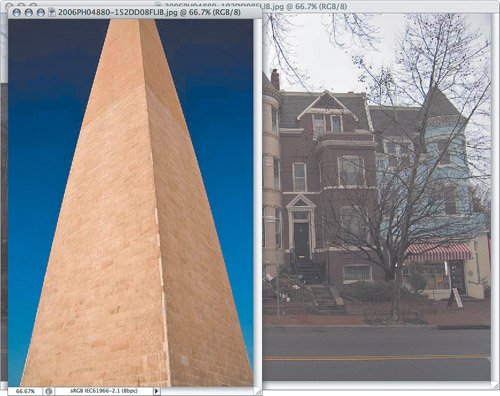 Figure 2.14.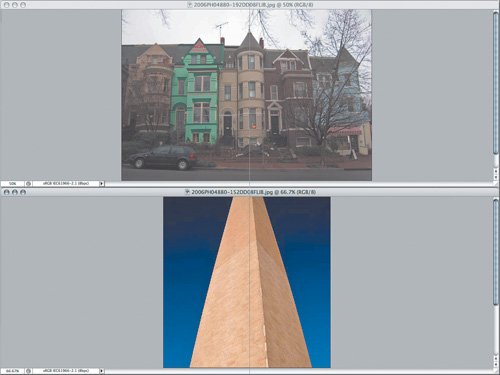 Figure 2.15.
Examining Documents Side by SideIn Photoshop, you can compare multiple documents side by side, which is great for deciding between two very similar images from the same shoot. For example, you might want to decide which of two images is in sharper focus. You may think that this would be covered by cascading or tiling document windows, but Photoshop provides additional commands that make document examination much faster and easier:
Figure 2.16. Choosing the Match Zoom command sets all document windows to the same zoom level.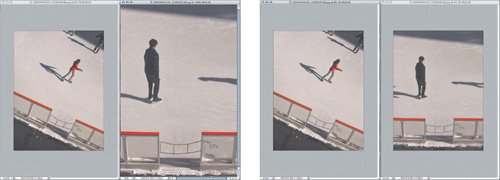 Let's take a look at an example of how this would work:
Comparing Views of the Same DocumentExamining different documents is to be expected, but not everyone knows that you can also use Photoshop to compare views of a single document. Why would you want to see the same document twice? Actually, what happens is better than that. Photoshop includes the powerful ability to open multiple windows for the same document and set different view settings for each window. You can, for example, have one window showing an entire document, and another window of the same document zoomed in for detailed retouching work. You can therefore work in a detail view while seeing how your changes affect the big picture (literally). To set up another view of the same document, choose Window > Arrange > New Window for <filename>. Now you can use the same commands that you would to manage multiple document windows. Let's try the example of views at different zoom levels:
|
EAN: 2147483647
Pages: 161