Exploring Reports
Reports are predefined formats intended for printing Project data. Unlike views, which you can either print or work with on the screen, reports are designed to be printed. You don’t enter data directly into a report. Project includes several predefined task and resource reports you can manipulate to get the information you want.
In this exercise, you view a report in the Print Preview window.
-
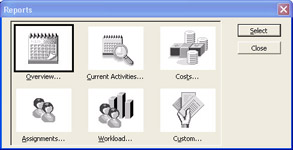
On the View menu, click Reports.
The Reports dialog box appears, showing the six broad categories of reports available in Project.
-
Click Custom, and then click the Select button.
The Custom Reports dialog box appears, listing all predefined reports in Project and any custom reports that have been added.
-
In the Reports list, click Task, and then click the Preview button.
Project displays the Task report in the Print Preview window. Your screen should look similar to the following illustration:
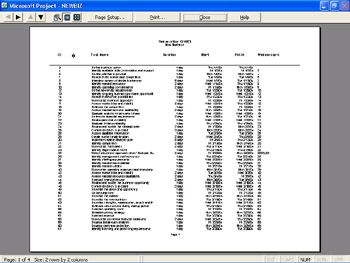
This report is a complete list of project tasks (except for summary tasks), similar to what you’d see in the Entry table of the Gantt Chart view. If you want to zoom in, move the mouse pointer (shaped like a magnifying glass) to a portion of the report, and click. Click again to toggle back to the full page preview.
-
On the Print Preview toolbar, click the Close button.
The Print Preview window closes, and the Custom Reports dialog box reappears.
-
In the Custom Reports dialog box, click the Close button.
-
Click the Close button again to close the Reports dialog box.
Tip We’ve frequently seen Project users go to a lot of trouble to customize the Gantt Chart view to include specific information they want in the format they want. Before you do that, check the predefined views (for online work or printing) or reports (for printing). There’s a good chance the Project designers have anticipated your needs and provided a predefined solution for you.
To conclude this exercise, you’ll close the file you’ve been using to explore views and reports.
-
On the File menu, click Close to close the New Business plan. When prompted to save changes, click the No button.
EAN: 2147483647
Pages: 199