Testing Queries with the Server Explorer
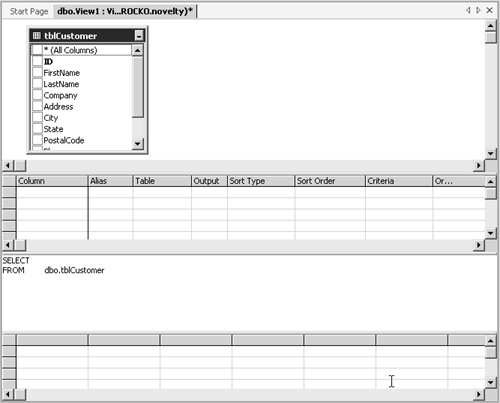
| Visual Studio.NET's Server Explorer is a useful tool for trying the queries described in this chapter. Use the steps presented here to create a test view that you can use to test SQL statements as you work through this chapter. To follow these examples, you should have access to a SQL Server. If not, see Chapter 3 for instructions on how to install and run SQL Server. We also assume that you've added your SQL Server installation to your Server Explorer window, as described in Chapter 1. Creating a test view with the Visual Studio Server Explorer involves seven steps.
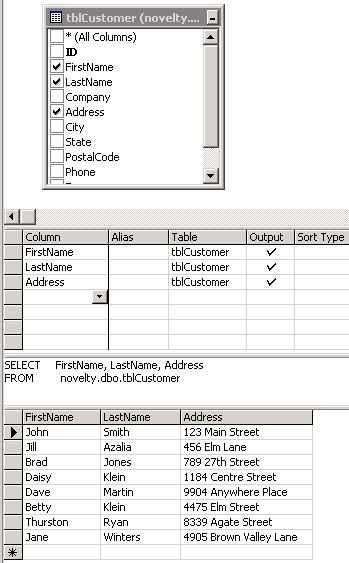
You can save this query in case you want to run it again. Queries saved in the database are known as views. For the most part, you can use them just like tables in your database applications. This handy feature can help you manage complexity in your database application, particularly for queries that involve a number of joined tables (as we show later in this chapter). To save a view in VS.NET, use the menu command File, Save View1. VS.NET will prompt you to give the view a name say, qryCustomerList. Once you have saved the view, it is stored in the database, ready for use by any programmer with access to the database. Note You may have noticed that we use a naming convention for tables, views, and the like that attaches a prefix (such as tbl or qry) to the names of objects in the database. We do so for two reasons: (1) it makes it easy for you to figure out what kind of object you're dealing with in situations where that may not be clear tables and views, for example, can behave nearly identically in many cases; and (2) we used this convention in previous editions of this book and wanted to stay consistent with those earlier editions. Our convention will be familiar to Microsoft Access programmers in particular. Although we're doing things a little differently than SQL Server programmers might be accustomed to, we figured that adhering to some naming convention was better than not having one at all. Of course, in your work, you're welcome to name things however you want. In the next few sections, we use the View Designer to write queries that retrieve records from the database. |
EAN: 2147483647
Pages: 97