| While ratings are useful for evaluating the quality of images, keywords are essential for evaluating the content of images. In Aperture, keywords are added to image versions and saved as metadata. You can use keywords to easily search your Library and even export the keywords as IPTC data. Note If you are planning to export your keywords as IPTC data, make sure your keywords are no more than 64 characters in length. Longer keyword phrases may not be displayed correctly in other IPTC editors or operating systems.
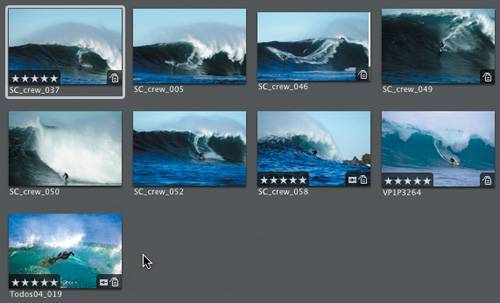
Adding keywords to your images is as simple as applying ratings. 1. | If it is not already selected, click to select the 5 Star Surfing Smart Album.
Note Make sure your Browser is sorting by Image Date, in ascending order.  | 2. | From your Smart Album select the image named SC_crew_058.
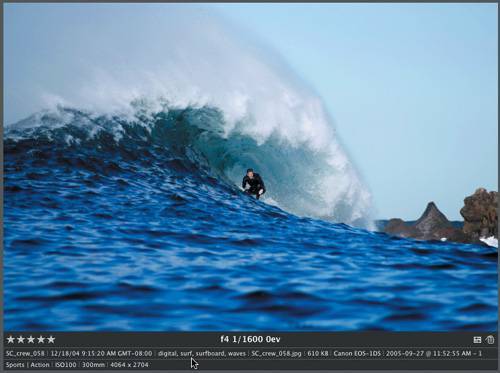 Look at the metadata overlays below the image. This image has the keywords digital, surf, surfboard and waves added. You can add keywords from the selection of keyword presets below the Viewer, and you can also add your own. Look at the metadata overlays below the image. This image has the keywords digital, surf, surfboard and waves added. You can add keywords from the selection of keyword presets below the Viewer, and you can also add your own.
Tip The keyword buttons below the Viewer are numbered 1-8. You can easily access their corresponding keyboard shortcuts by pressing 1-8 on your main keyboard (not the numeric keypad). If you wish to change the preset keyword buttons, simply click the Preset pop-up below the Add Keyword button and choose from another preset, or select Edit to add your own. Note If you cannot see your Viewer metadata overlays, press Y. If you would like to adjust which metadata are displayed, press Command-J and change the Viewer preferences in the View Options window. | 3. | Enter the surfer's name, Dave, in the Add Keyword field and press Return.
  The keyword Dave has been added to the image. Although the control bar is a convenient means of adding keywords, for more flexibility you may prefer to use the Keywords HUD. The keyword Dave has been added to the image. Although the control bar is a convenient means of adding keywords, for more flexibility you may prefer to use the Keywords HUD.
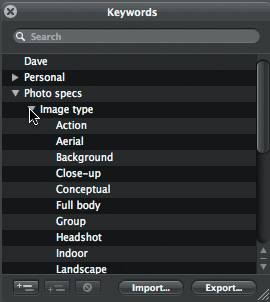
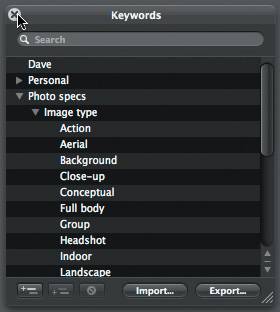
| 4. | Click the image in the Viewer and then press Shift-H to reveal the Keywords HUD.
In the HUD, each preset category is listed as a separate line item. You can also use the HUD to search for keywords you'd like to apply. This helps keep consistency in your keyword naming.
 The left-hand Add (+) buttons at the base of the HUD allow you to add new keywords, or even create subcategories for existing keywords. The right-hand buttons provide easy access for importing and exporting keywords. The left-hand Add (+) buttons at the base of the HUD allow you to add new keywords, or even create subcategories for existing keywords. The right-hand buttons provide easy access for importing and exporting keywords.
| 5. | Click the disclosure triangle to the left of the preset "Photo specs" category.
| 6. | Click the disclosure triangle to the left of the preset "Image type" category.
 | 7. | Drag the word Action from the Keywords HUD and drop it directly on the image in the Viewer.
The keyword Action has been applied to the image. You can also drag keywords to thumbnails in the Browser.
Tip You can select multiple keywords in the HUD, and then apply them to one or more images by dragging them to the selected thumbnails in the Browser. To make continuous keyword selections, press the Shift key while you select; for discontinuous selections, press the Command key. 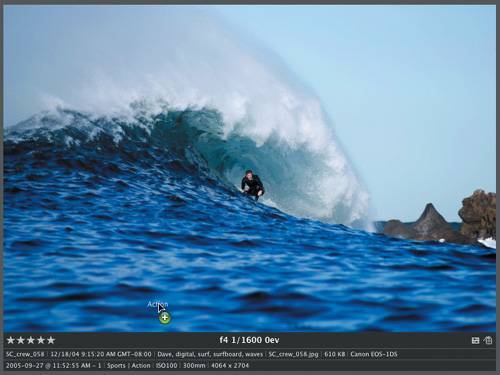  | 8. | Click the X in the upper left of the Keywords HUD to close the HUD.
 | 9. | Press I to open the Metadata Inspector.
You can view and edit all of your image metadata through this window, including image keywords.
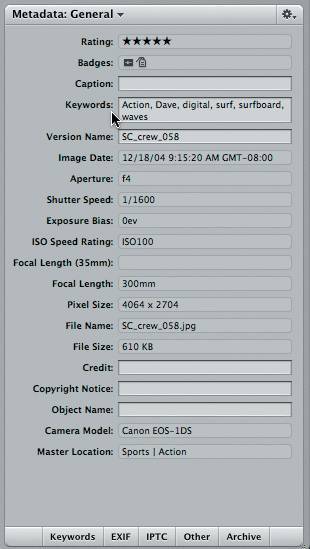 The Metadata Inspector is a flexible tool that allows a great deal of control and access to your image metadata.
|
|