You've already selected an image as the pick of a stack. That's a great, quick way to sort through similar images. But often you want greater control when you rank images, sorting them by overall quality. That's when you can utilize the Aperture rating system.
You can give images ratings by choosing from a scale of 1 to 5 stars. For this exercise, we'll switch gears and evaluate some extreme sports shots. First let's change our Viewer to a more convenient layout designed specifically for rating your images.
1. | Choose Window > Layouts > Ratings and Keywords. Press W to open the Projects panel.
|
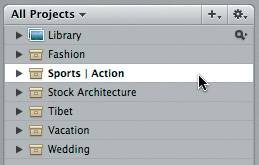
2. | Select the Sports | Action project and select the first image in the Browser named VPIP3314.
 Note Make sure you are sorting your Browser images by Image Date, in ascending order.  |
3. | Press W to close the Projects panel.
It'd be helpful to see the ratings in the Viewer, so let's change the view options.
|
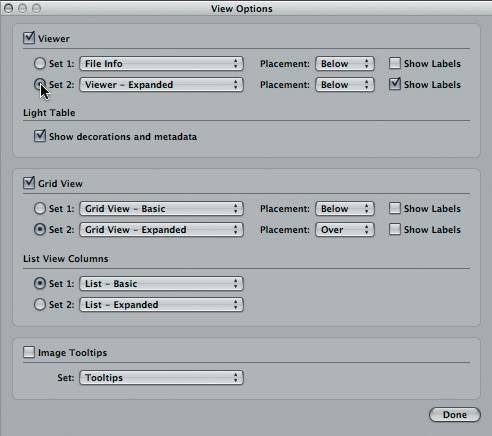
4. | Choose View > View Options.
|
5. | From the Viewer Set 2 menu, choose Viewer Expanded, then click Done.
 |
6. | Rate the first image by clicking the red X on the control bar.
 The red X rejects the image and places an X on the image metadata overlay.
|
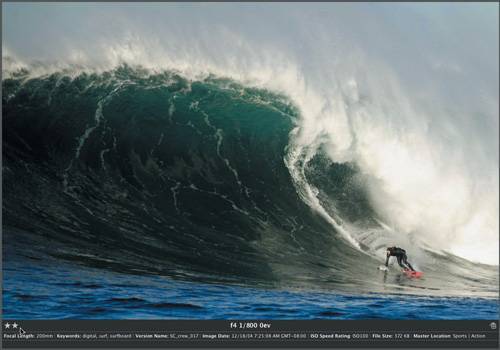
7. | Press the Right or Left Arrow key to move to the next image, named SC_crew_017.
|
8. | Rate the second image by clicking the green triangle on the control bar twice.
 Notice that 2 stars are placed on the image metadata overlay.
 Note If you are unable to see the quality ranking of an image in the Viewer you may need to enable image overlays. Press Y on your keyboard. If you are still unable to view the ratings, you may need to enable them in the View Overlay options. In this case press Command-J and activate Set 2 and choose Viewer - Expanded as a preset for the active Viewer set. |
9. | Press the Right Arrow key to advance to the third image and click the green triangle on the control bar three times to give this image a 3-star rating. (Clicking the red triangle will lower the rating.)
|
10. | Press the Right Arrow key again to advance to the fourth image and click the red X in the control bar to reject this image.
|
11. | Press the Right Arrow key again to display the fifth image. Click the green checkmark on the control bar. You will give this image a 5-star rating.
 Tip You can also use the + and on your keyboard to increase or decrease the rating of an image. Pressing 0 will reject an image. Let's continue rating our images, but this time we'll use the keyboard shortcuts and rate several images at once.
|
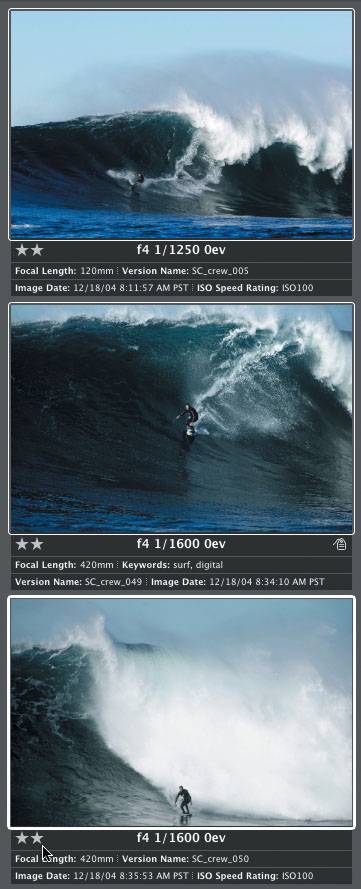
12. | Hold down Shift and from the Browser select the image thumbnails SC_crew_005, SC_crew_049, and SC_crew_050.
|
13. | Press the + on your keyboard twice to give these images a 2-star rating.
 |
14. | Press the Right Arrow on your keyboard once to load SC_crew_052 into the Viewer.
|
15. | Press + on your keyboard three times to give this image a 3-star rating.
|
16. | From the Browser select the image thumbnail of VPIP3268.
We will now quickly increase each image rating in a series and move to the next image with one keystroke.
|
17. | Press Control-+. This increases an image rating and moves you to the next image.
|
18. | Press Control- + another four times.
You can just as easily decrease a rating:
|
19. | From the Browser, select the image thumbnail of VPIP3268 again.
|
20. | Press Control- . This decreases the rating and moves you to the next image automatically.
Tip Choose Help > Quick Reference for a full list of very handy keyboard shortcuts. Learning the keyboard shortcuts will increase your speed throughout your Aperture workflow. |