Adding a Malström Although the Malström is good for percussion sounds, bass sounds, and so forth, it really shines for long, evolving, and bright sounds that cut through to the top of a mix. In this section you'll write a basic melody and then use it to get introduced to the various sound-processing controls of the Malström. The Malström is an analog synth/sampler hybrid: Instead of generating tones, its two oscillators use samples. What makes it different from a sampler (or "wavetable" synthesizer) is that the Malström can fast-forward or play slow-motion through samples without changing the pitch. The process is called "granular synthesis" and involves chopping up the samples, processing the pieces, and then putting them back together again. The Malström can also play from any point in a sample and use the tone characteristics from the sound at that point to create new tones. This gives the Malström a great deal of tonal variety and modulating possibilities, as you'll hear shortly. To create a Malström 1. | If you are starting from an empty Rack, be sure to create a Mixer first.
| 2. | Select Create > Malström Graintable Synthesizer.
| 3. | Take a minute to look at the controls.
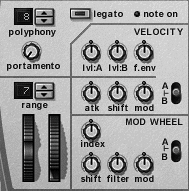
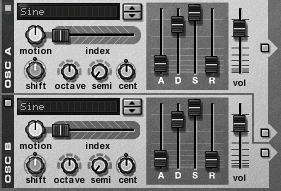
The play parameter controls (Figure 5.86) and oscillators (Figure 5.87) should look familiar from your work with the SubTractor. The only significantly different area is the Shaper (Figure 5.88).
Figure 5.86. The Malström's play parameter controls are just like the SubTractor's. 
Figure 5.87. The Malström's oscillators play samples rather than simple tones. 
Figure 5.88. The shaper is the only significantly new control in the Malström. 
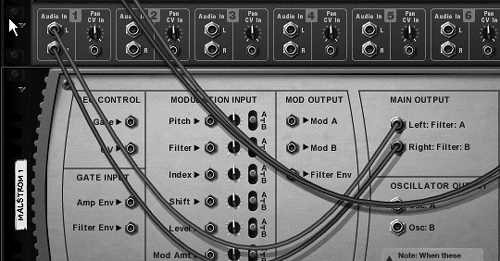
| 4. | Check the back panel to make sure that Reason has cabled the Malström to an empty Mixer channel (Figure 5.89).
Figure 5.89. Check the back panel of the Malström, to make sure it's cabled to an open Mixer channel. 
| 5. | Return to the front panel.
|
To write a melody track 1. | In Sequencer Edit mode, open up the Malström track Key lane. Reason adds new Malström tracks in Key lane mode by default.
| 2. | Set up loop markers around a four-bar writing area.
| 3. | Set the grid resolution to 1/2 (half notes; to review note values, see "Editing Timing in Reason" in Chapter 4).
| 4. | Using the Pencil tool, input a basic two-bar melody with a long ending note (select and stretch the note duration using the Selection tool if necessary).
| 5. | Press play.
|
 Tip Tip
|


 Tip
Tip