Touching Up
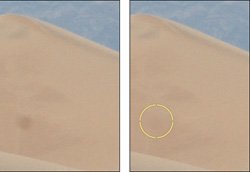
| Aperture provides some simple controls for performing basic touch-ups of your images. You'll usually want to use these before starting your tone, contrast, and color corrections, but sometimes brightness and contrast changes will reveal additional touch-up needs. Using Spot and PatchIf you work with scanned film images or a digital SLR camera, you will sometimes find yourself facing images that have spots and specks on them. With the Spot and Patch tool, you can remove simple specks and dust. You can use the Spot and Patch tool in two ways: to remove spots and to create patches. Removing a SpotHere's how to use the Spot and Patch tool to remove a blemish from an area of mostly continuous tone and color:
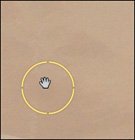
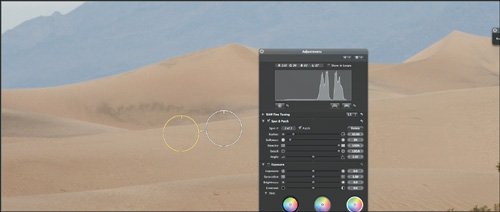
You can adjust the Radius slider in the Spot and Patch HUD to control the size of the area that is corrected. You should use the smallest radius possible that still covers the blemish. Also, you'll probably want to zoom in to 100 percent to get the most accurate view of your correction. To move your patches, place the cursor over the patch. The cursor should turn into a grabber hand. You can then drag the patch to a new location (Figure 5.9). Figure 5.9. To move a patch, simply drag it to a new location.
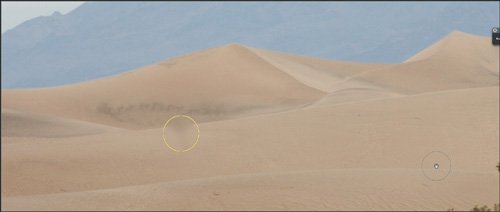
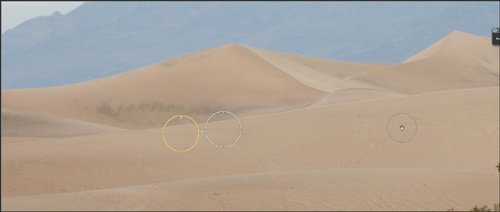
Patching an ImageWhen you click a blemish with the Spot and Patch tool, Aperture tries to guess the appropriate colors to use to cover the spot. It won't match the texture or grain at the spot, however. For instances where you need to correct an area with more than just basic color, you can use Patch mode. Patching works just like a rubber stamp or clone tool in other image editors, but with the advantage that it's editable and nondestructive. Here's how to create a patch:
Adjusting your Spot and Patch CorrectionsWhen you use the Spot and Patch tool on an image, a Spot and Patch brick is added to the Adjustments pane. With the controls in this brick, you can edit the parameters of the individual patches that you've applied to your image. The Spot and Patch sliders make the following adjustments: Radius changes the size of the samples that the Spot and Patch tool uses. Softness adjusts the softness of the edge of the patch. If the transition into your patch doesn't look quite right, try adjusting Softness. Opacity controls the number of original pixels that show through a patch. When the Spot and Patch tool clones new pixels into the patch area, it lays them over the existing pixels, rather than replacing the pixels outright. By reducing the opacity, you allow more of the original pixels to show through, which can make the patch less obvious. Detail controls how much of your original image texture shows through the patch. If your image is grainy and full of texture, you'll want to set the Detail slider to a lower value to reveal more of the original image texture. Angle rotates a patch so you can align it properly in your image. |
- Chapter I e-Search: A Conceptual Framework of Online Consumer Behavior
- Chapter IV How Consumers Think About Interactive Aspects of Web Advertising
- Chapter V Consumer Complaint Behavior in the Online Environment
- Chapter VIII Personalization Systems and Their Deployment as Web Site Interface Design Decisions
- Chapter IX Extrinsic Plus Intrinsic Human Factors Influencing the Web Usage