Importing Image Files
| If you want to import images that have already been copied to a hard drive or stored on a CD-ROM or DVD, you can invoke the Import dialog box by choosing File > Import > Images or by pressing Command-I. When importing in this way, you will be presented with an Import dialog box that looks just like the one described in the preceding section, but with the addition of a file browser at the top of the window. Use this browser to select the folder you want to import (Figure 3.15). Figure 3.15. When you invoke the Import dialog box manually, Aperture adds a pane at the top that lets you browse your local drives to find the folder that you want to import.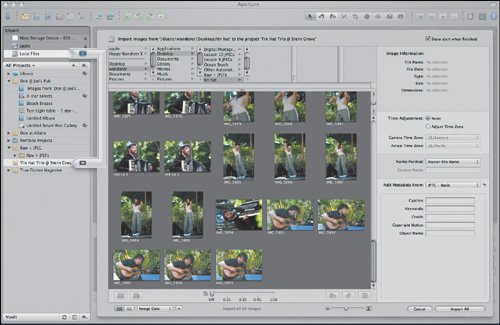 Once you have selected a folder, the Import dialog box will show thumbnails of all of the images contained within. All of the other import controls work the same as when you are importing from a camera or media card. Importing Folders as ProjectsIf the images you want to import have already been sorted into folders and subfolders, you can preserve that structure by choosing File > Import > Folders into a Project. Aperture will ask you to choose a folder and will then automatically create a new project with the same name as the folder you select, and it will import all images within that folder into the new project. If your chosen folder contains any subfolders, Aperture will create albums within your project and arrange the contents to match the subfolder's existing structure and content. Note that if you have a project selected in the Projects pane when you select File > Import > Folders into a Project, then Aperture will create a new folder within that selected project and import the images into that location. As before, Aperture will create albums for any subfolders. Drag-and-Drop ImportingBecause Aperture also supports drag-and-drop importing, you don't have to use the Import dialog box at all. Simply drag and drop an image from the Finder into a project in Aperture's Projects pane. Note that you cannot drag and drop into the Browser or Viewer pane. Note that you can often drag and drop images from other applications. For example, you can drag and drop thumbnails of images from Adobe Bridge or iView Media Pro directly into an Aperture project. Aperture will copy the original file just as if you were adding it from the Finder. You can also drag and drop images from iPhoto directly into Aperture. Importing Raw FilesAperture provides very good support for raw files, and you'll learn how to work with raw files in Chapter 6. (That chapter also discusses why you might want to use raw format.) Before you can edit any raw files, though, you have to import them, and there are a few things to know about Aperture's raw import capability.
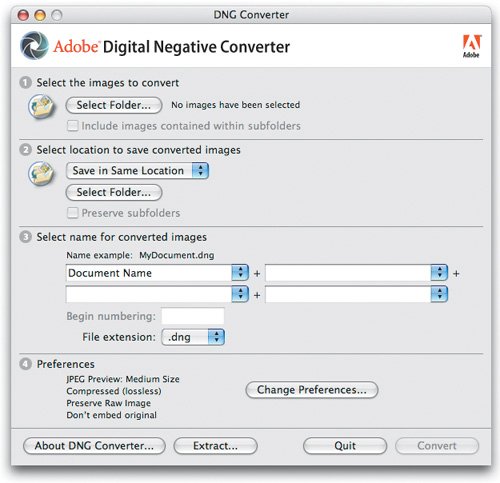
Aperture also supports Adobe's DNG format, an open raw specification that Adobe has developed to try to provide a solution to the confusion arising from the glut of raw formats. You can convert your raw files to DNG format using Adobe's free DNG Converter application, available at www.adobe.com/dng. The Adobe DNG Converter can convert a tremendous number of raw formats into DNG format. This would seem to make it something of a universal translator for raw files that you want to import into Aperture, since Aperture supports DNG format. However, Aperture's DNG support is limited to only DNG files that were created from the raw formats that Aperture already supports. If this seems counterintuitive to the idea of a "universal" raw format, we're in complete agreement. At the time of this writing, there is a healthy debate waging as to who is to blame for this problem: Apple or Adobe. Many users choose to convert their images to DNG as a form of long-term insurance. Since DNG is an open standard, there's a good chance that it will be around for a long timesomething that can't necessarily be said about a format controlled by a company. If you do decide to convert your images to DNG format and find that Aperture isn't reading your newly made DNG files, then try changing some of the DNG Converter preferences.
You're now ready to start processing. Setting the Image Conversion Method to Linear Image tells the raw converter to do some of the necessary color conversions itself rather than simply storing the original raw data. In a way, this "bakes" a certain level of color quality into the file and slightly limits the amount of editing you can perform in Aperture. By selecting Embed Original Raw File, you tell the converter to save an exact copy of the original raw file within the DNG file itself. You can later extract this file if Aperture adds support for your camera and then import that original raw file into Aperture. This provides a safeguard to protect the data lost by your linear conversion.
Tip If you find that Aperture is ignoring some Photoshop files when you import a folder full of images, go to Photoshop's Preferences dialog box and make sure that the File Handling preference is set to Enable Large Document Format. Also, set Maximize PSD and PSB File Compatibility to Always. Note Aperture doesn't support CMYK images. If you import any Photoshop or TIFF files saved in a CMYK color space, they will appear very strange in Aperture. You should convert them to RGB before importing them. |