Adding a Toolbar
Implementing a toolbar in .NET is essentially the same as it was in VB 6. You are just going to add a simple toolbar and a couple buttons. To begin, select the toolbar object while you have frmMain in design mode. Along with the toolbar, you need to add an ImageList control to hold the images your toolbar will display. When you are done adding both of those items, your screen should look like Figure 6-1.
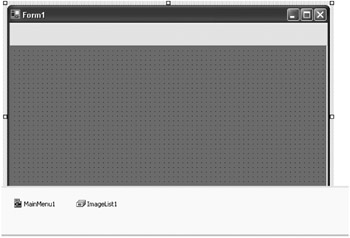
Figure 6-1: MDI form with a toolbar and ImageList control
Add the Cut, Copy, Paste, and Find images to the image control so that it looks like Figure 6-2.
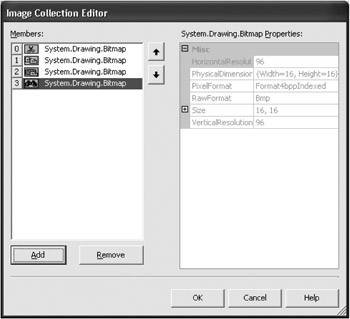
Figure 6-2: ImageList Image Collection Editor
| Note | The images, if you installed them, are located in Microsoft Visual Studio .NET\Common7\Graphics\Bitmaps\Tlbr_W95. If you did not install these images, pick any four small bitmaps you want. |
Now you have to add buttons to the toolbar and associate them with the images you just loaded. First, rename the toolbar control (currently named toolbar1) to tlbMain. In the property list for the toolbar, select the imagelist property drop-down and select ImageList1. Next, select the ellipses next to the Buttons property. Add four buttons to the toolbar and set the properties according to Table 6-3.
| Control | Name | Image |
|---|---|---|
| ToolbarButton | tlbCut | Scissors |
| ToolbarButton | tlbCopy | Double Page |
| ToolbarButton | tlbPaste | Clipboard and Paper |
| ToolbarButton | tlbFind | Binoculars |
When you are finished, you will have a toolbar with four buttons and four images similar to what is in Figure 6-3.
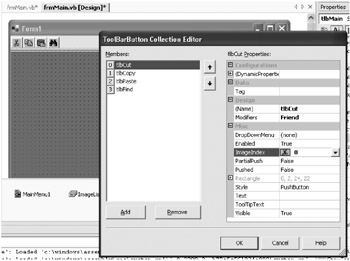
Figure 6-3: ToolBarButton Collection Editor
Finally, you need to add the code to hook up your buttons with your functions. Go to the code module for frmMain and add the method shown in Listing 6-16.
Listing 6-16: The Toolbar Button Event Handler
Private Sub tlbMain_ButtonClick(ByVal sender As Object, _ ByVal e As System.Windows.Forms.ToolBarButtonClickEventArgs) _ Handles tlbMain.ButtonClick Select Case tlbMain.Buttons.IndexOf(e.Button) Case 0 CutCopyPaste("Cu&t") Case 1 CutCopyPaste("&Copy") Case 2 CutCopyPaste("&Paste") Case 3 Find(1) End Select End Sub ToolBarButtonClickEventArgs provides the button that was clicked. One annoying thing about .NET is that you cannot access the name of the object, so you have to resort to using the index of the toolbar button that was clicked. Obviously, this has some drawbacks to it—namely that if you add a button before any of your existing buttons, you have to rework this routine.
| Tip | If you examine the MSDN documentation on information about the toolbarbutton class, it shows an example similar to this in that it uses the indexOf in the Select Case statement. I am not a big fan of this method. My preferred method is to add tooltip text to each of the buttons on the toolbars and then reference this text in the Select Case statement. In this way, the position of the toolbars does not matter. |
EAN: 2147483647
Pages: 148
- The Four Keys to Lean Six Sigma
- Key #1: Delight Your Customers with Speed and Quality
- Making Improvements That Last: An Illustrated Guide to DMAIC and the Lean Six Sigma Toolkit
- The Experience of Making Improvements: What Its Like to Work on Lean Six Sigma Projects
- Six Things Managers Must Do: How to Support Lean Six Sigma