Inline Images in HTML: The img Tag
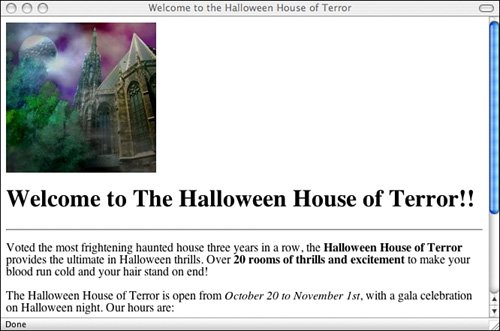
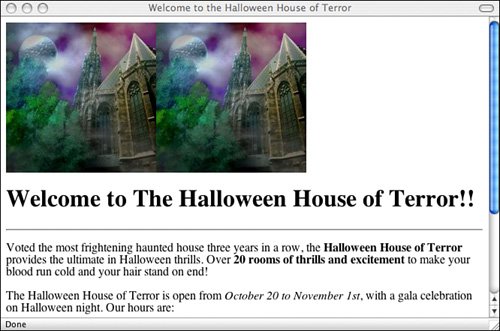
Inline Images in HTML: The <img> TagAfter you have an image ready to go, you can include it on your web page. Inline images are placed in HTML documents using the <img> tag. This tag, like the <hr> and <br> tags, has no closing tag in HTML. For XHTML, you must add an extra space and forward slash to the end of the tag to indicate that it has no closing tag. The <img> tag has many attributes that enable you to control how the image is presented on the page. Many of these attributes are part of HTML 3.2 or HTML 4.01 and might not be understood by some older browsers. Still other attributes have been deprecated in favor of style sheets with the HTML 4.01 and XHTML 1.0 specifications. Note To use the <img> tag in an XHTML-compliant fashion, you need to close it, like this: <img /> The most important attribute of the <img> tag is src, which is the URL of the image you want to include. Paths to images are derived in the same way as the paths in the href attribute of links. So, to point to a GIF file named image.gif in the same directory as the HTML document, you can use the following XHTML tag: <img src="/books/2/631/1/html/2/image.gif" />For an image file one directory up from the current directory, use this XHTML tag: <img src="/books/2/631/1/html/2/../image.gif" />And so on, using the same rules as for page names in the href part of the <a> tag. You can also point to images on remote servers from the src attribute of an <img> tag, just as you can from the HRef attribute of a link. If you wanted to include the image example.gif from www.example.com on your web page, you could use the following tag: <img src="/books/2/631/1/html/2/http://www.example.com/example.gif" />Caution Just because you can use images stored on other servers for your own web pages doesn't mean that you should. There are a lot of legal, ethical, and technical issues involved with using images on other sites. I'll discuss them later in this lesson. Adding Alternative Text to ImagesImages can turn a simple text-only web page into a glorious visual feast. But what happens if someone is reading your web page using a text-only browser? What if she has image loading turned off so that all your carefully crafted graphics appear as generic icons? All of a sudden, that visual feast doesn't look quite as glorious. There's a simple solution to this problem. By using the alt attribute of the <img> tag, you can substitute something meaningful in place of the image on browsers that cannot display it. In text-only browsers, such as Lynx, graphics that are specified using the <img> tag in the original file usually are displayed as the word IMAGE with square brackets around it, like this: [IMAGE]. If the image itself is a link to something else, that link is preserved. The alt attribute in the <img> tag provides a more meaningful text alternative to the blank [IMAGE] for your visitors who are using text-only web browsers, or who have graphics turned off on their browsers. The alt attribute contains a string with the text you want to substitute for the graphic: <img src="/books/2/631/1/html/2/myimage.gif" alt="[a picture of a cat]" />Most browsers interpret the string you include in the alt attribute as a literal string. That is, if you include any HTML tags in that string, they'll be printed as-is rather than being parsed and displayed as HTML code. Therefore, you can't use whole blocks of HTML code as a replacement for an imagejust a few words or phrases. I bring up image alternatives now for good reason. Alternatives to images are optional in earlier versions of HTML, but they're mandatory in HTML 4.01 Strict and XHTML 1.0 specifications. If there's no appropriate alternative text for an image, you can simply leave it empty, like this: alt="". Task: Exercise 7.1. Adding Images to a Page
|
EAN: 2147483647
Pages: 305


