Editing with Movie Maker
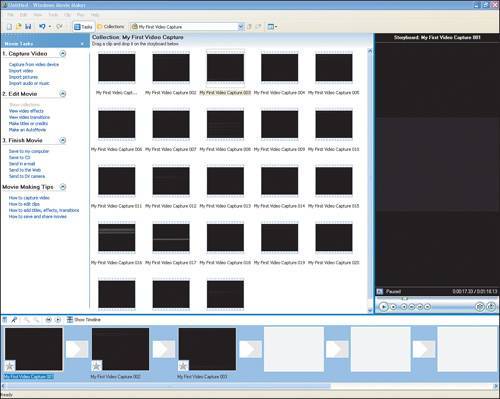
| When your video capture is complete, the video clips that were created during the capture appear in the collection window, as shown in Figure 6.7. Figure 6.7. A video capture collection.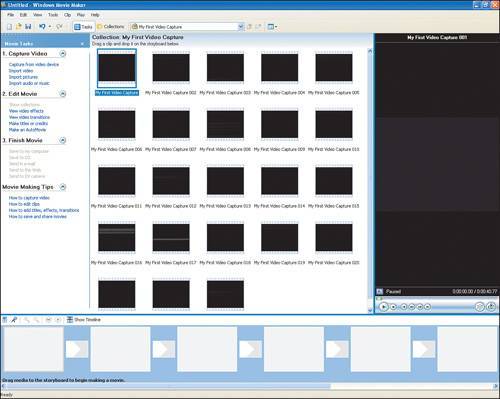 You edit your video project by following this step:
Note Clips are really nothing more than segments of video saved to a computer's hard disk. Windows Movie Maker can split your video into clips for you based on the scene breaks and timeline. This provides a convenient way for you to decide which pieces of video you want to include in your project. If desired, switch to Movie Maker's Timeline view, which shows your clips sequentially laid out. Note Movie Maker offers two ways to look at your developing video project. You can lay out your video in Storyboard view, where you see the graphic representation of the clip in a window next to each of the other clips that make up your project. Or you can opt for the Timeline view, which shows your video clips on a ruler representing elapsed time in the video project. Rather than viewing your clips in windows next to each other, the Timeline view lets you see how much time each clip and the entire project will take. Adding EffectsYou can use effects to add drama to your video. As a general rule, you should be conservative with effects: You don't want them to take over as the focus of the finished product. You can see the effects that Movie Maker offers by clicking the View Video Effects link under the Edit Movie section of the screen. To apply an effect, you click and then drag the desired effect to the clip on which you want to apply it. You can apply multiple effects to individual video clips, but before you do, put yourself in the place of the intended viewer to make sure that the effects do not end up detracting from the finished video. For example, it might make sense to have a single clip contain both the fade in and fade out effects for dramatic emphasis. You can also access effects by right-clicking a video clip in the storyboard or timeline and then clicking Video Effects. To see what an effect will look like, you can select the clip and then click Play in the player window on the right side of the screen. Figure 6.9 shows an example of the effects that are available with Movie Maker. Figure 6.9. Movie Maker's video effects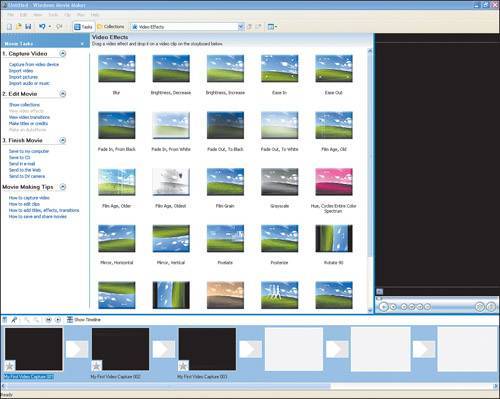 Adding TransitionsYou can use transitions to create seamless connections between scenes in your video. For example, if you have video of a birthday party, you might want to ease the viewer between the opening of presents and the playing of party games. Transitions help you to control the mood and flow of a video. Like effects, transitions can be a veritable toy box for a person getting started with editing videos. You might feel like you have to use all these toys, but again, keep the viewer in mind and ask yourself if you really need the transitions you're considering. Using too many transitions can take away from the focus of the video. You can see the available transitions under the Edit Movie section of the screen by clicking the View Video Transitions link. To apply a transition, click and then drag the desired transition between two clips either in the Storyboard view or the Timeline view. To see what a transition will look like, select the transition and then click Play in the player window on the right side of the screen. Adding Titles and CreditsYou can use titles and credits to introduce the theme of your video and, where applicable, give credit to those who played a part in the making of the video. For example, if you were editing a video of a child's birthday party, you could use a title to indicate for whom the party was given. Titles can even be used in the midst of video to emphasize or reiterate a certain point. You can see the available titles and credits under the Edit Movie section of the screen by clicking the Make Titles or Credits link. Unlike effects and transitions, titles and credits aren't listed as a menu of choices; rather, you select where you want text to appear in your video and you determine what the text should say. Figure 6.10 shows the choices. Figure 6.10. Title options.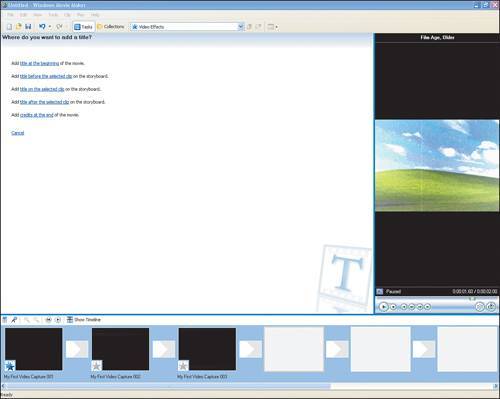 You can control the title animationthat is, the way it moves, if at all, across the screenand you can control the font and color of the text used for the title. You supply the text for the title (see Figure 6.10). Movie Maker enables you to create credits that will appear at the end of the movie. You input the text for credits a little differently than you do for titles. Credits tend to be a list of people who either performed or were involved in the creation of the movie, so the text input screen appears as a two-column spreadsheet rather than as a free-form field (see Figure 6.11). Figure 6.11. Title text.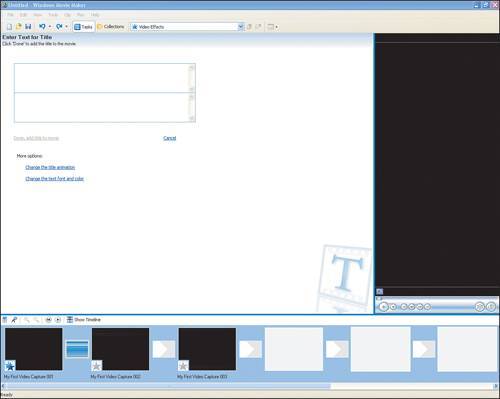 Figure 6.12. Entering credits.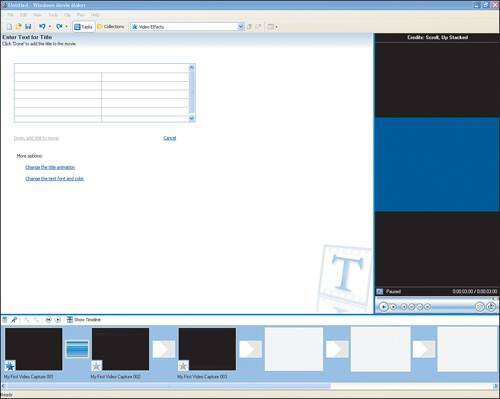 |
EAN: 2147483647
Pages: 82