| While the library contains all the imported music contained on your computer, you may not want to browse through every song to get to one that you want to hear. This is where playlists come in very handy. You can create a playlist to suit just about any occasion, including theme parties, weddings, sporting events, and graduations. Playlists are tied to the computer on whose library the music exists. This means that if you are accessing music by using the shared music feature, you cannot access playlists on the remote computer. In the following section you will create a playlist that is geared toward Christmas music for a holiday party. In this example, you'll play the songs from a Christmas album released by Chris Isaak during the 2004 holiday season as shown in Figure 4.6. Figure 4.6. Creating a playlist. 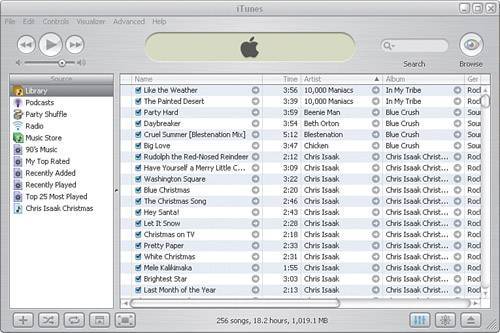
Creating a Playlist To create a playlist in iTunes, follow these steps: 1. | In the iTunes interface, select File, New Playlist, type a name for your playlist, and then press Enter.
| 2. | Click the first song you want to include in your playlist and then hold down the Ctrl key while you click each additional song you want to add to the playlist. The order in which you select songs doesn't matter; you can rearrange the playing order after you create the playlist.
| 3. | Move your mouse icon over any of the songs to be included in the playlist and then click and hold your left mouse button. While holding the left mouse button, drag your mouse over the playlist you created and release the button.
| 4. | Click the playlist you created in step 1. You should now see the songs you chose listed.
|
What You Can Do with Playlists After you have created a playlist, if you right-click the playlist name in the iTunes interface, you see that you can burn the contents of this playlist to a CD. Burning to a CD requires that you have a CD burner and the appropriate writable CD media. You can set your burning preferences by selecting Edit, Preferences and then selecting the Burning tab (see Figure 4.7). This tab provides a few options for creating your own CDs: Create an Audio CD This option creates a CD that is compatible with most home, car, and portable CD players. You can expect about 20 songs per CD, at the most, in this mode. Each CD shows the recording capacity on its label, and you can use that as a guide to how many songs will fit on a CD. Create an MP3 CD This option creates a disc containing the digitally encoded music files you choose. Music compresses very well in digital format, and you can expect a great deal more music to fit on a CD when stored in MP3 format than when in audio CD format. Consider that at high audio quality, a 4-minute song in MP3 format requires about 4MB of storage. Using simple math, you can see that somewhere in the neighborhood of 150 or more songs of this size will fit on a single CD. This gives you about 10 hours of music on a single CD. The catch (there's always a catch) is that your equipment must be capable of playing MP3-formatted media. Most new CD players for the home and car are capable of this, but you'll certainly want to check to make sure before creating a disc full of MP3 content. Create a backup CD or DVD This option transfers your digitally encoded music files to either a CD or DVD disc. The approach is the same as that for creating an audio CD: Create a playlist, right-click, and choose the Burn to Disc option. The biggest attraction here is that you can take advantage of the greater capacity offered by storing your music on a DVD rather than a CD. Figure 4.7. CD burning options. 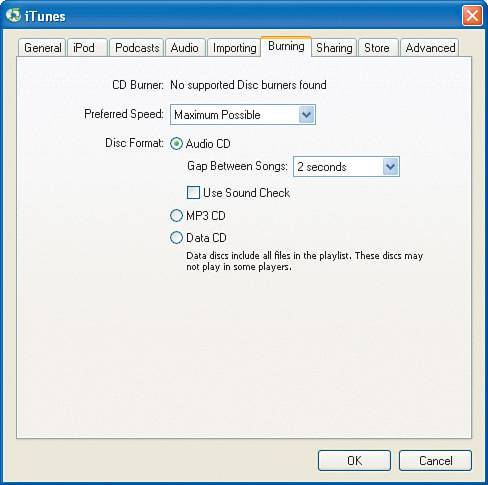
To choose a disc burning option, you click Edit, Preferences. On the Burning tab in the Preferences window, you choose your preferred disc format. Then you can begin the disc burning process. |