Flylib.com

Books Software


Blog Statistics


Blog Statistics

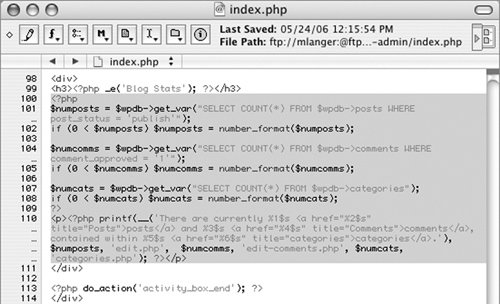
The Dashboard displays information about the number of posts, comments, and categories in your blog ( Figure 8 ). You may want to share this information with your visitors . Fortunately, it's easy. You just copy some code from one file and paste it into another. Here's how you can put blog statistics in the footer.

Figure 8. The Dashboard displays basic blog stats.


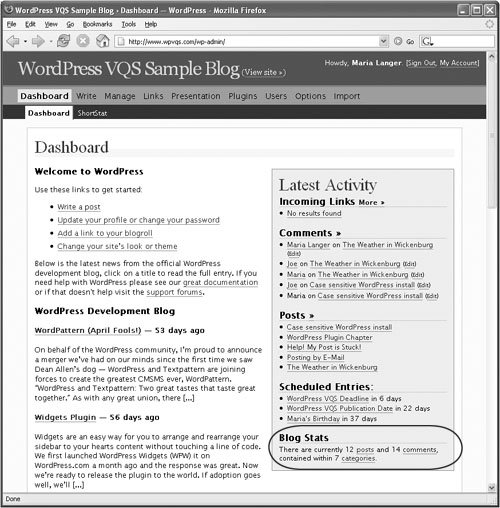
To include blog statistics in the footer

1.

Open the index.php file in the wp-admin folder ( not your theme folder) with a text editor.

2.

If necessary, display line numbers .

3.

Locate the text starting at line 100 and ending at line 110 ( Figure 9 ) and copy it. This code counts the numbers of posts, comments, and categories and then displays the counts.

Figure 9. Select the code that will display the stats.


4.

Open the footer.php file for your theme with a text editor.

5.

Paste the copied text after this line:

<div id="footer">


6.

Save the footer.php file. The footer now includes code to count posts, comments, and categories and to display the count.

7.

View your blog to see the new information ( Figure 10 ).

Figure 10. The stats appear in the blog's footer.


Favicons

A favicon is a specially formatted graphic that you can use to uniquely represent your blog. In most Web browsers the favicon appears at the left end of the Location or Address bar ( Figure 11 ), and may appear beside Bookmarks or in browser tabs.

Figure 11. A favicon appears in the Location or Address bar in a Web browser window.


Tip

  • Favicons work with regular Web sites as well as blogs .


To create a favicon

1.

Use graphics editing software create an image that is either 16 or 32 pixels on each side in either 8-bit or 24-bit color ( Figure 12 ).

Figure 12. Here's a 32x32 image based on our book's cover, all ready to be converted into a favicon.ico file.


2.

Save the image file in Windows icon (ico) format with the name favicon.ico .

Tip

  • If your image editing software does not support ico format and you have an image you want to convert into a favicon, you can use the Generate FavIcon service at www.chami.com/ html-kit /services/favicon. Just follow the instructions that appear onscreen to create and download the completed favicon.ico file.


To add a favicon to your blog

1.

Upload the favicon.ico file to the theme folder for your sitefor example:

wp-content/themes/default .

2.

Open the header.php file for your theme with a text editor.

3.

Add these lines within the head portion of the file ( Figure 13 ):

<link rel="shortcut icon"
href="<?php bloginfo('template_
directory'); ?>/favicon.ico" />


Figure 13. Insert the code within the head tags in the header.php file.


4.

Save your changes.

5.

View your blog to see the new favicon ( Figure 14 ).

Figure 14. The new favicon appears in the address bar.


Tips

  • You may have to Refresh or Reload a page in your Web browser before you can see the favicon.

  • If you change the favicon you may have to clear the browser cache or try a different browser to see the new favicon.

  • Some browsers do not support favicons. Firefox, Internet Explorer, Safari, and Opera are good browsers for checking favicon display.