Print Preview
| Word's Print Preview (Figure 13) displays one or more pages of a document exactly as they will appear when printed. It also enables you to make last-minute changes to margins and document contents before printing. Figure 13. A single page of a document in Print Preview.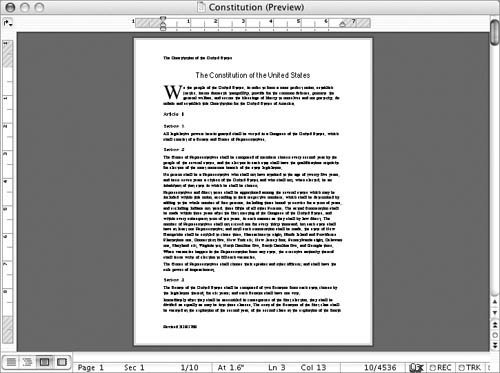
To switch to Print PreviewChoose File > Print Preview (Figure 1), or click the Print Preview button on the Standard toolbar.
To zoom in or out
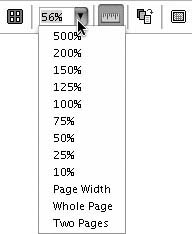
Or Choose an option from the Zoom drop-down list on the Print Preview toolbar (Figure 15). Figure 15. The Zoom drop-down list on the Print Preview toolbar. Or
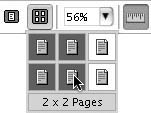
To view multiple pagesClick the Multiple Pages button on the Print Preview toolbar to display a menu of page layouts and choose the one that you want (Figure 16). Figure 16. Use the Multiple Pages button's menu to choose a layout for displaying multiple document pages in Print Preview. The view and magnification change to display the pages as you specified (Figure 17). Figure 17. Four pages of a document displayed in Print Preview.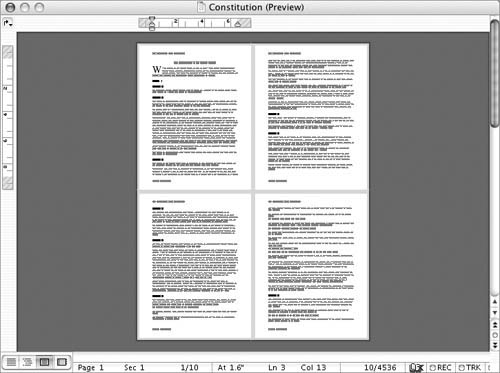
To change margins
To move from page to pageIn Print Preview, click the Previous Page or Next Page button at the bottom of the vertical scroll bar (Figure 20). Figure 20. Use the Previous Page and Next Page buttons at the bottom of the vertical scroll bar to move from one page to another. To edit the document
To reduce the number of pagesClick the Shrink to Fit button on the Print Preview toolbar. Word squeezes the document onto one less page by making minor adjustments to font size and paragraph spacing. It then displays the revised document.
To switch to a full-screen viewClick the Full Screen button on the Print Preview toolbar. The screen redraws to remove the status bar (Figure 21). This enables you to get a slightly larger view of the document page(s). Figure 21. Full Screen view in Print Preview.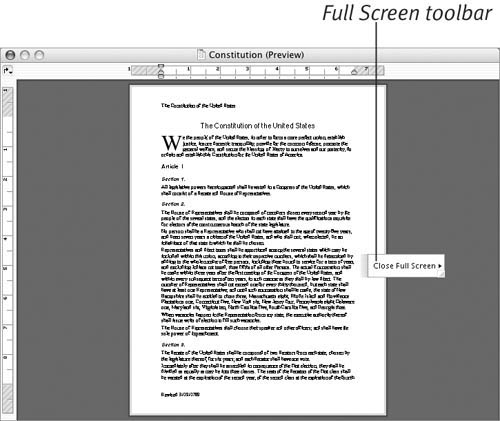
To leave Print PreviewClick the Close button on the Print Preview toolbar (Figure 14). The document returns to whatever view you were in before you switched to Print Preview. |
EAN: N/A
Pages: 199
- The Second Wave ERP Market: An Australian Viewpoint
- Context Management of ERP Processes in Virtual Communities
- Distributed Data Warehouse for Geo-spatial Services
- Intrinsic and Contextual Data Quality: The Effect of Media and Personal Involvement
- Relevance and Micro-Relevance for the Professional as Determinants of IT-Diffusion and IT-Use in Healthcare
 Tip
Tip