Page Setup


The Page Setup dialog enables you to set a number of options for printing your document. It is broken down into three groups of settings:

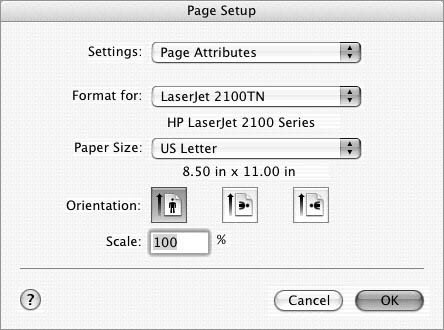
  • Page Attributes settings (Figure 3) include the printer, paper size, page orientation, and print scale.

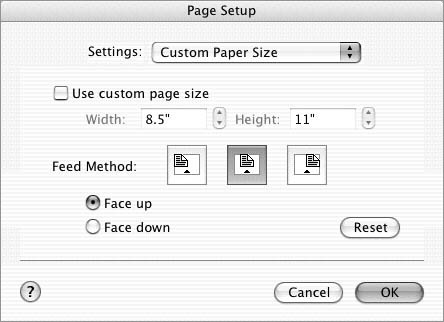
  • Custom Paper Size settings (Figure 7) enable you to set up and use a custom paper size and to specify a paper feed method for your printer's manual feed feature.

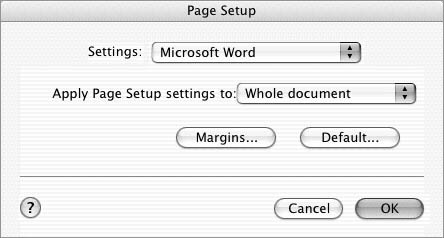
  • Microsoft Word settings (Figure 8) give you access to Word-specific features that affect printing.

Tips

  • Some Page Setup optionssuch as paper size and orientationaffect a page's margins. If you plan to use non-standard Page Setup options, consider setting them before you create and format your document.

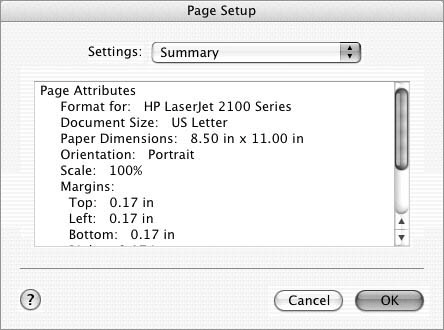
  • You can review all Page Setup settings for a document in the Summary settings pane (Figure 2).

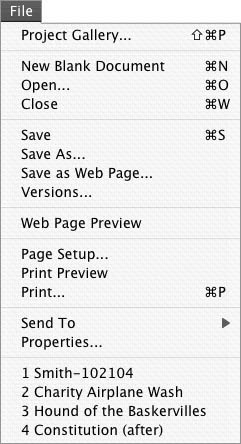
    Figure 1. Word's File menu.


    Figure 2. The Summary pane of the Page Setup dialog summarizes all settings for the document.


To open the Page Setup dialog

Choose File > Page Setup (Figure 1).

Or

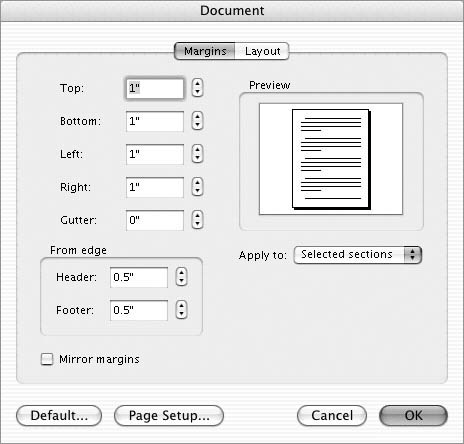
Click the Page Setup button at the bottom of the Document dialog (Figure 11).

To set Page Attributes options

1.

Open the Page Setup dialog.

2.

If necessary, choose Page Attributes from the Settings pop-up menu to display Page Attributes options (Figure 3).

Figure 3. The Page Attributes pane of the Page Setup dialog.


3.

Choose the printer you want to print on from the Format for pop-up menu (Figure 4).

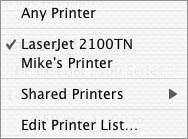
Figure 4. The Format for pop-up menu lists all printers you have access to.


4.

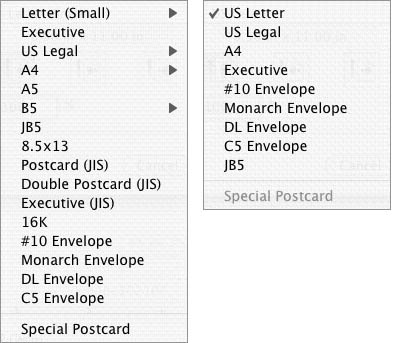
Choose the size of the paper you want to print on from the Paper Size pop-up menu (Figures 5 and 6).

Figure 5 & 6. The paper size pop-up menus for two different printers.


5.

Click to select an orientation icon. The first icon represents portrait orientation while the other two represent landscape orientation in two different directions.

6.

To reduce or enlarge the print size, enter a value in the Scale text box.

7.

Click OK to save your settings.

Tips

  • The Format for pop-up menu (Figure 4) lists all printers set up and connected to your computer as well as shared printers.

  • As shown in Figures 5 and 6, the Paper Size pop-up menu may offer different options, depending on the printer you selected in step 3.


To set Custom Paper Size options

1.

Open the Page Setup dialog.

2.

If necessary, choose Custom Paper Size from the Settings pop-up menu to display Custom Paper Size options (Figure 7).

Figure 7. The Custom Paper Size pane of the Page Setup dialog.


3.

Turn on the Use custom page size check box.

4.

Enter dimensions for the paper in the Width and Height boxes.

5.

Select an icon corresponding to the Feed Method of your printer's manual paper feed.

6.

Select a radio button to indicate whether paper is fed Face up or Face down.

7.

Click OK.

Tips

  • When the Use custom page size check box is turned on (Figure 7), the measurements in the dialog override the option chosen in the Page Attributes settings of the Page Setup dialog (Figure 3).

  • Clicking the Reset button in the Custom page size area (Figure 7) resets Feed Method options.


To set Microsoft Word options

1.

Open the Page Setup dialog.

2.

If necessary, choose Microsoft Word from the Settings pop-up menu to display Microsoft Word options (Figure 8).

Figure 8. The Microsoft Word pane of the Page Setup dialog.


3.

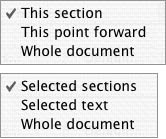
To apply Page Setup dialog settings to only a part of the document, choose an option from the Apply Page Setup settings to pop-up menu (Figures 9 and 10).

Figure 9 & 10. The appearance of the Apply Page Setup settings to pop-up menu varies depending on whether text is selected or the document has multiple sections.


4.

To set document margins, click the Margins button to display the Margins pane of the Document dialog (Figure 11). Set margins as desired and click OK. (You will have to reopen the Page Setup dialog to continue setting options there.)

Figure 11. The Margins pane of the Document dialog.


5.

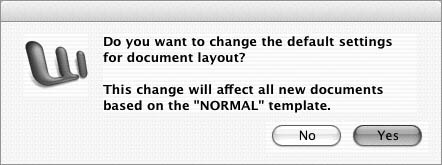
To save the current Page Setup dialog settings as the default settings for all Word documents, click the Default button. Then click Yes in the confirmation dialog that appears (Figure 12). (You will have to reopen the Page Setup dialog to continue setting options there.)

Figure 12. Click Yes in this dialog to make the Page Setup settings the default settings for all documents with the currently applied template.


6.

Click OK to save your settings.

Tips

  • Choosing an option other than Whole document from the Apply Page Setup Settings to pop-up menu (Figures 9 and 10) may insert section breaks within your document. I tell you about section breaks in Chapters 5.

  • I explain how to use the Margins tab of the Document dialog to change margins in Chapter 5.


MIcrosoft Word 2004 for Mac OSX. Visual QuickStart Guide
ISBN: N/A
EAN: N/A
Year: 2003
Pages: 199

flylib.com © 2008-2017.
If you may any questions please contact us: flylib@qtcs.net