Line Engraving
|
|
|
The idea behind the line engraving effect is to simulate the engraved-print look you see in currency or nineteenth-century print reproductions. The challenge in producing this effect is that, in most cases, you wouldn't take the time to hand-engrave a complex image. I wanted to find a way to simulate the look of an engraving without spending hours crafting the entire illustration. Although some of you might be accomplished illustrators with the training to make such a time investment pay off, I acknowledge that many more of you are photographers and enthusiasts who would not even think of creating this sort of effect by hand. What follows is a simpler way of creating an etched effect by combining a stipple layer and a halftone layer, which have been modified to take on a graphic look and feel. As you'll see, there's a bit more to it than that, but the effect is achievable by a wider audience than is the hand etching approach, and the emphasis is on Photoshop technique rather than drawing and rendering. Mike's Tomb
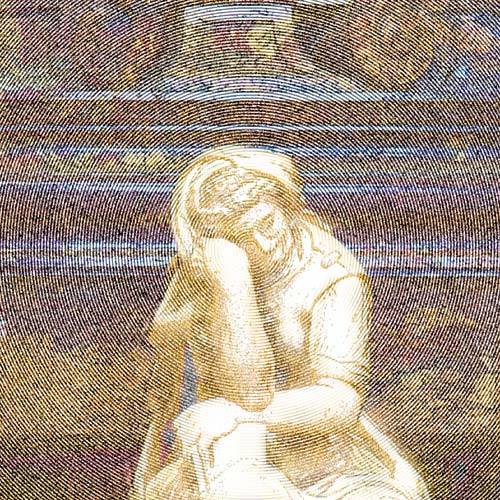
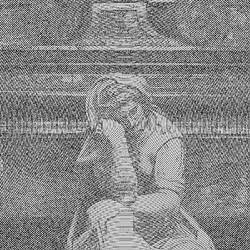
About the Original Image This serene and contemplative statue adorns the final resting place of Michelangelo. The tomb is located in the church of Santa Croce in Florence, in a dark, somewhat secluded corner of a vast and ornate interior. Although this work is not necessarily up to Mike's immortal status, it's still a powerful, contemplative statement. I like how the putty-colored statue conveys a ton of detail without washing out to pure white. The bright and detailed statue contrasts well with the dark, textured marble in the background. Building the EffectI started creating the line drawing effect by dragging the Background layer to the Create New Layer icon to create a duplicate image layer, which I named Stipple Base. I then selected Filter, Filter Gallery. Starting with a single filter layer, I opened the Artistic filter grouping in the center column and selected the Fresco filter. I set the Brush Size to 2, the Brush Detail to 8, and the Texture to 1. I then clicked the New Effect Layer icon at the bottom right of the dialog box and selected the Poster Edges filter, which is also in the Artistic filter grouping. I set the Edge Thickness to 2, Edge Intensity to 1, and Posterization to 2. I repeated the process to add a third filter: I selected Diffuse Glow from the Distort filter grouping, set the Graininess to 10, Glow Amount to 8, and Clear Amount to 0 (see Figure
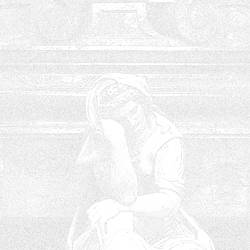
The result of this filter group is a very light stipple image that's pretty hard to see. The good news is that there is plenty of color and tonal information that can be emphasized. To start this process, I chose Image, Adjustments, Curves to launch the Curves dialog box. I added a single data point with the coordinates Input: 217, Output: 47, and clicked OK to apply the effect (see Figure
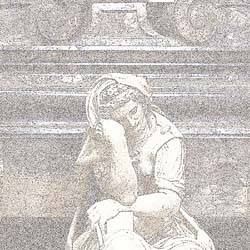
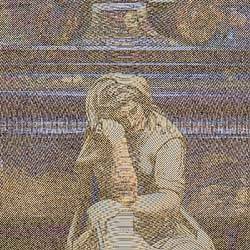
Adding a Stipple TextureI wanted to create a pair of layers that rendered the same source image with different stipple densities. I wanted one to have more detail and a tighter dot pattern, and the other to be more loose and textural. I dragged the Stipple Base layer to the Create New Layer icon in the Layers palette twice to create two additional layers. I highlighted the top layer in the stack and selected Image, Adjustments, Threshold. I dragged the Threshold slider to 48 and clicked OK to apply the effect. I repeated the process for the second layer, selecting a Threshold setting of 201. Finally, I double-clicked each layer name and renamed the top layer Threshold 48, and the second Threshold 201. To blend the two layers together, I highlighted the Threshold 48 layer, set the Opacity slider to 48%, and set the blending mode to Dissolve. These settings created a stipple effect that smoothed the blending of the two layers. Notice that moving the Opacity slider creates a dot pattern of different densities (see Figure
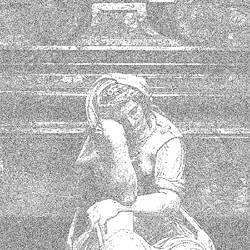
After the balance between the two layers was set, I chose Select, All, to select the entire image, and Edit, Copy Merged to copy all the layers as a single merged layer. I then pasted a copy of the composite image at the top of the layer stack by choosing Edit, Paste. After naming the new merged layer Stipple Composite, I chose Filter, Sketch, Halftone Pattern to launch the Halftone dialog box in the Filter Gallery. I set the Size slider at 2, Contrast at 8, selected Circle from the Pattern Type pull-down menu, and clicked OK to apply the effect (see Figure
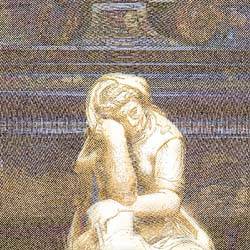
Adding More ColorTo create additional color in the image, I duplicated the original photo (which was preserved as the Background layer), and renamed it Color Source. After dragging the new layer to the top of the layer stack, I set the blending mode to Color, applying only the color to the lower textured layers. I then selected Hue/Saturation from the Adjustment Layer drop-down menu in the Layers palette, moved the Saturation slider to +62, and clicked OK to apply the effect and create the adjustment layer (see Figure
To create additional detail in the image, I started by turning off all layers except Threshold 201, Stipple Composite, Color Source, and the Hue/Saturation adjustment layer. The final step was to mask out part of the Stipple Composite layer and let some of the Threshold 201 layer show through. I wanted to add some detail and nuance, especially in the highlight areas. I selected the Stipple Composite layer and clicked the Add Layer Mask icon to add the mask. I started with a large 150-pixel feathered brush and black as the foreground color. I painted the main highlight areas of the central figure and then switched to a smaller 13-pixel brush to articulate the details of the mask around the arm, hand, and face (see Figure
|

|
|
EAN: 2147483647
Pages: 141