Task 11 How to Apply a Ripple Effect

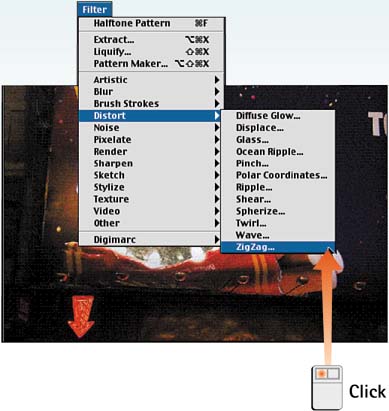
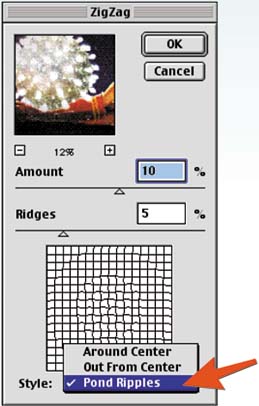
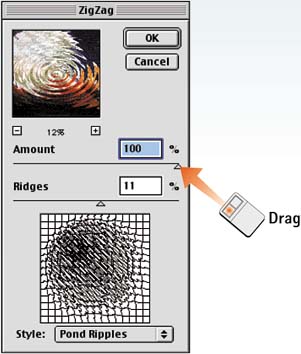
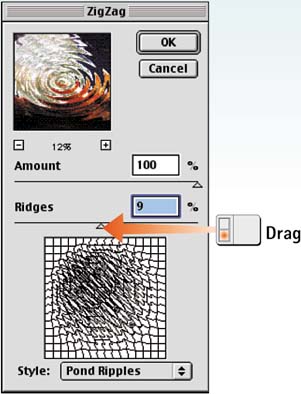
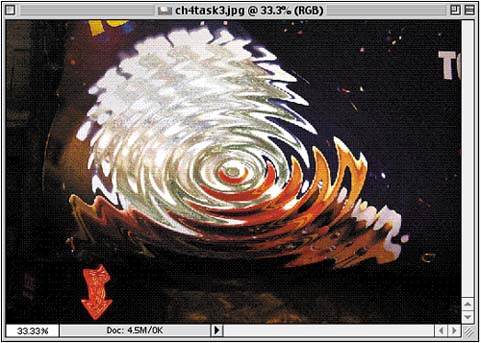
Photoshop is full of filter effects that can create wavy, distorted lines within an image. In fact, an entire filter submenu, called Distort, is full of these effects. The ripple effect described in this task uses the ZigZag filter to create the look of rippling concentric circles across the image surface.

  1. Open the File

    Choose File, Open and select the file you want to modify.

    graphics/p13_11fig01.jpg

  2. Open the ZigZag Filter

    Choose Filter, Distort, ZigZag to open the ZigZag dialog box.

    graphics/p13_11fig02.jpg

  3. Set the Style

    From the Style drop-down list, choose a distortion pattern. The pattern you choose is reflected in the wireframe preview window at the bottom of the dialog box and in the preview window at the top of the dialog box.

    graphics/p13_11fig03.jpg

  4. Set the Amount

    Adjust the Amount slider to control the percentage of distortion. Watch the effect of your changes in the preview windows.

    graphics/p13_11fig04.jpg

  5. Set the Ridges

    Adjust the Ridges slider to control how many circular ridges are applied in the pattern.

    graphics/p13_11fig05.jpg

  6. Apply the Filter

    Click OK to close the ZigZag dialog box and apply the filter.

    graphics/p13_11fig06.jpg

How-To Hints

Negative Amounts Implode

Use negative percentages with the Amount slider in Step 4 to create an imploding effect that draws into the center rather than emanates out from the center.


How to Use Adobe Photoshop 7
ISBN: 0789727706
EAN: 2147483647
Year: 2005
Pages: 144

flylib.com © 2008-2017.
If you may any questions please contact us: flylib@qtcs.net