Task 1 How to Add Type to an Image
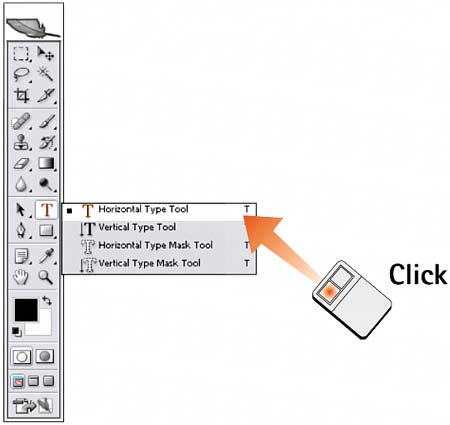
| When you add text to an image in Photoshop, it is placed on a separate layer. It remains editable at all timesunless you intentionally convert the image to pixels for further editing (as you must if you want to apply filters that work only on raster layers) or integration. When text is added, a new layer is created. The text is the only element in the layer; all other areas are transparent. Photoshop can access all fonts in your system and makes them available through the Type Tool dialog box. 1. Select the Type Tool and OrientationWith the image you want to work with open, click the Horizontal Type or Vertical Type tool in the Photoshop toolbox.
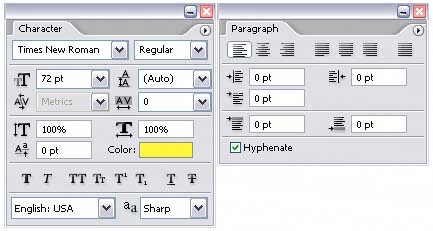
2. Select the FontFrom the Font menu in the Options bar, select a typeface. From the Font Style menu, select a typestyle (bold, oblique/italic, and so on). You can also select the font size, alignment, and antialiasing method. 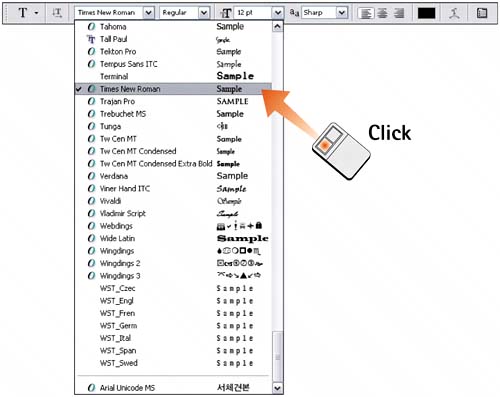 3. Set ParametersClick the Palettes button in the Options bar (next to the Warp Text icon) to launch the Paragraph and Character palettes. In the Character palette, set the kerning (the spacing between individual pairs of letters), tracking (the horizontal spacing between the text letters), baseline shift (whether the letters sit on an invisible baseline or "float" above or below it), leading (the vertical spacing between multiple lines of text), horizontal or vertical scale, and type color. You can also change the font from this palette. In the Paragraph palette, you can align the text to the left, center, or right (in relation to the entry point), and you can set justification parameters, paragraph indentation, and hyphenation.
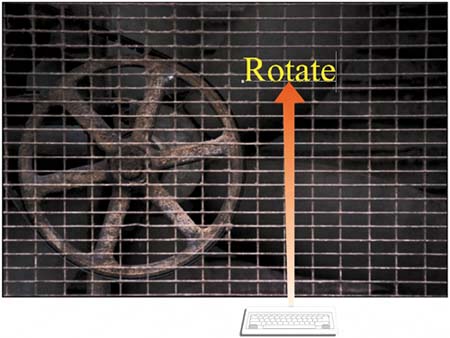
4. Set Antialiasing MethodAntialiasing determines how sharp or smooth text appears. In the Options bar, select the antialiasing method for the type. The sharpness of the image, the kind of background on which the text sits, and your overall intentions will determine this setting. Use your eye to judge type for the Web. For print, use the Strong or Crisp option, unless you want a softer effect. 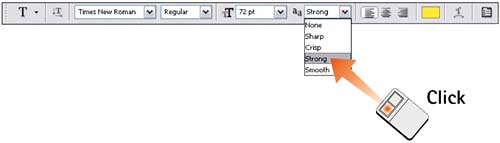 5. Place the Text Starting PointMove the mouse pointer into the image area and click to set the text entry point and create a new type layer for the image. 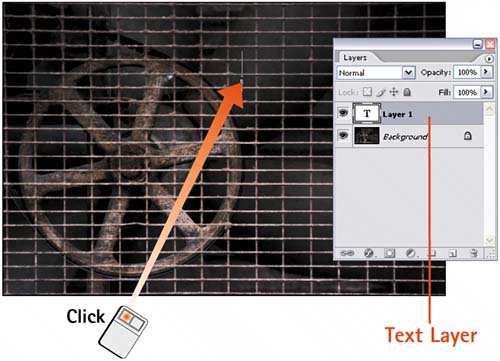 6. Type TextWith the image as the active window, type the text you want to add. Highlight the text and use the Options bar and palettes to change any of the characteristics of the text. Select any other tool or click the check mark in the upper-right corner of the Options bar to commit the text.
7. Edit the TypeThe type is represented as a separate layer on the image, denoted as a type layer by the T icon in the Layers palette. Select Window, Layers (if the Layers palette is not already showing), and then click the type layer to make it active. Select the Type tool and highlight the text to make further changes. The layer name changes to reflect any changes. 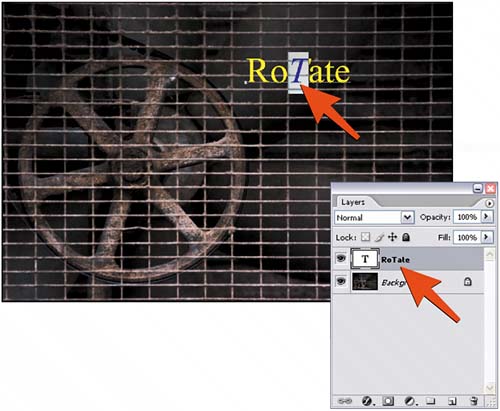 |
EAN: 2147483647
Pages: 184