Task 1 How to Paint an Image
| Painting an image in Photoshop involves selecting a brush and applying an effect to an image. This task outlines the basic procedure for working with any of Photoshop's painting tools, regardless of the effect you are applying or the kind of file to which you're applying it. Photoshop makes available the Airbrush, Brush, Rubber Stamp, History/Art History Brush, Eraser, Pencil/Line, and Sharpen/Blur painting tools and the Dodge/Burn/Sponge tools. 1. Select the Brush ToolOpen an image file, and then click the Brush tool in the Photoshop toolbox. 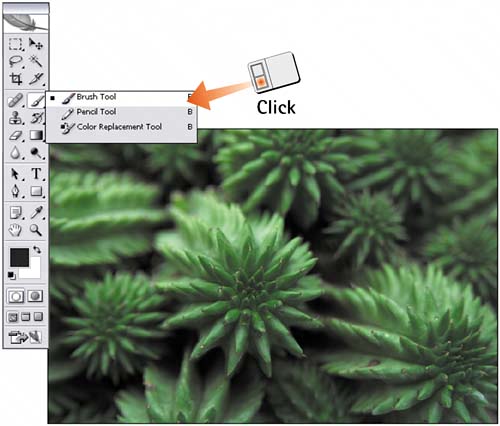 2. Select a Blending ModeWith the Brush tool selected, select a blending mode from the Mode menu in the Options bar.
3. Set the OpacityThe Opacity and Flow sliders control the density of the brushstrokes applied by the brush. Opacity determines the maximum density that will be applied, whereas Flow controls how many passes are needed to reach the maximum density. Click and drag the sliders to a lower setting for more transparent effects; leave them at 100% to paint with a completely opaque stroke.
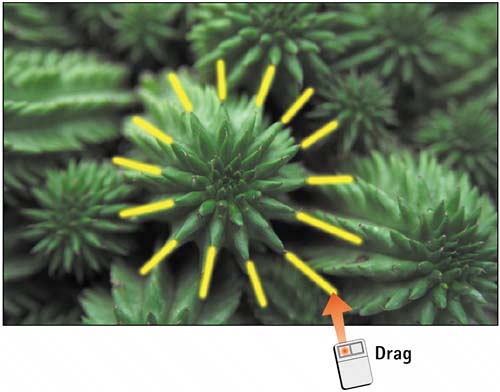
4. Select a BrushClick the small arrow next to the Brush icon in the Options bar to open the Brush palette. Move the Master Diameter and Hardness sliders to fine-tune the brush size and softness, or select a preset from the list. To avoid painting the image when you click, click in an empty space in the Options bar to close the Brush palette. Alternatively, pressing the Enter key (Return for Mac) also closes the Brush palette. 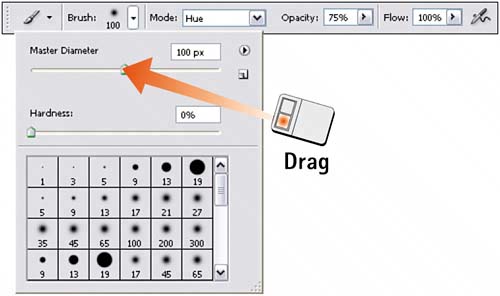 5. Paint the ImageTo apply the paint effect, move the mouse pointer into the image window and click and drag.
|


EAN: 2147483647
Pages: 184