Combining Shapes and Other Objects
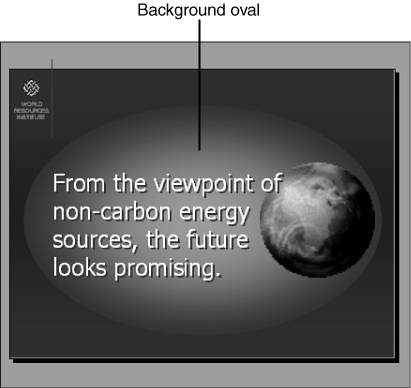
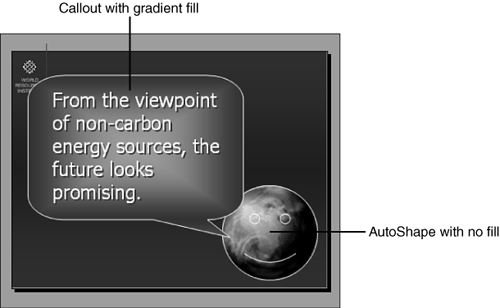
| You might be asking the question "So what?" Sure, you're having fun, but how does this help you create a more effective PowerPoint slide show? The answer lies in how well you master the many PowerPoint object types text, graphics, and drawings to create visually attractive and meaningful slides. And we haven't even talked yet about tables, charts, or diagrams! Consider the slides shown in Figures 7.28 and 7.29. The basic message for each is textual. The image of the earth adds immediate recognition. The drawing elements make the important things stand out in ways that just aren't possible with text and pictures alone. Figure 7.13 is probably better suited to a more mature audience, and the message is clearly highlighted. Figure 7.14 is a bit more whimsical, but it communicates the same positive message as Figure 7.13. Figure 7.13. A professional-looking slide with both textual and visual information, enhanced by the use of a gradient-shaded background. Figure 7.14. The same message as in Figure 7.13, presented a bit more whimsically, using a callout and an AutoShape. The uses for drawing objects are endless. Consider these examples:
The value of some of these examples becomes readily evident as you learn how to animate objects bringing them on or taking them off the screen during a presentation.
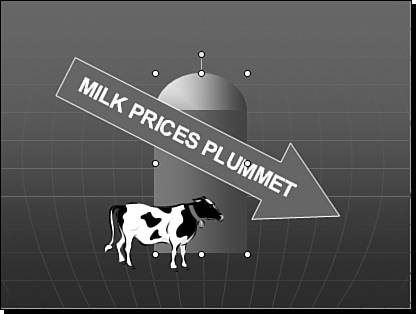
As you work with combinations of drawing and other objects, you sometimes find a need to use them on other slides or in larger or smaller versions. For example, the rectangle and oval in Figure 7.15 create the effect of a silo. The oval is layered behind the rectangle, and both objects have gradient shading. To convert the two separate drawing objects into one homemade clip art image, you simply group them together, like this: Figure 7.15. You can create your own clip art images by combining drawing objects.
The objects are now grouped together and maintain their proper relationships even when copied to other slides or when sized differently. The silo always looks like a silo, not like two drawing objects. Note
|

EAN: 2147483647
Pages: 154