Installing the Kubuntu Desktop
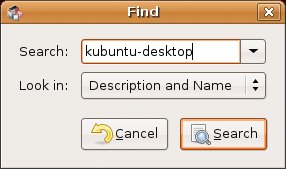
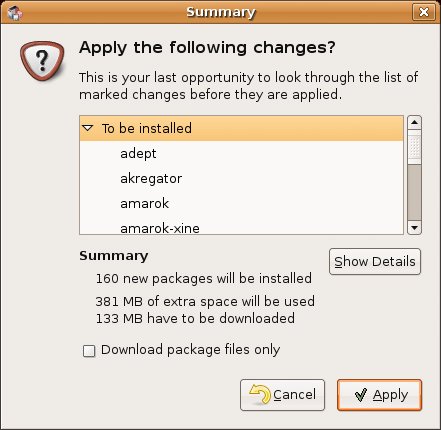
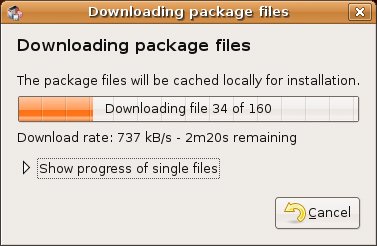
| The first step to installing the Kubuntu desktop is to fire up Synaptic. Click System on the top panel and select Synaptic Package Manager from the Administration menu. Because this is an administrative function, you are asked for your password to continue. When the Synaptic interface comes up, click the Search icon directly below the menu bar, and enter kubuntu-desktop in the Search field (see Figure 20-1). Figure 20-1. Installing Kubuntu begins with a simple search. This is the easiest way to load Kubuntu. As you might expect, KDE is a collection of many packages, just as GNOME is. Finding all these packages individually could take a great deal of time. It could also introduce the possibility of missing some crucial pieces that correspond to a full Kubuntu system. Now, click the Search button. You should see just one package listed, but this package is actually multiple packages (as the description tells you). To make things easier, the maintainers of Kubuntu have created a single all-encompassing package that does it all for you (see Figure 20-2). Figure 20-2. The Synaptic window only shows one package listed. However, the description explains what is behind that one package.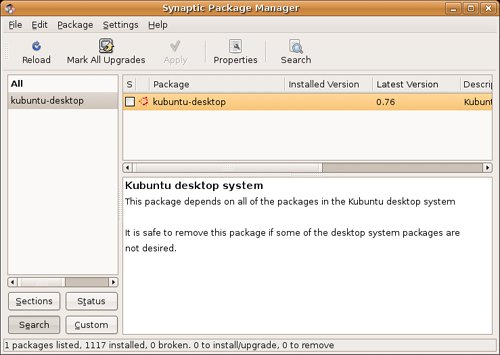 Right-click the kubuntu-desktop package and select Mark for Installation. The Mark Additional Required Packages dialog appears with a rather long list of packages. This is followed by the summary screen (see Figure 20-3). If you are curious as to what makes up the mega-package that is kubuntu-desktop, this is a great time to pause and look things over. Click the arrow beside the To Be Installed label and scroll down the list. You might also want to check out what is removed and what is left unchanged. Figure 20-3. This is a great time to see what packages constitute the Kubuntu desktop. Just click the arrows. Look under the Summary section in the bottom half of this window. You see the number of packages to be installed is a little over 150 and that this will take up just under 500MB of disk space. When you are ready, click Apply and the download begins (see Figure 20-4). The amount of time this takes depends on the speed of your Internet connection. Figure 20-4. The download can take some time, but a progress bar keeps you posted on the details. After the download is complete, the packages are prepared and the installation proceeds. If you are lucky enough to have a good, high-speed Internet connection, the first part of the Kubuntu desktop installation may have seemed pretty speedy. Now it's time to install the download packages, which can also take a fair bit of time. This might be a good time to take a break, make yourself a cup of your favorite brew, or enjoy a nice glass of wine. Somewhere in the course of the packages installation, a window pops up asking you to make a decision on your choice of login manager (see Figure 20-5). I covered login managers back in Chapter 3, where we saw the GNOME Display Manager (GDM), GNOME's login manager. The default login manager for KDE is KDM. Either one works fine to start KDE or GNOME, so you can choose to leave things as they are. Figure 20-5. Do you stick with the GNOME login screen or do you want to use Kubuntu's KDM?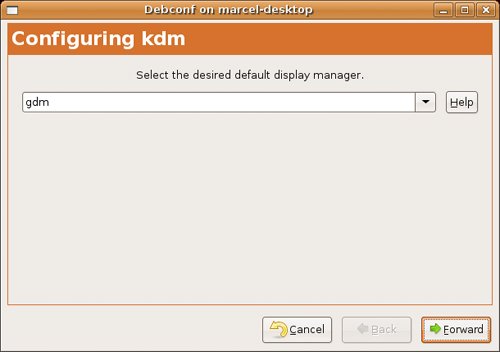 If you want the complete Kubuntu experience, you may also opt for KDM. Just click the drop-down list and select kdm. Then click Forward to reconfigure. After this process is complete, the installation continues with details scrolling in the progress window's terminal. When the process is complete, you see a nice Changes Applied message in that window (see Figure 20-6). Figure 20-6. As each package is installed and set up, the process window's terminal displays the details below. When the Changes Applied message appears, you can safely click Close.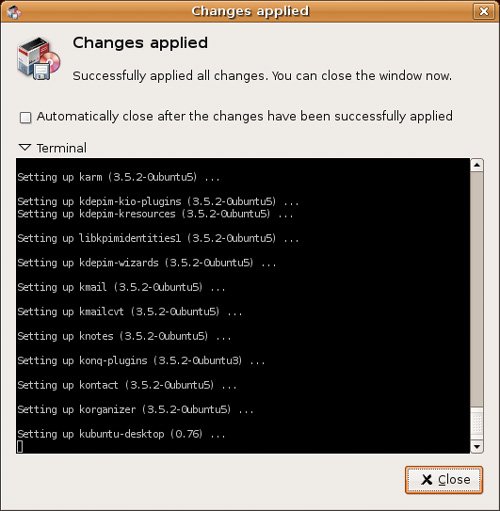 You're finished. At this point, you can safely log out. You may even want to reboot your system given the number of changes that have occurred. When the login manager comes back up, you have to manually select KDE as your desktop environment; otherwise you are logged in to the last environment you were using. For this example, I'm going to assume that you chose to keep the GDM login screen. To select KDE, click the Options button at the lower left of your login manager and choose Select Session from the pop-up menu. After you do so, a menu appears in the middle of the screen with your available choices (see Figure 20-7). Figure 20-7. To log in to Kubuntu, you need to switch your default session from GNOME to KDE.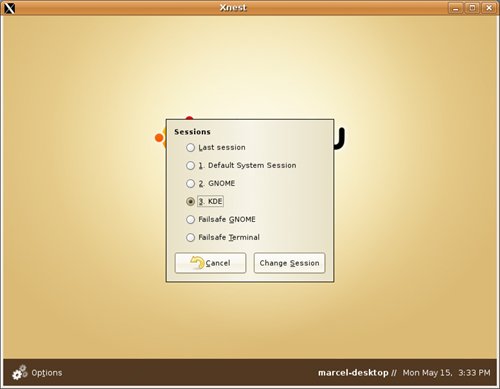 Click the radio button to the left of the KDE option, and then click the Change Session button at the bottom. Another message appears asking if you want to make this the new default or whether this is just for the current session. I leave the answer to that question up to you. You may find that you enjoy working in GNOME more than KDE, or the reverse may be true. The great thing here is that you have a choice, and choice is something we are very protective of in the Linux community. Tip
Your reward for all this hard work is a shiny new KDE desktop environment and a chance to explore Kubuntu (see Figure 20-8). The fun has just begun! Figure 20-8. Your new Kubuntu desktop. It's time to start exploring again.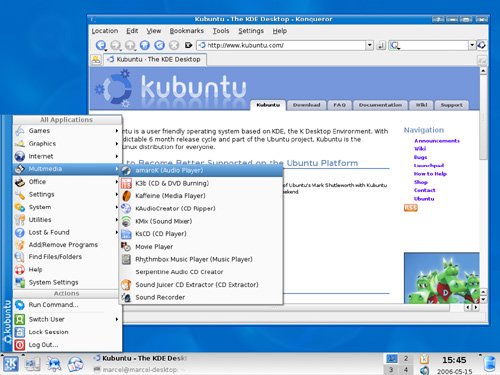 |
EAN: 2147483647
Pages: 201