A SuSE Install
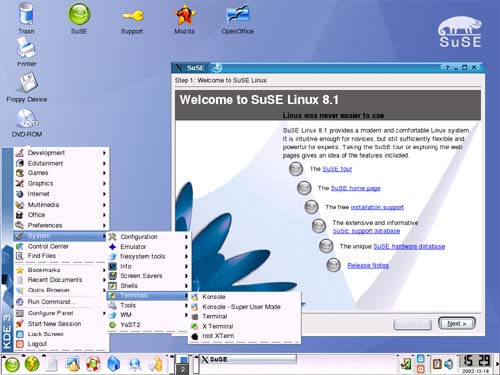
| For my SuSE install, I used exactly the same machine and started from the same place. Note that I was using SuSE 8.1 for this. My copy of SuSE 8.1 came with both multiple CDs and a single DVD. The advantage of the DVD, assuming you have a DVD drive, is that you do not have to swap disks. Reboot your system with the CD (or DVD) in the drive. You now have the option of selecting various install modes. If this is a new installation, simply press <Enter> or wait and the system will begin the installation. The first screen you'll see after this is a welcome screen. It also happens to be the language selection screen. The default is English but you can certainly choose something else. Click Accept and the install process will begin analyzing your system for peripherals. All of these choices are shown to you on a single page the keyboard, mouse, partitioning, software install, booting, and time zone info are all there on one screen. Notice the blue underline on each setting, much like a Web page. Look at the suggested settings to make sure that things look right. If you need to change something, click the blue link. For instance, to change your time zone from the default of US/Pacific, click Time zone, select from the list, and click Accept. I would like you to look at Partitioning and Software in particular. If you do have a Windows partition, you should see it listed as /windows/C--that will be its mount point unless you would like a different name. The software choices are the KDE Desktop Environment, Office Applications (this is OpenOffice.org), Help & Support Documentation, and Graphical Base System (the X window system). You might recall that I suggested that the lure of playing with some leading edge software might be overwhelming at some point. You can prepare for that here by clicking on the blue Software link. On the screen that follows, click the Detailed selection button. On the left hand side of the next screen, you'll see a number of categories for additional software. If you do want to compile your own programs, you'll want to select the C/C++ Compiler and Tools. I'm also pretty sure you'll want the Games and Multimedia packages. If I am right, choose those as well. Finally, there's the GNOME desktop environment. Even though I am concentrating this book on KDE, you might recall that I said it is a good thing to experiment with another desktop environment. In the end, you might like GNOME better than KDE. In the Linux world, you have a choice. Furthermore, it doesn't hurt anything to load it at the same time. When you are done, click Accept to go back to your Installation Settings screen. Have a final look and click Accept. You'll be given a final warning regarding installation. If you are ready to start, click "Yes, install." Your drive will be formatted, your Linux system will load, and you'll see a progress bar at the top right. After a little while, the basic installation will complete (you'll get a message to that effect) whereupon you remove the CD, and press <Enter>. This is where the SuSE installation is different. If you are installing from CD, you'll be asked for additional CDs to complete the package installation. If, on the other hand, you were using the DVD to install, you'll immediately jump to final configuration. The first of these steps is account creation starting with setting the root password. The root account is used for administrative functions such as installing software. You do not want to run as root under normal circumstances since root is essentially all powerful. After selecting a root password, click Next and create at least one user login. The SuSE install is interesting here in that it allows you to redirect all of root's mail directly to a user account. Check off the box that says "Forward root's mail to this user" when you are creating your personal user id. You can choose to create additional users at this time, or simply click Next to continue. Finally, you will get to the X window graphical configuration to lock in your video settings. The dialogue here may vary depending on what kind of video hardware you have, or whether your card is 3D accelerated. Just make sure that you test out the final settings before moving on. Even if the information looks right, click the Change button and you'll have an opportunity to test your settings. Video settings work perfectly 99.99% of the time. It's just good to be sure beforehand. When you are done here, click Accept. The SuSE installer will write these settings to disk, then do some final hardware settings, starting with your printer configuration. Make sure that your printer is plugged in and turned on, then click Yes when asked whether you want YaST2 (the installer) to detect your printer. Figure 3-3. SuSE 8.1 desktop.
After a few seconds, YasST2 will return to the Installation Settings screen for your connected peripherals and hardware. This includes ethernet cards, printers, modems, sound cards and so on. Make sure that things are as you expect them to be and change them if necessary. For instance, if your network card is connected to a cable modem, the DHCP settings are probably exactly as you want them to be. However, if you are on an existing network, you will probably want to change your interface to reflect your network's addressing scheme. When you are happy with the changes, click Next. YaST2 will finish writing all of these settings to disk and finish bringing up the system. Seconds later, you'll be at your login screen and ready to go. |
EAN: 2147483647
Pages: 181