Including Microsoft Office System Documents in Excel 2007 Worksheets
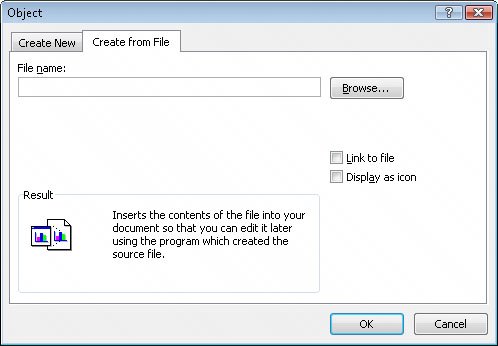
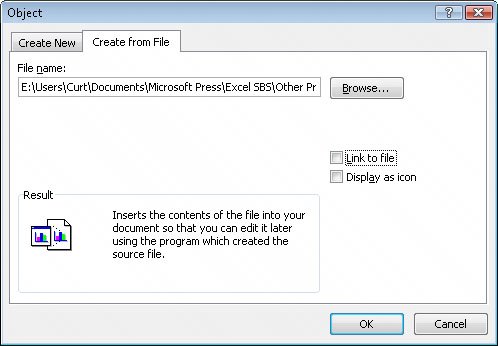
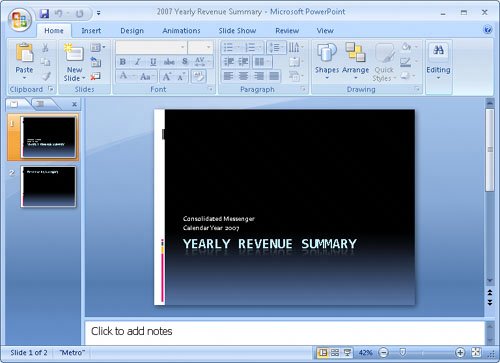
| A benefit of working with Excel 2007 is that because it is part of the Microsoft Office system, it is possible to combine data from Excel 2007 and other Microsoft Office system programs to create informative documents and presentations. Just like combining data from more than one Excel 2007 document, combining information from other Microsoft Office system files with an Excel 2007 workbook entails either pasting another Microsoft Office system document into an Excel 2007 workbook or creating a link between a workbook and the other document. There are two advantages of creating a link between your Excel 2007 workbook and another file. The first benefit is that linking to the other file, as opposed to copying the entire file into your workbook, keeps your Excel 2007 workbook small. If the workbook is copied to another drive or computer, you can maintain the link by copying the linked file along with the Excel 2007 workbook, re-creating the link if the linked file is on the same network as the Excel 2007 workbook. It is also possible to use the workbook without the linked file. The second benefit of linking to another file is that any changes in the file to which you link are reflected in your Excel 2007 workbook. Tip You usually have to close and reopen a workbook for any changes in the linked document to appear in your workbook. The exception to this rule occurs when you open the file for editing from within your Excel 2007 workbook (as discussed later in this chapter). You create a link between an Excel 2007 workbook and another Microsoft Office system document by clicking the Insert tab and then, in the Text group, clicking Object to display the Object dialog box. In the Object dialog box, click the Create from File tab. Clicking the Browse button on the Create from File tab opens the Browse dialog box, from which you can browse to the folder with the file you want to link to Excel 2007. After you locate the file, double-clicking it closes the Browse dialog box and adds the file's name and path to the File name box of the Object dialog box. To create a link to the file, select the Link to file check box and click OK. When you do, the file appears in your workbook. If you want to link a file to your workbook but don't want the file image to take up much space on the screen, you can also select the Display as icon check box. After you select the file and click OK, the file will be represented by the same icon used to represent it in Microsoft Windows®. After you have linked a file to your Excel 2007 workbookfor example, a Microsoft Office PowerPoint® 2007 fileyou can edit the file by right-clicking its image in your workbook and then, from the shortcut menu that appears, pointing to the appropriate Object command and clicking Edit. For an Office PowerPoint file, you point to Presentation Object. The file will open in its native application. When you finish editing the file, your changes appear in your workbook. Note The specific menu item you point to changes to reflect the program used to create the file to which you want to link. For an Office Word 2007 document, for example, the menu item you point to is Document Object. In this exercise, you link a PowerPoint 2007 presentation showing a yearly business summary to an Excel 2007 workbook and then edit the presentation from within Excel 2007. Important You must have PowerPoint 2007 installed on your computer to complete this exercise.
USE the Summary Presentation workbook and the 2007 Yearly Revenue Summary presentation in the practice file folder for this topic. This practice file is located in the My Documents\Microsoft Press\Excel SBS\Other Programs folder. BE SURE TO start Excel 2007 before beginning this exercise. BE SURE TO start PowerPoint 2007 before beginning this exercise. OPEN the Summary Presentation workbook.
CLOSE the Summary Presentation workbook. CLOSE the 2007 Yearly Revenue Summary presentation. CLOSE PowerPoint 2007. |
EAN: 2147483647
Pages: 143