Isolating a Subject with a Cutout


When isolating a subject, remember this important adage: No one sees what you leave out. What's more, trying to include extraneous detailor every single strand of haircan sometimes result in an isolated subject that looks, well, a little odd. Taken out of their backgroundliterally taken out of contextsome subjects can look fake. For this reason, and also because edges are often contaminated with color spill from the original background color, it's often a good idea to make your selection edge slightly inside the subject.

Another important adageand one that applies to every aspect of Photoshop, but particularly to making cutoutsis this: Know your intent. Knowing how you are going to use the resulting cutout determines how exacting you need to be when making it. For example, if you intend to place the cutout in a page layout against a solid and contrasting color, then you need to be more accurate than if the cutout will end up as part of a collage where any inaccuracies will likely be hidden by overlapping layers, or layer blend modes and opacity effects.

Figure 4.44. The original image (example A) and the finished cutout (example B).


1.

Open the Royal Pavilion image.

2.

Because the subject is on a flat, homogenous background with good edge contrast, we can use the Magic Wand (w) and then choose Select > Inverse (Command/Ctrl-Shift-I) to select the subject.

3.

Turn the Background layer to a normal layer by Option/Alt-double-clicking its thumbnail and click the Add Layer Mask icon to convert your active selection into a layer mask.

4.

Apply a Gaussian Blur to the mask (1-2 pixels) to feather the mask edge. To choke the mask choose Levels (Command/Ctrl-L) and move the Black point and Mid point sliders to the right, keeping a careful eye on how this affects your selection edge. Click Add a mask to hide the image backgroundyou should see the transparency checkerboard in its place.

Figure 4.45. The resulting masked selection with the checkerboard representing the transparent pixels of the layer.


To place the image in InDesign or Quark (version 7 supports transparency) so that you can use it as part of a layout, save the image as a Photoshop (PSD) file or as a TIF with Save Transparency checked.

Figure 4.46. The Text Wrap palette (example A) and the image placed in InDesign (example B).
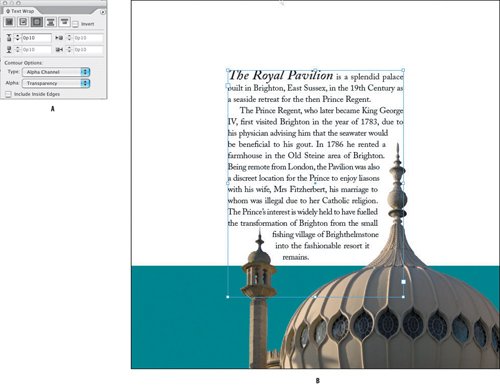

Using Transparency in InDesign

Importing a graphic with transparency into an InDesign layout allows you to use that transparency to create a text wrap around the graphic. Select the picture frame of your image and from the Text Wrap palette choose Wrap Around Object Shape. Then, to recognize the layer mask saved with the file, from the Contour Options pull-down menu choose Alpha Channel (aka your layer mask) and the text wraps around the image shape. Adjust the image offsets, or select the image with the Direct Selection tool and adjust the text wrap path to finesse the way your text rags around the image.


Adobe PhotoShop Unmasked. The Art and Science of Selections, Layers, and Paths
Adobe Photoshop Unmasked: The Art and Science of Selections, Layers, and Paths
ISBN: 0321441206
EAN: 2147483647
Year: 2004
Pages: 93
Authors: Nigel French

flylib.com © 2008-2017.
If you may any questions please contact us: flylib@qtcs.net