Creating Buttons


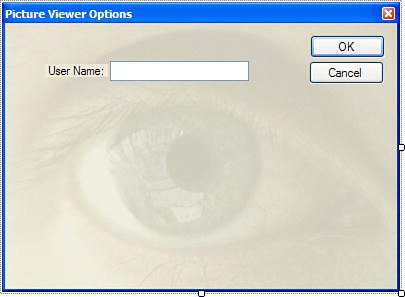
Every dialog box that Windows displays has at least one button on it. Buttons enable a user to invoke a function with a click of the mouse.

You already have an OK button on the form. Typically, an OK button accepts the user's values and closes the form. Later in the coding section you'll make your OK button do just that. When you have an OK button, it's also a good idea to create a Cancel button, which unloads the form but doesn't save the user's values.

Add a new button to the form by double-clicking the Button item in the toolbox. Set the button's properties as follows:

Property

Value

Name

btnCancel

Location

304,38

Text

Cancel


There's no point in having a button that doesn't do anything, so double-click the button now to access its Click event, and then add the following statement:

this.Close();


Recall from Hour 5, "Building FormsThe Basics," that this statement closes the current form. Right now, the Cancel button does the same thing as the OK button, but you'll change that soon.

Did you Know?

You can programmatically trigger a button's Click event, just as though a user clicked it, by calling the button's PerformClick method.


Accept and Cancel Buttons

When creating dialog boxes, it's common to assign one button as the default button (called the Accept button). If a form has an Accept button, that button's Click event is fired when the user presses Enter, regardless of which control has the focus. This is great for dialog boxes in which the user enters some text and presses Enter to commit the data and close the form.

Follow these steps to designate the OK button as the Accept button:

1.

Double-click frmOptions.cs in the Solution Explorer Window to show the form in the designer once more.

2.

Click the form to display its properties in the Properties window.

3.

Click the AcceptButton property of the form in the Properties window, and a drop-down arrow appears. Click the arrow and choose the button btnOK from the list. Notice that the button now has a blue border on the form, indicating that it is the default button for the form (see Figure 7.7).

Figure 7.7. Only one button can be defined as a form's Accept button.


4.

Press F5 to run the project and then click Options to display the Options form.

5.

Click in the text box to make sure that it has the focus and then press Enter; the form closes. Again, pressing Enter on a form that has a designated Accept button causes that button's Click event to fire the same as if the user clicked it with the mouse, regardless of which control has the focus. Actually, there is one exception to this. If the control with the focus is a multiline text box with its AcceptsReturns property set to True, pressing Enter will create a new line in the text box and won't cause the Accept button's click even to fire.

Generally, when you create an Accept button for a form, you should also create a Cancel button. A Cancel button fires its Click event when the user presses the Esc key (as opposed to the Enter key), regardless of which control has the focus. Generally, you place code in a Cancel button to shut down the form without committing any changes made by the user. Make your Cancel button an official Cancel button by following these steps:

1.

Stop the running project.

2.

Change the form's CancelButton property to btnCancel.

Use the following hints when deciding what buttons to assign as the Accept and Cancel buttons of a form:

  • If a form has an OK or Close button, chances are good that button should be assigned as the AcceptButton.

  • If a form has both an OK and a Cancel button, assign the OK button as the AcceptButton and the Cancel button as the CancelButton (yeah, this is pretty obvious, but it's often overlooked).

  • If a form has a single Close or OK button, assign it to both the AcceptButton and CancelButton properties of the form.

  • If the form has a Cancel button, assign it to the CancelButton property of the form.


Sams Teach Yourself Microsoft Visual C# 2005 in 24 Hours, Complete Starter Kit
Sams Teach Yourself Visual C# 2005 in 24 Hours, Complete Starter Kit
ISBN: 0672327406
EAN: 2147483647
Year: N/A
Pages: 248
Authors: James Foxall

flylib.com © 2008-2017.
If you may any questions please contact us: flylib@qtcs.net