Calling Methods
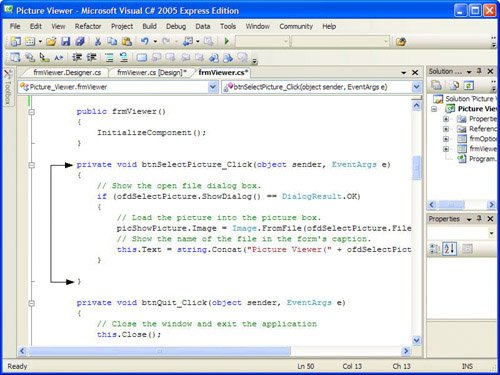
| Calling a method is simplemuch simpler than creating one! So far, I've had you create two methods. Each of these methods contains code like that used in no less than three places in your form! You're now going to remove all of that duplicate code, replacing it with calls to the common methods you've just written. Follow these steps to make this happen:
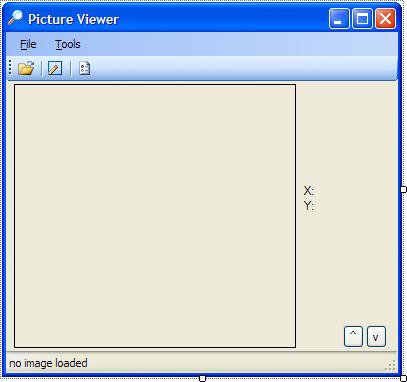
Return to the form designer once more. So far, you've only created methods that don't return values. As you now know, calling a method is as easy as referencing the class name, then a period, and then the method name and parenthesis. For methods that return values, calling them is a little different. Consider this little method: private long AddTwoNumbers(int intFirst, int intSecond) { return intFirst + intSecond; }This method accepts two parameters, adds them together, and returns their sum. When calling a method that returns a value, think of the method in terms of the value it returns. For example, when you set a form's Height property, you set it with code like this: MyForm.Height = 200; This statement sets a form's height to 200. Suppose that you want to use the AddTwoNumbers() method to determine the Height of the form. Thinking of the procedure in terms of the value it returns, you could replace the literal value with the method, like the following: MyForm.Height = this.AddTwoNumbers(1, 5); In this example, the form's height would be set to 6 because you passed 1 and 5 to the parameters of the method, and the method added them together. In the next section, I show you how to work with parameters in more detail. By the Way When calling methods that return values, you must treat the method call as you would treat the literal value returned by the method. This often means placing a method call on the right side of an equal sign or embedding it in an expression. At this time, you've created a procedure and called it from two locationsyour application is really taking shape! Now that you've got a toolbar and a menu, you no longer need the buttons that you first created in Hour 1, "Jumping In with Both Feet: A Visual C# 2005 Programming Tour." Follow these steps to get rid of the buttons:
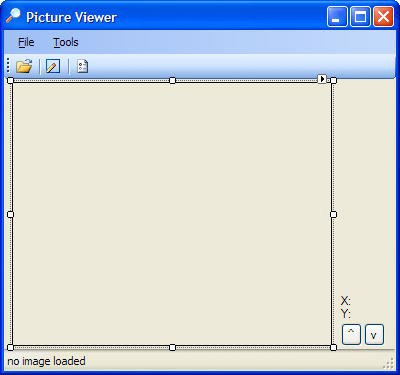
Passing ParametersParameters are used within a procedure to allow the calling code to pass data into the procedure. You've already seen how parameters are definedwithin the parentheses of a method declaration. A parameter definition consists of the data type and a name for the parameter, as shown here in bold (parameters always appear in parenthesis): private MyProcedure(string strMyStringParameter)By the Way After you've read about variables in Hour 11, this structure will make much more sense. Here, I just want you to get the general idea of how to define and use parameters. You can define multiple parameters for a procedure by separating them with a comma, like this: private MyProcedure(string strMyStringParameter, string intMyIntegerParameter) A calling procedure passes data to the parameters by way of arguments. This is mostly a semantic issue; when defined in the declaration of a method or event procedure, the item is called a parameter. When the item is part of the statement that calls the procedure, it's called an argument. Arguments are passed within parenthesesthe same as how parameters are defined. If a procedure has multiple arguments, you separate them with commas. For example, you could pass values to the procedure just defined using a statement such as this: MyProcedure("This is a string", 11);The parameter acts like an ordinary variable within the procedure. Remember, variables are storage entities whose values can be changed. In the statement shown previously, we sent literal values to the procedure. We could have also sent the values of variables like this: MyProcedure(strAString, intAnInteger); An important thing to note about passing variables in Visual C# is that parameters are passed by value rather than by reference. When passed by value, the procedure receives a copy of the data. Changes to the parameter do not affect the value of the original variable. When passed by reference, on the other hand, the parameter is actually a pointer to the original variable. Changes made to the parameter within the procedure propagate to the original variable. To pass a parameter by reference, you preface the parameter definition with the keyword ref as shown here: public void MyMethod(ref string strMyStringParameter, int intMyIntegerParameter) Parameters defined without ref are passed by value; this is the default behavior of parameters in Visual C#. Therefore, in the declaration above, the first parameter is passed by reference, whereas the second parameter is passed by value. You already created a procedure that accepts a parameter. Let's take another look: private void DrawBorder(PictureBox objPicturebox) { Graphics objGraphics = null; objGraphics = this.CreateGraphics(); objGraphics.Clear(SystemColors.Control); objGraphics.DrawRectangle(Pens.Blue, objPicturebox.Left - 1, objPicturebox.Top - 1, objPicturebox.Width + 1, objPicturebox.Height + 1); objGraphics.Dispose(); }Follow these steps to hook up the procedure:
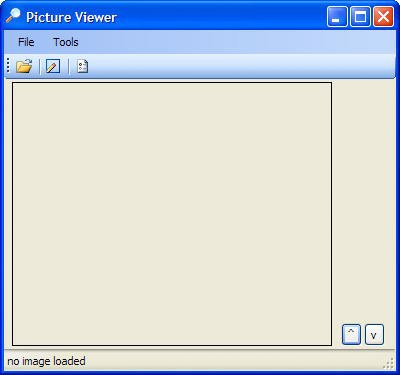
You've now hooked up your menus and toolstrip. Press F5 to run your program and try the various menu items and tool buttons (see Figure 10.10). The Confirm on Exit button still doesn't work, but you'll hook that up in the next chapter. Figure 10.10. Professional applications demand good procedure design in addition to good interface design. Go ahead and stop the running project and save your work. |


EAN: 2147483647
Pages: 248