Importing Pictures from Other Sources

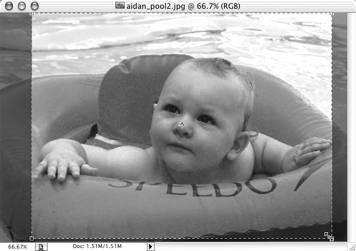
iMovie can easily import photos you've scanned or taken with a digital still camera or better, images that you've modified in an image-editing program such as Adobe Photoshop (www.adobe.com/products/photoshop/) or GraphicConverter (www.lemkesoft.com). But first, make sure it's ready to be imported.

To prepare a still picture for import:

  1. Open the image in your favorite image-editing application.

  2. Size the image so that its dimensions are 640 by 480 pixels (Figure 9.3). Make any other changes you see fit.

    Figure 9.3. To fit correctly into a movie, still images must measure 640 by 480 pixels.

    graphics/09fig03.jpg

  3. Save the image as a JPEG file.

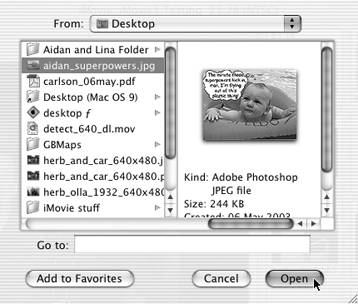
To import a still picture:

  • Drag an image file from the Desktop to iMovie's Shelf or Timeline.

    or

  1. In iMovie, choose Import File from the File menu (or press Command-I).

  2. In the Import File dialog box, select the still image you want (Figure 9.4) and click the Open button.

    Figure 9.4. Using the File menu's Import command shows you a preview of your image.

    graphics/09fig04.jpg

    The image appears as a clip on the Shelf, which can be added to your movie like any other clip (Figure 9.5).

    Figure 9.5. Come on, did you honestly think I could write an iMovie book and not include a baby picture?

    graphics/09fig05.jpg

graphics/tick.gif Tips

  • Imported images that don't measure 640 by 480 pixels appear with black bands on the sides or top and bottom.

  • iMovie 3 doesn't display PICT image files correctly best to avoid them entirely.

  • The duration of imported images is set by the Duration value in the Photos pane.


iMovie 3 for MAC OS X. Visual QuickStart Guide
iMovie 3 for Mac OS X (Visual QuickStart Guide)
ISBN: 0321193970
EAN: 2147483647
Year: 2003
Pages: 125
Authors: Jeff Carlson

flylib.com © 2008-2017.
If you may any questions please contact us: flylib@qtcs.net