The Health Kit
We'll start out with an easy one. Like I said, this will be a basic review, but it's important to go over the process involved in creating an item for use in the game so that the broad steps become obvious and second nature.
The Model
The Health Kit is little more than a fancy-looking box, as you can see from Figure 16.1. So this won't take long.
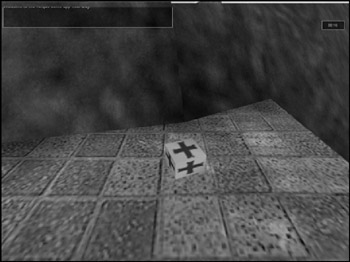
Figure 16.1: The Health Kit in game.
-
Fire up MilkShape and create an empty document.
-
Use the Box tool to create a box, as shown in Figure 16.2.
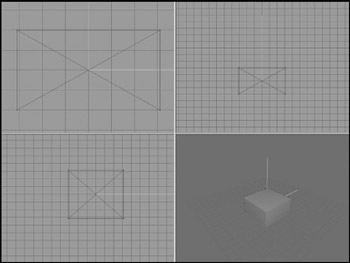
Figure 16.2: The box. -
Align the box to be centered at the origin for all three axes, as you can see in Figure 16.2.
-
On the Materials tab, create a new material, using C:\3DGPAi1\RESOURCES\CH16 \
 healthkit.png as the bitmap.
 -
Name the material "healthkit".
-
Select the box and assign the healthkit material to it.
-
Make sure that the 3D view has been set to texture mode. You should see a nice, shiny new first-aid kit kind of item there, like that in Figure 16.3. This one always has bandages in it!
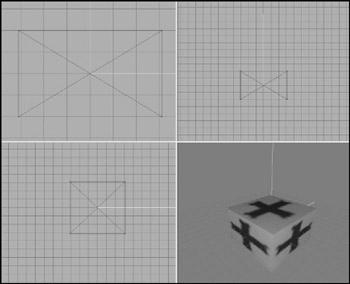
Figure 16.3: The Health Kit model. -
Save your work.
-
After saving your work, choose File, Export, Torque Game Engine DTS. You will see the Torque Game Engine (DTS) Exporter appear.
-
You want to take the defaults but have Collision Mesh set to None.
-
Export the box to C:\3DGPAi1\ fps\data\shapes\items\healthkits.dts. Click Yes if you get an alert asking if you want to replace an existing file with that name.
Testing the Health Kit
To use the Health Kit in game, you merely have to run over it to pick it up. Then you activate it by pressing the "h" key to restore your health whenever it gets too low. You may remember using a kind of first-aid kit in one of your sample games from an earlier chapter—Emaga5—where you got health back just by running over the first-aid kit, or Health Kit. This one you have to pick up and activate; we'll test that functionality later when we get back into server scripts. Right now we just want to see our fine creation in the game world.
-
Browse to C:\3DGPAi1 and click the Run fps Demo shortcut.
-
Click Start Mission.
-
In the Launch dialog box, make sure that the Multiplayer Mission box is cleared.
-
Select Water World from the mission list.
-
Click Launch.
-
After the game loads, look around for a big gray block jutting out from the side of a hill into the water. Figure 16.4 shows what the block (marked by the arrow) looks like.
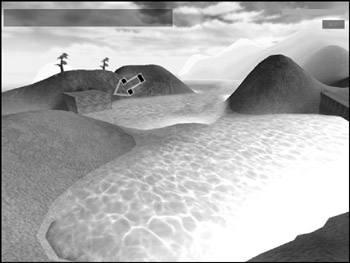
Figure 16.4: Locating the big gray block. -
Run over to the block. On top of it you will find the Health Kit. You can stand there and admire it for a while if you like.
-
Run over the kit to automatically pick it up. You will see a message in your chat window telling you that you've picked it up.
EAN: 2147483647
Pages: 197
- Structures, Processes and Relational Mechanisms for IT Governance
- Assessing Business-IT Alignment Maturity
- A View on Knowledge Management: Utilizing a Balanced Scorecard Methodology for Analyzing Knowledge Metrics
- Technical Issues Related to IT Governance Tactics: Product Metrics, Measurements and Process Control
- The Evolution of IT Governance at NB Power
- Chapter II Information Search on the Internet: A Causal Model
- Chapter V Consumer Complaint Behavior in the Online Environment
- Chapter VI Web Site Quality and Usability in E-Commerce
- Chapter VII Objective and Perceived Complexity and Their Impacts on Internet Communication
- Chapter XIII Shopping Agent Web Sites: A Comparative Shopping Environment