Opening Messages
| Outlook 2003's new Reading Pane makes opening messages largely unnecessary. However, if you prefer to open your messages to read or act on them, you can handle those messages in several ways. Reading a MessageYou can read the entire message directly from the Reading Pane. Just scroll down to view any part of your message not shown in the initial view. If you have Single Key Reading Using Space Bar turned on in the Reading Pane options, you can use the spacebar to page through your message. When you hit the bottom of your message, the spacebar will select the next message. Depending on your Reading Pane options, moving from one message to the next can mark your message as read. Several things happen when a message is marked as read. First, the font used to display the message in the Inbox view changes from bold to normal. By default, unread messages are displayed in bold. You can change this behavior by selecting View, Arrange By, Current View, Customize Current View. Then click the Automatic Formatting button to display Figure 19.13. Figure 19.13. Use automatic formatting rules to change the font for read and unread messages.
You can change the font size, type, and color used to display unread messages. Click OK twice to save your changes. Marking your message as read prompts Outlook to display a read receipt if one has been requested with the message. Outlook 2003 enables you to choose whether to send a read receipt to the message sender. If a read receipt has been requested, marking a message as read displays the dialog shown in Figure 19.14. Figure 19.14. You can choose to send a read receipt or select not to be warned again prior to sending a read receipt.
You can turn the sending of read receipts on or off globally as well. Select Tools, Options and then click the E-mail Options button on the General page. Click the Tracking Options button to display Figure 19.15. Figure 19.15. You can choose to always send read receipts or never send read receipts.
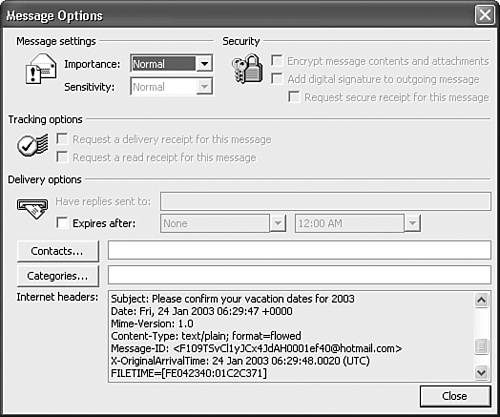
Use the three check boxes on the bottom of the Tracking Options window to select whether you want Outlook to Always Send a Response, Never Send a Response, or Ask Me Before Sending a Response. Click OK three times to save your changes. Viewing the Message OptionsThere might be times you need more information about a particular message you receive. You can view the message options from within the message to gain more information about the message sender and the sender's email server and email client. To view message options, open the message and select View, Options to display Figure 19.16. Figure 19.16. You can view tracking information, contacts, categories, and Internet headers through the Message Options screen.
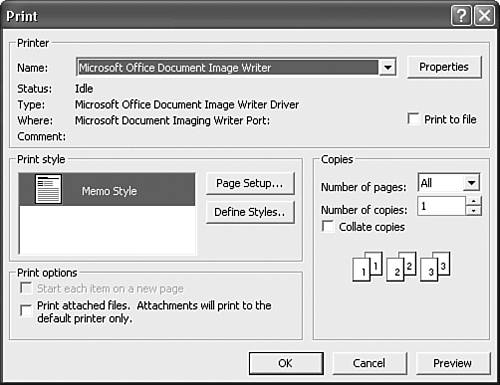
You can actually change a number of these options on a received message. You can set the importance of the message, add contacts and categories, and set an expiration date and time for the message. You cannot change security, sensitivity, or tracking options. If you make any changes, Outlook prompts you to save your changes when you close the message. You can view the Internet headers of a message to determine where the message came from. You can see the originating mail server and IP address, the destination mail server, the subject, date, sender information, MIME version, and content type. Most users will never need this information, but on occasion it's helpful for troubleshooting delivery notification problems. NOTE You won't see Internet header information for messages within an Exchange organization. Printing MessagesYou can print a message from the message editor or from the Inbox. To print an individual message directly from the Inbox, highlight that message and click File, Print to display Figure 19.17. Select Memo Style (or a custom memo print style you created) and click OK. You can also choose to print any attached files along with the message. To print an attached file, check the box marked Print Attached Files. Attachments Will Print to the Default Printer Only. Figure 19.17. Choose your email print settings in the Print dialog box.
You can print multiple emails in the same manner. If you want to print out three emails directly from your Inbox, highlight the three emails using the Ctrl or Shift keys and then select File, Print. Select Memo Style and each email will print individually on its own page. |
EAN: 2147483647
Pages: 426