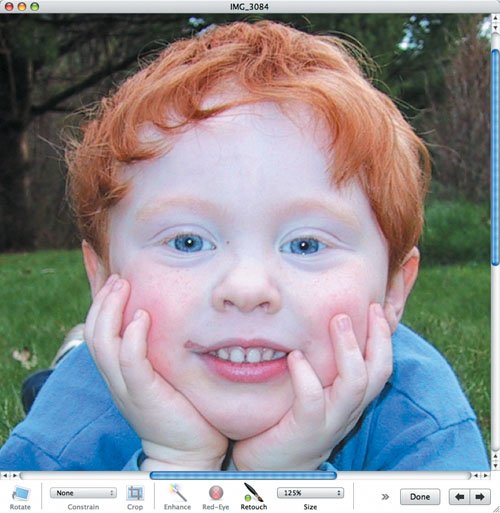
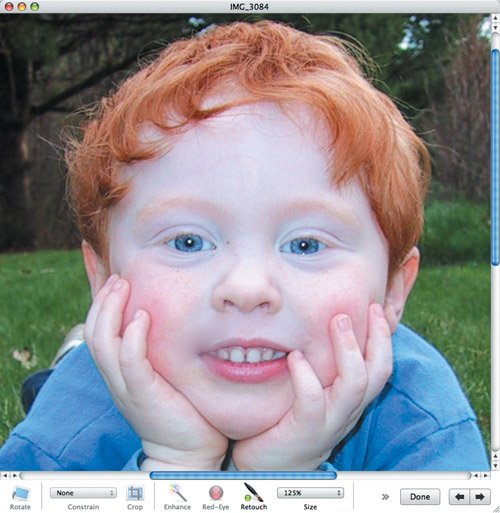
Retouching Photos


Cindy Crawford's famous mole notwithstanding, many otherwise great photos are marred by small blemishes. Perhaps it's a smear of jelly on your toddler's face, or someone's chapped lips. Either way, iPhoto's Retouch tool can help.

To retouch a photo:

1.

Click the Retouch button.

iPhoto puts a green ball next to the Retouch wand to indicate that it's active (Figure 4.29).

Figure 4.29. A green ball appears next to the Retouch wand when it's active. That's useful to know, because you must click the Retouch button again to turn it off and be able to make selection rectangles again.


2.

Click and scrub over the blemish you want to remove, using short strokes.

iPhoto blurs the area under the Retouch tool's pointer, blending it with the surrounding colors and textures.

3.

Press and release to toggle between the "before" (Figure 4.30) and "after" (Figure 4.31) views of your photo.

Figure 4.30. The original photo. Note the jelly smudge on the left side of Tristan's lips.


Figure 4.31. Much better!


4.

When you're done, click the Retouch button again.

Tips

  • For additional accuracy, zoom in first.

  • Retouch is not a panacea. It can fix small blemishes but will make large ones look like dust bunnies. It works best on skin.

  • Avoid the Retouch tool on sharp color edges, such as between Tristan's hands and his blue shirt. When the Retouch tool hits edges, it smears the sharp lines. Luckily, you can always undo mistakes.

  • Retouch can be good for taking the flash shine off eyes or other reflective surfaces, and it's worth a try if the Red-Eye tool fails.


iPhoto 6 for Mac OS X. Visual QuickStart Guide
iPhoto 6 for Mac OS X
ISBN: 0321423313
EAN: 2147483647
Year: 2004
Pages: 225
Authors: Adam Engst

flylib.com © 2008-2017.
If you may any questions please contact us: flylib@qtcs.net