| Panning and scanning oversized clips is one thing a Classic effect can do that an RT effect cannot. This is a useful trick when you're trying to create a dramatic video using a still image such as a panoramic landscape. For this example, I am using an imported graphic that is much larger than the 720 by 480 NTSC pixel image or the 720 by 540 PAL pixel image that would normally fit inside the Master Viewer. This means that you won't be able to use a Realtime filter because anything outside of this area appears black if you try to move it (Figure 9.61). Figure 9.61. The area outside of the TV standard is not visible when you're using a Realtime filter. 
However, by using a Classic filter, you can use the unseen areas. In this case, you create a vertical pan of the Yosemite falls. (The photograph used in this section can be downloaded at www.peachpit.com/liquid6vqp.) To pan and scan a clip 1. | After you place the oversized image on the Timeline, select it by clicking on it once and then add the 2D Classic filter by clicking the Effects Editor button and selecting 2D Editor (Classic) (Figure 9.62).
Figure 9.62. Applying a 2D Classic Editor using the Effects Editor button. 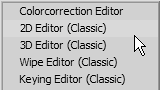
| 2. | The editor opens automatically; click once on the media clip to select the image if it isn't shown in the inlay.
| 3. | Now open the editor to full screen by clicking the Full Screen Mode button  (Figure 9.63). (Figure 9.63).
Figure 9.63. The Classic filter allows you to work with oversized images. 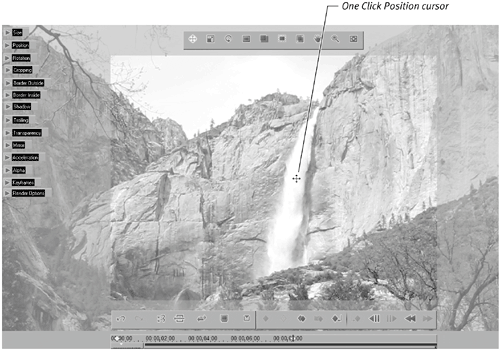
| 4. | From here, use the One Click Position tool to move the image around.
Each time you move the clip, you create a keyframe. If you move the clip twice at the same keyframe position, you overwrite the last value.
In this example, you want to pan from the top of the photo to the bottom.
| 5. | To do this, move the Timeline cursor to the first keyframe, and then using the One Click Position tool, reposition the image so that the top shows.
| 6. | Also maneuver the waterfall so that it appears on the second third of the screen, thus obeying all good film school rules (Figure 9.64).
Figure 9.64. The image is repositioned using the "Rule of Thirds"… 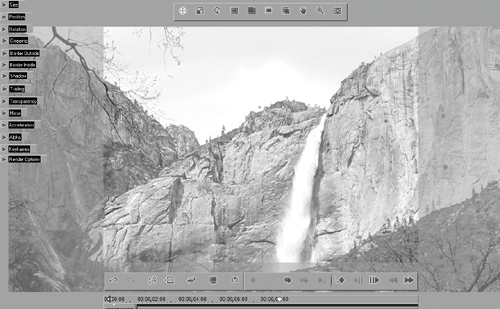
| 7. | Now scrub to the last keyframe and maneuver the clip toward the person at the bottom of the picture to complete this part of the example (Figure 9.65).
Figure 9.65. …then moved to the bottom of the picture at the last keyframe. 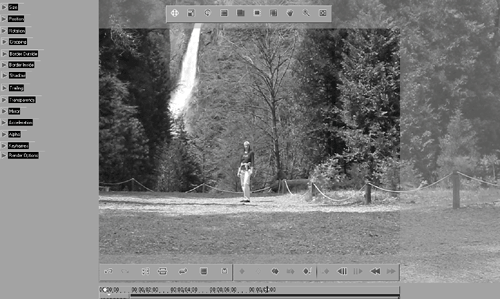
| 8. | Select the One Click Size tool and zoom in on the image until the person fills the screen.
You need to add a keyframe a couple of seconds before you do this with the size set to 100; otherwise the zoom begins at the start of the clip.
| 9. | Finally, add a transparency of 100 to the last keyframe so that the clip fades to black, and insert an extra keyframe a few seconds before the last with a transparency of 0 (Figure 9.66).
Figure 9.66. The Timeline displaying the final amount of keyframes. 
Done. After rendering, the clip plays back pretty much as planned. All it needs now is some music or a voice-over to make it complete (Figure 9.67).
Figure 9.67. The final effect. Start at the top of the waterfall, move slowly down, finish at the person at the bottom, zoom in on her, and fade to black. 
|
|