Customizing the about Dialog
You may have noticed that each time we use the application wizard, an about dialog box is also generated for you. If you had not noticed this, then you should probably take a second look at some of the previous examples. In either case, an about dialog is just a simple window that gives the user some information about the application. For example, if you open Microsoft Internet Explorer and select Help and About, you will see an image much like the one shown in Figure 16.32.
Figure 16.32: Microsoft Internet Explorer help screen.
The Visual C++ application wizard also creates an about dialog for you. Unfortunately, it creates a rather plain-looking and generic about dialog. The standard help dialog generated for Example 16.3 is shown in Figure 16.33.
Figure 16.33: The generic about dialog box.
This is not something that will be particularly impressive to users of your program. And contrary to the opinions of many programmers, the professional appearance of your application will strongly influence the impression people have of the quality of your program. It would probably be helpful to dress this program up a bit. Fortunately, this is quite simple to do, using standard techniques that you already know.
The first thing you will want to do is to locate the about dialog. If you look on the resource tab you will see both the main dialog and the about dialog. You can then double-click on the about dialog and it will be opened up in the main window.
Now that you have opened up this about dialog (Figure 16.34), you can easily alter the various properties of it to give it a more polished appearance. The first thing we would like to do is to change the caption of the dialog. To do that, simply right click anywhere on the dialog (not on one of the controls on the dialog), and choose properties (Figure 16.35).
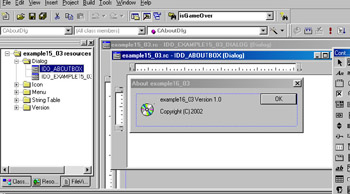
Figure 16.34: Viewing the about dialog.
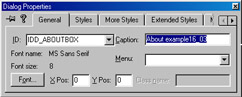
Figure 16.35: The properties window.
The first thing you will need to do is to change the caption. Simply write the following: My Really Cool MFC App (Figure 16.36).
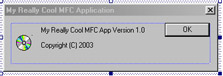
Figure 16.36: The captions on the about dialog.
Now you will change the captions of the static boxes on the about dialog. The generic captions provided by the application wizard are somewhat lacking in visual appeal.
Last, but by no means least, we want to change the icon displayed here. We want to do this for two reasons. First of all, we want to change the icon because the application wizard, by default, gives the about dialog the basic icon that is assigned to the main dialog. We want to use something a bit more creative. Secondly, we want to change this icon so that you might have more practice working with icons.
Our first step will be to add a new icon. We are going to actually create our own icon for the about screen. Although many readers may not be
artistically inclined, the drawing will be easy to accomplish. (This is important, as the author of this book is not particularly artistically talented!) If you will recall, you add a new icon by right-clicking on icons in the resource tab and choosing insert new icon (Figure 16.37).
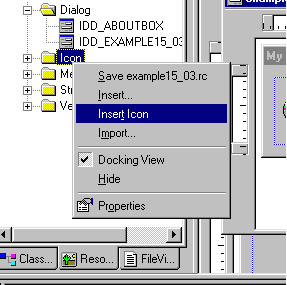
Figure 16.37: Inserting a new icon.
You now have a blank format on which to draw any image you wish. Now many readers may be hesitant to attempt to draw their own icons; however, there are a number of tools that will help you. We are first going to utilize the circle tool to draw a plane circle on the screen with a blue color. This process is shown in Figures 16.38 and 16.39.
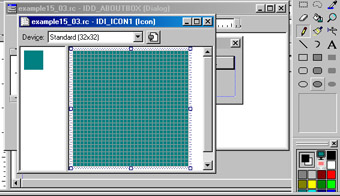
Figure 16.38: Picking the circle tool.
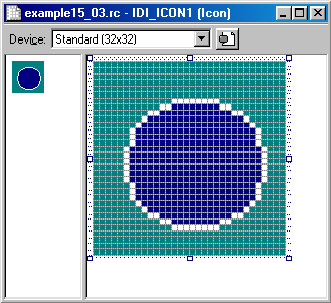
Figure 16.39: Drawing a circle in blue.
Now you will have a circle image on the screen to manipulate. Next, we will simply change the color to red and then draw a smiley face on the image (Figures 16.40 and 16.41). You will need to switch back to the pencil tool first.
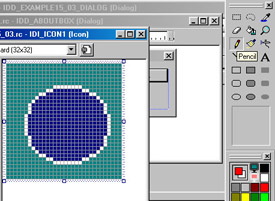
Figure 16.40: The pencil tool.
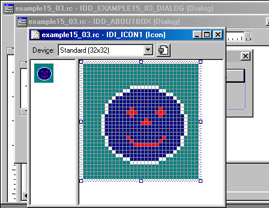
Figure 16.41: Drawing a red smiley face.
The drawing is relatively simple, because you can color in a single pixel at a time. You do this by simply clicking in a square with your mouse. Clearly our image is not going to hang in any art galleries. However, it will be a bit more creative than the default icon. Now our only issue is to associate the icon with the image. When you added the icon, it was given a name ID_ICON1. Now we have to associate that name with the about dialog. If you will right-click on the icon that is currently on the about dialog, you can select any icon in your project to associate with the about dialog (Figure 16.42).
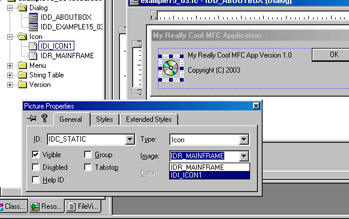
Figure 16.42: Changing the about dialog icon.
Now when you execute the program and view the about screen, you will see the icon that you just created! This little piece of artwork shows how you might go about altering icons for use in your applications. Custom icons are often better than pre-made icons.
EAN: 2147483647
Pages: 197
- Chapter II Information Search on the Internet: A Causal Model
- Chapter III Two Models of Online Patronage: Why Do Consumers Shop on the Internet?
- Chapter IV How Consumers Think About Interactive Aspects of Web Advertising
- Chapter VI Web Site Quality and Usability in E-Commerce
- Chapter VII Objective and Perceived Complexity and Their Impacts on Internet Communication