| Dreamweaver offers several options for working directly with tags, including the Tag Selector, the Quick Tag Editor, the Tag Inspector, and tag libraries. The Tag Selector and the Quick Tag Editor, both introduced earlier in this chapter, are mainly used in Design view. The Tag Selector is most commonly used to edit HTML tags without leaving Design view, but it can also be used for collapsing a tag in Code view, as explained earlier in this chapter in the "Using Code Collapse" section. The Quick Tag Editor is also generally used to edit HTML tags without leaving Design view. These tools have limited usefulness for Web application developers working in Code view, but if you're interested in learning more about these features, see Dreamweaver Help (F1). The Tag Inspector panel group lets you view all the attribute names and values for a selected tag. Attribute values can be added, changed, or deleted on the Tag Inspector panels. A Dreamweaver tag library is a collection of tags of a particular type, such as HTML, XSLT (Extensible Stylesheet Language Transformations), or PHP tags. Dreamweaver uses tag libraries to provide information about tags for code hints, target browser checks, and Code view display. The tasks in this section show you how to use the Tag Inspector and how to work with tag libraries, including adding new tag libraries to Dreamweaver, modifying tag libraries, editing tags in tag libraries, and using tag libraries to insert tags in your pages. To use the Tag Inspector: 1. | In Code view, open the Tag Inspector by selecting Window > Tag Inspector, or press F9 (Windows) or Option-F9 (Mac).
| 2. | In the Tag Inspector panel group, select the Attributes tab to view the Attributes panel (Figure 3.28).
Figure 3.28. The Attributes tab on the Tag Inspector panel. 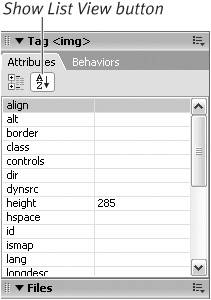
| 3. | On the Attributes panel, click the Show List View button to view the attributes in alphabetical order.
| 4. | Select any attribute name to add or edit a value (Figure 3.29).
Figure 3.29. Select an attribute name to add or edit an attribute value on the Attributes panel. 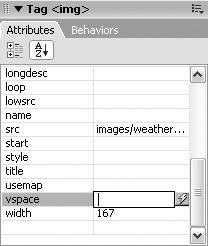
After you add or edit an attribute value, Dreamweaver changes the code in the Document window.
| 5. | From the File menu, choose Save to save the changes in your page, or press Ctrl-S (Windows) or Command-S (Mac).
|
 Tips Tips
In addition to using the Tag Inspector in List view, you can also use the Tag Inspector in Category view (Figure 3.30). To show attributes by category, click the Show Category View button. Figure 3.30. The Tag Inspector can also be used in Category view. 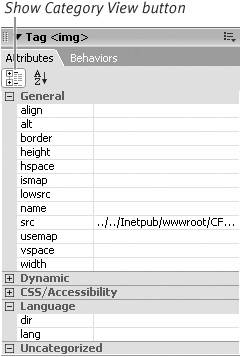 The Tag Inspector works with all HTML tags and some ColdFusion tags. Most non-HTML tags will not display in the Tag Inspector.
To manage tag libraries: 1. | From the Edit menu, choose Tag Libraries.
The Tag Library Editor appears.
| 2. | Select a tag libraryfor example, XSLT Tags (Figure 3.31).
Figure 3.31. The Tag Library Editor. 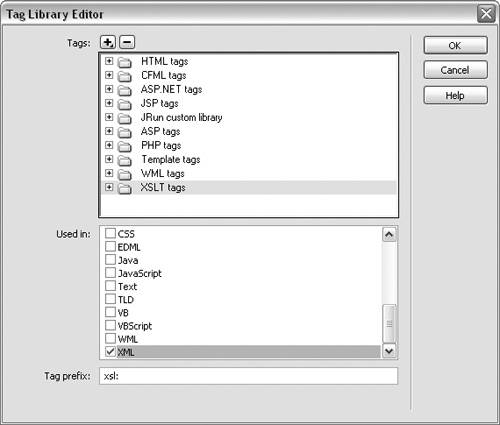
| 3. | From the Used In list, select any document types that should have access to this tag library. Dreamweaver will provide code hints for the given library when any files of the selected types are open in Dreamweaver.
| 4. | In the Tag Prefix field, add a prefix if needed for the specific language. A prefix may already be automatically entered in this field.
| 5. | Click OK to save your changes and close the Tag Library Editor.
|
To add or modify a tag library: 1. | From the Edit menu, choose Tag Libraries to open the Tag Library Editor.
| 2. | Click the plus (+) button at the top of the window to add a tag library (Figure 3.32). On the plus-button menu you can choose from the following:
Figure 3.32. Click the plus button to add a tag library. 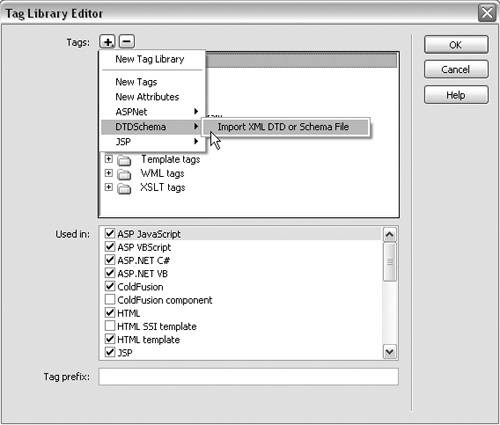
New Tag Library to add a new library New Tags to add tags to an existing library New Attributes to add attributes to an existing library ASPNet to import ASP.NET custom tags when working with ASP.NET sites DTDSchema to import DTD or schema files when working with XML JSP to import JSP tags or JRun Server tags when working with JSP sites
| 3. | Complete additional steps as directed, depending on which of the options in Step 2 you selected.
| 4. | Click OK to save your changes and close the Tag Library Editor.
|
Tip
To edit a tag in a tag library: 1. | From the Edit menu, choose Tag Libraries to open the Tag Library Editor.
| 2. | In the Tag Library Editor, select a tag library. Click the plus button to the left of the selected tag library name to expand the library (Figure 3.33).
Figure 3.33. The selected library is expanded when you click the plus button. 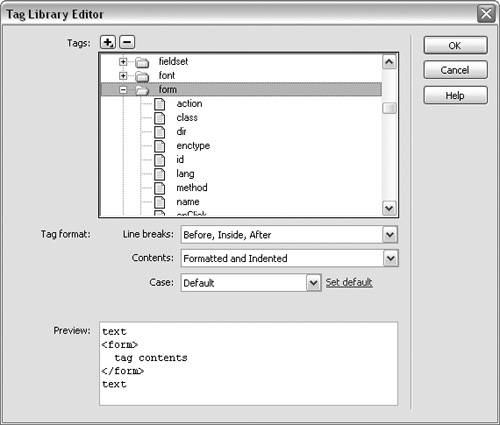
| 3. | From the selected library, choose a tag. Tag format options appear for that tag.
| 4. | Choose any of the following options:
Line Breaks, for specifying where line breaks for the tag occur Contents, for setting formatting options for the tag contents Case, for choosing a case for this specific tag Set Default, for setting a default case for all tags
| 5. | After making selections from the Tag Format menus, use the Preview pane at the bottom of the Tag Library Editor to see a preview of the changes to your code layout.
| 6. | Click OK to save your changes and close the Tag Library Editor.
|
Tips You don't need to set a default case if you have already done so in the Code Format pane of the Dreamweaver Preferences dialog. To edit a tag attribute, expand a tag and select an attribute (Figure 3.34). If you select Enumerated in the Attribute Type field, you can add a list of possible attribute values that will be available for display as code hints. For more information, see Dreamweaver Help (F1). Figure 3.34. After a tag is selected, formatting options for that tag are displayed in the Tag Library Editor. 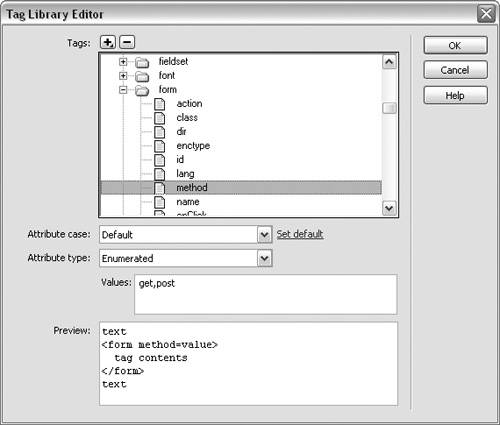
To insert a tag from a tag library: 1. | In Code view, place the insertion point at the point in the document where you want to insert the tag. Right-click (Windows) or Control-click (Mac), and select Insert Tag from the contextual menu (Figure 3.35).
Figure 3.35. Select Insert Tag from the Code View contextual menu. 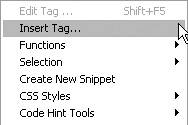
The Tag Chooser dialog appears.
| 2. | Select a tag library from the left pane, and then select a tag from the right pane (Figure 3.36).
Figure 3.36. The Tag Chooser dialog. 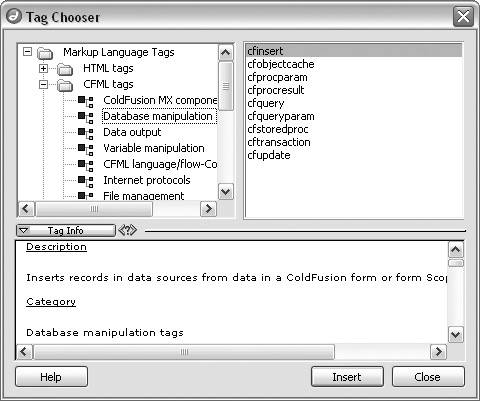
| 3. | Click the Tag Info button to view more details about tag syntax and usage. If available, this information appears in the Tag Info box below.
| 4. | Click Insert to place the selected tag at the insertion point on your page.
| 5. | If additional information is needed for this tag, the Tag Editor dialog opens (Figure 3.37). Enter the additional information, and then click OK.
Figure 3.37. Use the Tag Editor to add more information about a tag. 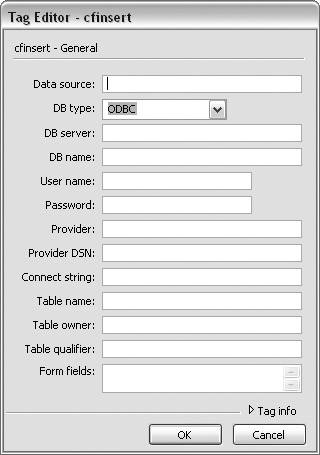
| 6. | In the Tag Chooser dialog, click the Close button.
|
Tip You can also insert a tag from any tag library by entering the tag directly in Code view. If the tag is part of a tag library, and Dreamweaver's Code Hints are enabled, you can use Code Hints to insert the tag name as well as attribute names and values for the tag.
|