| Code Collapse lets you hide selections of code so that you can view and edit different sections of a document without having to scroll the Document window. To collapse a code selection: 1. | In Code view, make a selection of code (Figure 3.12). The selection displays with a collapse button to the left of the beginning and end of the selection. The collapse button is a square with a minus sign (Windows) or an inverted triangle (Mac).
Figure 3.12. A minus sign () displays next to the beginning and end of a selection of code. 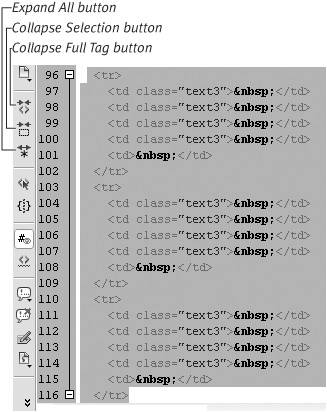
| 2. | From the Edit menu, choose Code Collapse > Collapse Selection, or click the Collapse Selection button on the Coding toolbar, which is located to the left of the Document window (Figure 3.12). You can also press Ctrl-Shift-C (Windows) or Command-Shift-C (Mac).
The collapsed code selection displays with an expand button to the left of the selection (Figure 3.13). The expand button is a square with a plus sign (Windows) or a triangle (Mac).
Figure 3.13. An expand button (plus sign) displays next to a selection of collapsed code. 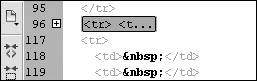
|
 Tips Tips
You can copy and paste a collapsed selection into the same document or other documents. You can also drag a collapsed selection within the same document. If you have line numbers enabled (Edit > Code View Options > Line Numbers), you can tell at a glance which lines of code are collapsed by the line-number sequence (Figure 3.13).
To collapse code outside a selection: 1. | In Code view, make a selection of code (Figure 3.14).
Figure 3.14. A collapse button (minus sign) displays next to the beginning and end of a selection of code before the code is collapsed. 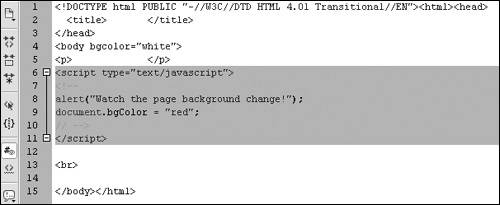
| 2. | From the Edit menu, choose Code Collapse > Collapse Outside Selection, or press Ctrl-Alt-C (Windows) or Command-Option-C (Mac).
All the code before and after the selection is collapsed (Figure 3.15).
Figure 3.15. Collapse Outside Selection collapses all the code before and after the selection. 
|
Tip
To collapse a tag and its contents: 1. | In Code view, place the insertion point anywhere inside an opening or closing tag or within the tag contents (Figure 3.16).
Figure 3.16. To select a tag and its contents for collapse, place the insertion point anywhere inside the opening or closing tag or the tag contents. 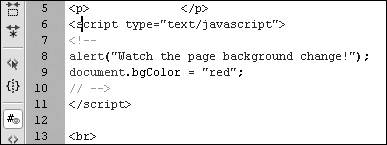
| 2. | From the Edit menu, choose Code Collapse > Collapse Full Tag, or click the Collapse Full Tag button on the Coding toolbar (Figure 3.17). You can also press Ctrl-Shift-J (Windows) or Command-Shift-J (Mac).
Figure 3.17. The tag and its contents are collapsed to a single line in Code view. 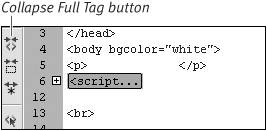
The tag and its contents are collapsed (Figure 3.17).
|
Tip You can also collapse a tag and its contents by right-clicking it (Windows) or Control-clicking it (Mac) in the Tag Selector at the bottom of the Document window, and then choosing Collapse Full Tag from the contextual menu (Figure 3.18). The Tag Selector is mainly used to edit and delete tags without leaving Design view. For more information about the Tag Selector, see Dreamweaver Help (F1). Figure 3.18. Right-click a tag name in the Tag Selector to open the contextual menu, and then choose Collapse Full Tag. 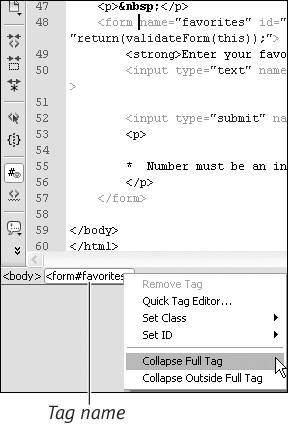
To collapse code outside a tag: 1. | In Code view, place the insertion point anywhere inside an opening or closing tag or within the tag contents.
| 2. | From the Edit menu, choose Code Collapse > Collapse Outside Full Tag, or press Ctrl-Alt-J (Windows) or Command-Option-J (Mac).
|
Tip
To expand a collapsed code selection: In Code view, double-click the selection or, from the Edit menu, choose Code Collapse > Expand Selection.
Tip
To expand all collapsed selections of code: |