Exercise 50: California Dreaming


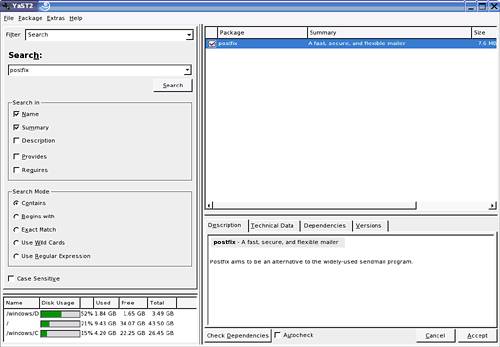
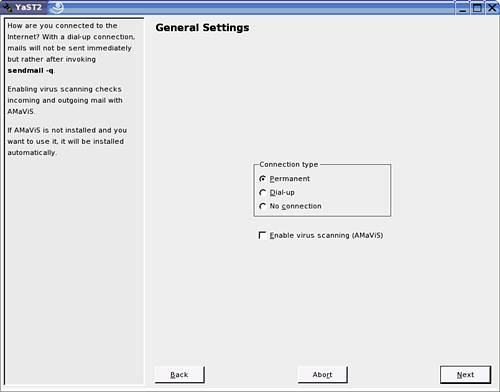
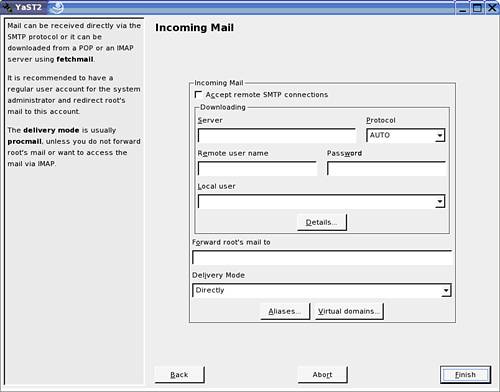
To configure the Postfix service for this company, follow these steps:

1.

Start YaST as the root user.

2.

Configure the DNS server to resolve mail1.california.com and california.com to 192.168.0.14; then restart named.

3.

Choose Software and then Install and Remove Software.

4.

Type postfix in the Search field and click Search. The results will resemble Figure 4.52.

Figure 4.52. Search for postfix-related packages.


5.

Check the postfix package and click Accept. Insert any SLES 9 CDs needed if prompted.

6.

Edit the /etc/postfix/main.cf file to make any changes that are needed. (Of key importance is the myhostname variable that needs to be set to the hostname.)

7.

Start YaST as root user again and choose Network Services, Mail Transfer Agent. This opens the General Settings shown in Figure 4.53.

Figure 4.53. Configure the MTA.


8.

Click to enable virus scanning and click Next.

9.

Enter the Outgoing mail server information and click Next.

10.

Configure the incoming mail information, shown in Figure 4.54, and click Next.

Figure 4.54. Configure the incoming mail settings.


11.

Click Finish.


NovellR Linux Certification Practium Lab Manual
ISBN: N/A
EAN: N/A
Year: 2004
Pages: 192

flylib.com © 2008-2017.
If you may any questions please contact us: flylib@qtcs.net