Section 20.4. Dreamweaver 8 Redesign and Construction
20.4. Dreamweaver 8 Redesign and ConstructionFast forward six months. Your site has grown. You've fine-tuned the content and the structure. You're getting good visitor feedback, so you know where your site is succeeding, and you have a pretty good idea about what you can do to make it even better. You're also getting a little tired of the same old look and feel. The more you think about it, the more certain you become that now would be an excellent time for mysite.com Version 2.0. Redesign. The very word makes some web designers cringe. They think about all the shortcuts they took, knowing that they'd have to pay for them eventually. For their sites, that bill is coming due. But you built your site with Dreamweaver templates and external stylesheets, so you're out of the red and into the black before you even start the process. You might even catch yourself having fun. Assume that you're managing the Magical Services site, and you decide that it's time for a change of graphical scenery. A few concept sketches and layout measurements later, and you come up with the redesign in Figure 20-16. From this mockup, you derive the tracing image that appears in Figure 20-17. Figure 20-16. Here is the redesign mockup for the Magical Services site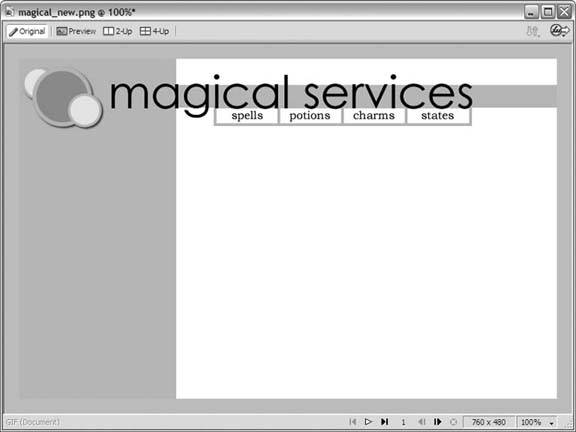 Figure 20-17. Here is the tracing image for the redesign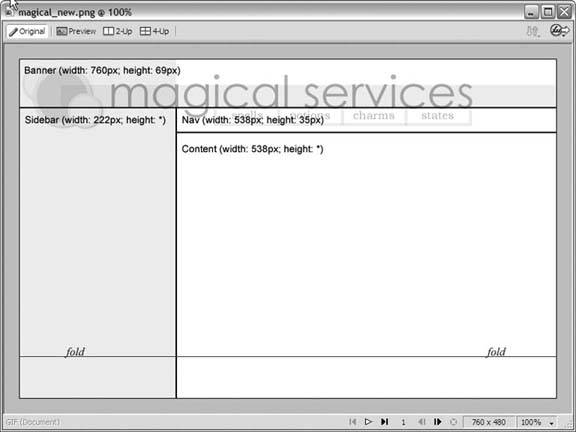 If you flip back to Chapter 17 for the original design of this site, you see that you're definitely shaking things up. You're going from a side-nav layout to a top-nav layout, for one, and you're gaining a sidebar area where there was none before, not to mention that you're replacing the original's liquid layout with one of fixed width. By any normal standards, this redesign could get ugly. But here is where your decision to use Dreamweaver templates and external stylesheets pays dividends like you never thought possible. You build a single new template document that contains the redesigned layout, and then you attach it to the pages of your site. Dreamweaver replaces the original layout from the original template document with the new layout from the new template document. In a matter of minutes, your entire site has a brand new look. Even better, everything in the editable regionsthat is, the content on all your pagesremains exactly as it was. Your pages gain a new layout but keep their content. It's the very best kind of win-win. Here's what you do:
When you're done, you have something that looks like Figure 20-18. Figure 20-18. Your new template looks like this Now all you have to do is apply the new template to the existing pages of your site:
Just like that, the page is redesigned, as Figure 20-20 shows. Magical Services indeed! Choose File Figure 20-20. Dreamweaver adds the new template to the page and moves all the original content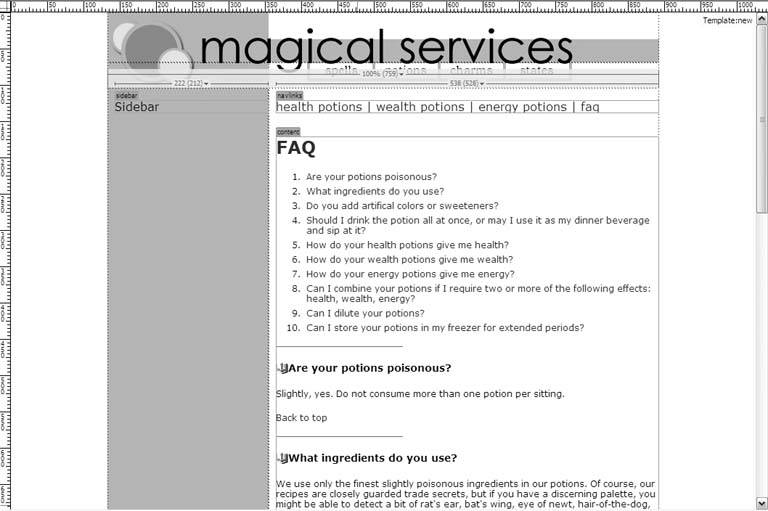 Now, just follow the same three steps for the rest of the pages in your site, and you can consider your redesign done. Connect to your host and synchronize your sites, and your fresh, new pages are live on the Web. |
 Templates
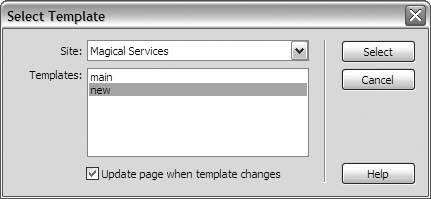
EAN: 2147483647
Pages: 154