Technique #42. Mostly Black & White With a Touch of Color This technique shows color in just some portions of a photo while the remainder is black and white (or colorized). key concepts:
adjustment layers 
layer masks 
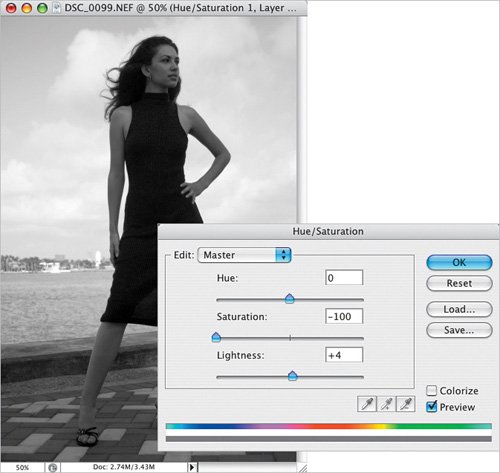
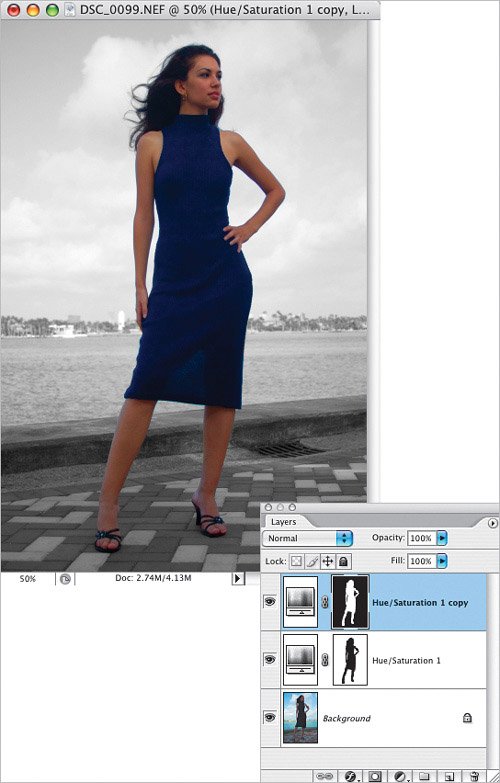
quick mask  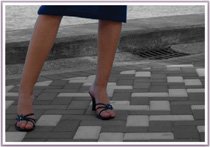 Here's the original image. 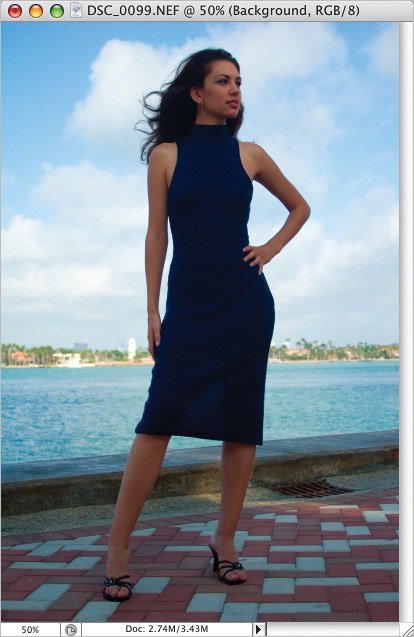 | | Step One. | Start by clicking on the Create New Adjustment Layer icon at the bottom of the Layers palette, and from the pop-up menu, choose Hue/Saturation. Move the Saturation slider all the way to the left to remove all the color. If the image looks a little too dark, adjust the Lightness slider slightly to the right.
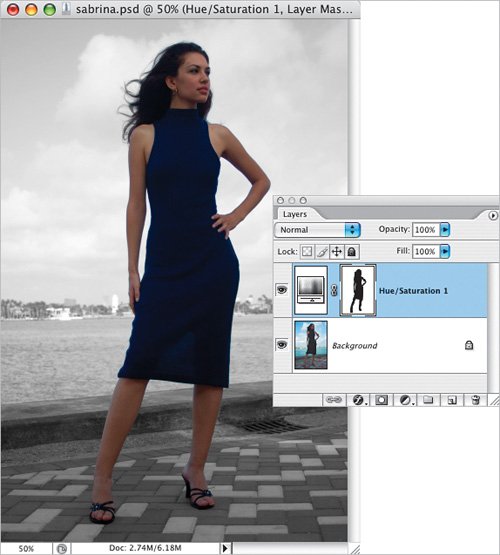
 | Step Two. | Now you'll need to mask the portions of the photo that you don't want to be desaturated (in other words, the areas you want to be in color). You can use the Brush tool (B) with a black brush and/or make a selection and fill it with black. Make sure the layer mask is active before you paint or fill your selection. To fill your selection, simply press D, then X to set your Foreground color to black, and press Option-Delete (PC: Alt-Backspace) to fill the selection. In this example, I did a little of both to end up with a layer mask that hid the effects of the adjustment layer and made Sabrina appear in color.
 Tip To see the effects of the mask as a Quick Mask, Option-click (PC: Alt-click) on the layer mask to view the mask, then press ~ (the Tilde key, at the top left of your keyboard) to view the mask as a colored overlay. Continue to paint with black and white, but use this overlay as a guide to areas that need to be tweaked. Option-click on the mask again to return to your image. | | | Step Three. | Since I already had gone to the trouble of creating a layer mask, I thought I'd take advantage of it to make the colors a little more saturated. To do this, I duplicated the Hue/Saturation adjustment layer by pressing Command-J (PC: Control-J) and double-clicked on the thumbnail to edit the adjustment, where I moved the Saturation slider to the right. Initially, that affected the background around Sabrina, so I pressed Command-I (PC: Control-I) to Invert the layer mask.
 |
Variations In this example, I duplicated the original Hue/Saturation adjustment layer again, and clicked-and-dragged it above the second Hue/Saturation adjustment layer. Then, I double-clicked on the thumbnail to edit the settings. In the dialog, I turned on the Colorize checkbox and moved the Hue and Saturation sliders to colorize the background of the photo. 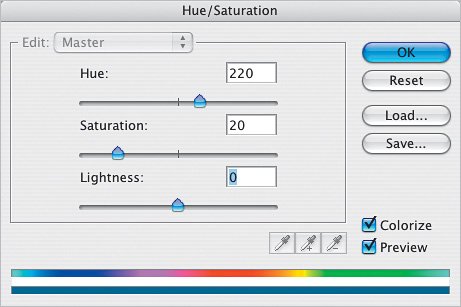
Variation 1: Colorized background 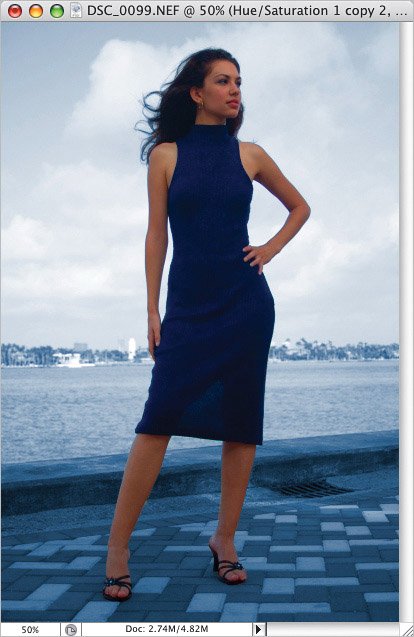 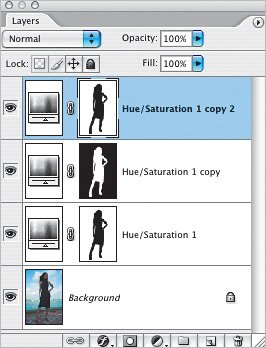 Here, I selected the three adjustment layers and pressed Command-G (PC: Control-G) to put the layers into a Group. Then I added a layer mask to the Group and used the Gradient tool (G) to paint on the mask and gradually fade in the effects of the adjustment layers. After painting the gradient, I decided to turn off the top adjustment layer to make the background fade from color to black and white.
Variation 2: Gradient added to adjustments 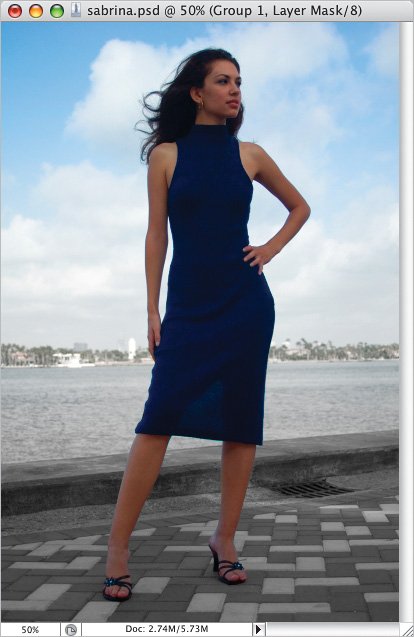 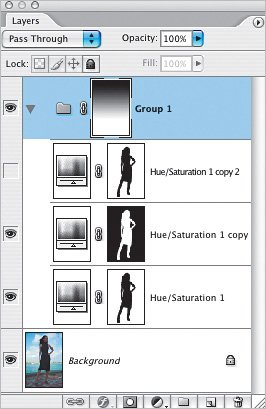 |
|