Technique 14. Applying a Filter to a Stroke


Technique #14. Applying a Filter to a Stroke

This time, we'll leave the edges of the image alone and add a border over the top of it.

key concepts:

edit>stroke

filters

blending options

Step One.

Press Command-J (PC: Control-J) to duplicate the Background layer of your image. Then, use the Image>Canvas Size command, or press Command-Option-C (PC: Control-Alt-C), to add 2 inches of canvas (with the Relative checkbox turned on) to both the width and height.

Step Two.

Press-and-hold the Command key (PC: Control key) and click on the layer thumbnail of the copied layer (Layer 1) to make a selection of your image. Click on the Create a New Layer icon to add a blank layer above your copied image layer, and then choose Edit>Stroke. Use a fairly thick stroke width, and change the Location to Center. If appropriate, you can use a color you sample from a dark area of the photo, by clicking on the color swatch, and when the Color Picker comes up, moving your cursor over the photo and clicking on a dark color. Press Command-D (PC: Control-D) to Deselect.

Step Three.

Now we'll apply a filter to the stroke. Here I used the Sprayed Strokes filter (under Filter>Brush Strokes). With many filters (like this one) some white areas are introduced, so we'll have to hide these areas in the next step.

Step Four.

Double-click on the stroke layer to open the Layer Style dialog. Blending Options: Default should be highlighted under Styles on the left side. Make sure your Blend If is set to Gray, then click on the white This Layer slider and drag it to the left so the white disappears. If the edges look too jagged, press-and-hold the Option key (PC: Alt key), click again on the slider, and drag left to split it. Now you can click-and-drag either side of the slider to soften the effect.

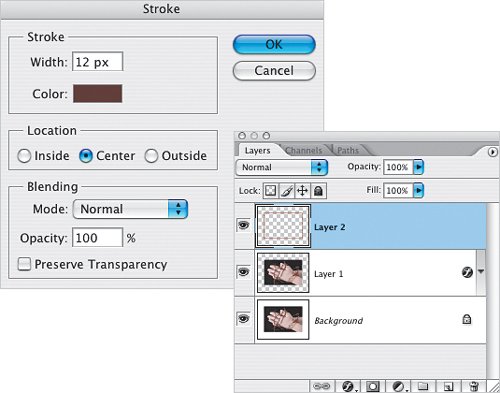
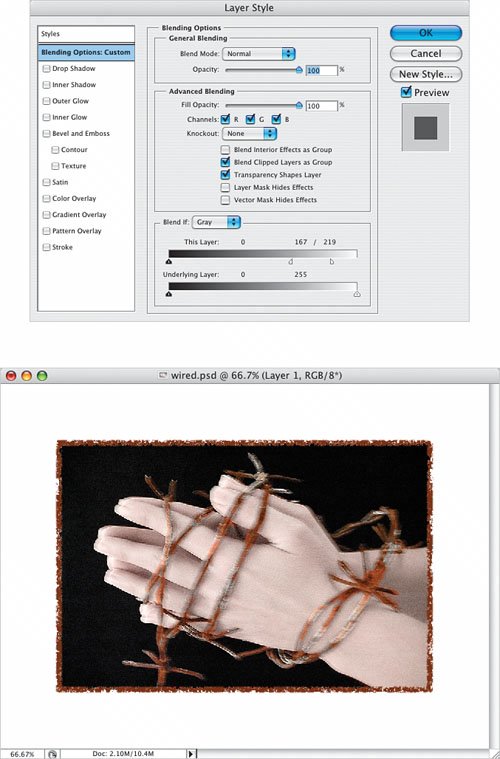
Variations

Here I added a second thin stroke in black around the image on a separate layer. You can do this by adding a new layer, and then using the Rectangular Marquee tool (M) to draw a selection slightly larger than your first stroke. Choose Edit>Stroke, reduce the Size, change the Color to black, and change the Location to Inside to get nice, square corners.

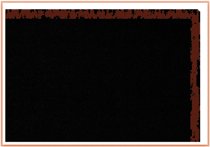
Variation 1: Second black stroke

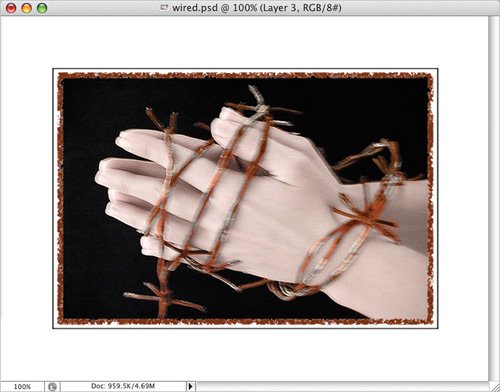
Here's the same technique on a black background with a white stroke. To create the black background, simply add a new layer just above your Background layer, press D to set your Foreground and Background to their default colors, and press Option-Delete (PC: Alt-Backspace) to fill the layer with black.

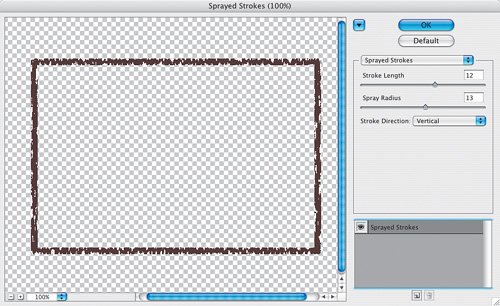
Variation 2: Black background with white stroke

In this example, I applied a second filter (Brush Strokes>Spatter) to the thick brown stroke. Then, I used Free Transform (Command-T [PC: Control-T]) to distort the borderpress-and-hold the Command key (PC: Control key) as you click-and-drag on the corner handles to distortand added a Drop Shadow layer style.

Variation 3: Spatter filter applied to stroke with drop shadow
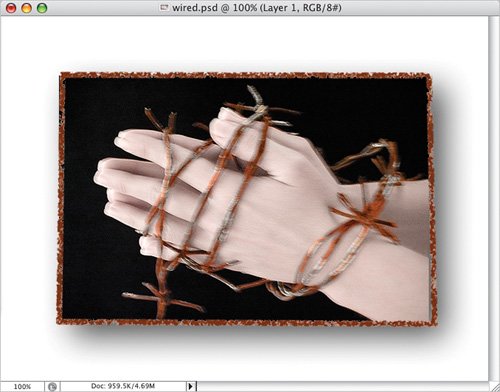


Photoshop Finishing Touches
ISBN: 0321441664
EAN: 2147483647
Year: N/A
Pages: 129
Authors: Dave Cross

flylib.com © 2008-2017.
If you may any questions please contact us: flylib@qtcs.net