Configuring Support for Multiple Languages or Multiple Locations
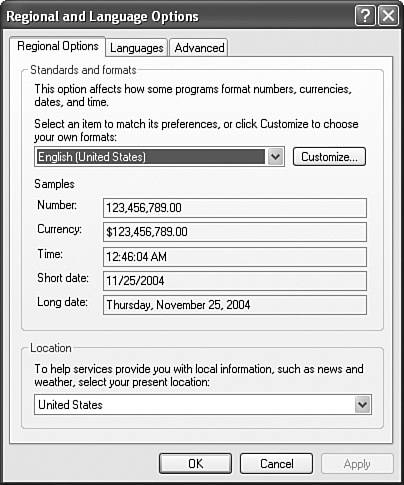
| Windows XP Professional was designed to support the business traveler who may need to change between locales, languages, and time zones. The utility that enables you to administer multiple locations is the Regional and Language Options utility in Control Panel under the Date, Time, Language, and Regional Options category. Users can view their current location settings on the Regional Options tab of the Regional and Language Options dialog box, as well as view the available languages on the Languages tab. The following sections show you how to change language and location settings for users. Exam Alert Know how to navigate regional and language options You need to know exactly how to move about the dialog boxes to enable or install foreign language support. Note that implementing Asian and Cyrillic languages is somewhat different. Enabling Multiple-Language SupportObjective: Configure support for multiple languages or multiple locations.
The United StatesInternational keyboard layout setting is used to accommodate multiple languages. Step by Step 10.5 describes how to add this layout.
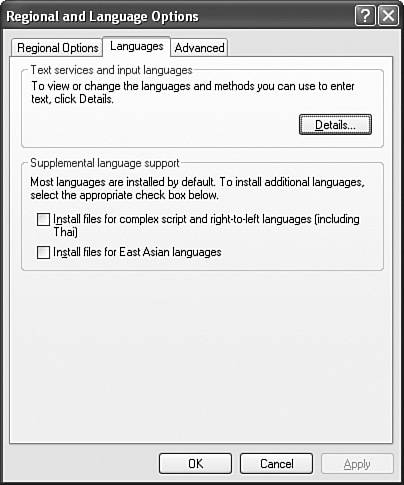
Regardless of which language version of Windows XP you are using, you can enable multiple-language support. The Regional and Language Options Control Panel utility provides the following capabilities:
Configuring Multiple-Language Support for UsersObjective: Configure support for multiple languages or multiple locations.
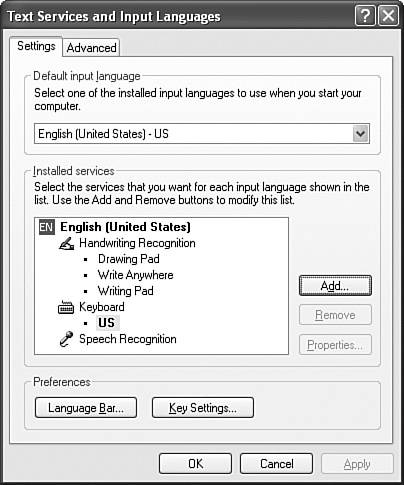
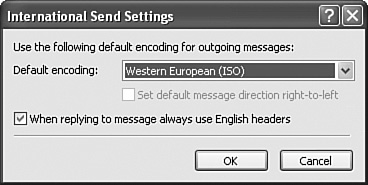
You can make additional configuration changes in Internet Explorer to support multiple languages. To do so, open Internet Explorer, click the Tools menu, and then select Internet Options. The General tab displays by default, so click the Languages button. In the Language Preference dialog box, you can click the Add button to add other languages. When a website is accessed that has content in more than one language, the language that is displayed is the one at the top of the list in this dialog box. To configure Outlook Express, select the Tools menu and then click Options. Click the Send tab and then click the International Settings button. The International Send Settings dialog box is shown in Figure 10.10. From the Default encoding list box, select the language to be used for sending messages. Click OK and close all open dialog boxes when you are finished. Figure 10.10. You can choose from a number of default encoding languages for sending messages in Outlook Express. When you enable a computer for multiple languages, you can also configure a Language bar (toolbar) on the desktop or a Language icon on the taskbar. These tools can make it easier for users to switch between different language types. To add these tools, open the Regional and Language Options Control Panel applet. Click the Languages tab and then click the Details button. The Text Services and Input Languages dialog box opens. Click the Language Bar button. Ensure that the Show the Language Bar on the Desktop option and the Show Additional Language Bar Icons in the Taskbar option are selected. Click OK and close all open dialog boxes when you are finished. Configuring Local SettingsObjective: Configure support for multiple languages or multiple locations.
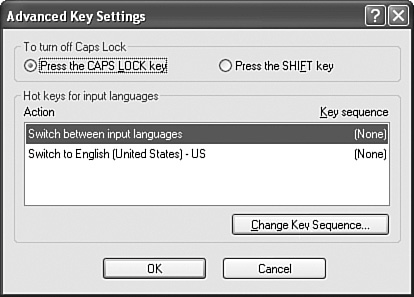
To easily change between one regional setting and another, you can configure the Regional and Language Settings. To configure this setting, open Control Panel, select the Date, Time, Language, and Regional Options category, and then click to open the Regional and Language Options applet. Click the Languages tab and then click the Details button. In the Text Services and Input Languages dialog box, click the Key Settings button. The Advanced Key Settings dialog box opens, as shown in Figure 10.11. Figure 10.11. Key settings provide a way to use a quick key sequence to switch between languages. Select the Switch Between Input Languages item and then click the Change Key Sequence button. You can then configure the key sequence that you prefer to use for switching between input languages. You can also configure a separate key sequence for switching the keyboard layout. The two options that you have are
Click OK to save your configuration. Then, select the option for Switch to English (United States) US and click the Change Key Sequence button. To configure a quick switch back to the U.S. English setting, you can configure a three-key sequence that consists of either Ctrl+Shift+<any numeral of your choice>, or the Left-Alt+Shift+<any numeral of your choice>. Configuring Modem Connections for Multiple LocationsObjective: Configure support for multiple languages or multiple locations.
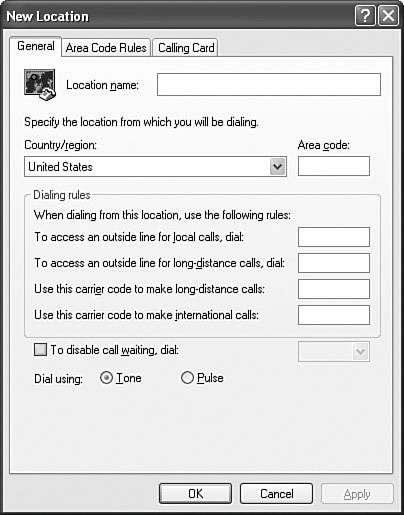
To configure a computer to be able to dial from different locations, use the Phone and Modem Options applet in Control Panel. In the Dialing Rules tab, click the New button to add another location. The New Location dialog box opens, as shown in Figure 10.12. Figure 10.12. You can configure multiple locations from which a modem can dial out. To configure the location, type in a location name, select the country/region, configure any specific dialing rules for that location, and click OK. |
EAN: 2147483647
Pages: 193
- Challenging the Unpredictable: Changeable Order Management Systems
- ERP System Acquisition: A Process Model and Results From an Austrian Survey
- Distributed Data Warehouse for Geo-spatial Services
- Data Mining for Business Process Reengineering
- Healthcare Information: From Administrative to Practice Databases
- Linking the IT Balanced Scorecard to the Business Objectives at a Major Canadian Financial Group
- Measuring and Managing E-Business Initiatives Through the Balanced Scorecard
- A View on Knowledge Management: Utilizing a Balanced Scorecard Methodology for Analyzing Knowledge Metrics
- Measuring ROI in E-Commerce Applications: Analysis to Action
- Technical Issues Related to IT Governance Tactics: Product Metrics, Measurements and Process Control