| Most organizations keep information about their customers or clients in a worksheet or database that can be used for several purposes. For example, the address information might be used to send billing statements, form letters, and brochures. It might also be used to print sheets of mailing labels that can be attached to items such as packages and catalogs. To create sheets of mailing labels, you first prepare the data source and then prepare the main document by selecting the brand and style of labels you plan to use. Word creates cells the size of the labels, set within a page the size of the label sheet, so that each record will print on one label in a sheet. You insert merge fields into one cell as a template for all the other cells. When you merge the main document and the data source, you can print the labels or create a new label document that you can use whenever you want to send something to the same set of recipients. In this exercise, you will use the Mail Merge wizard to create mailing labels. You will then print the labels on standard paper to proofread them. USE the 06_DataSource workbook. This practice file is located in the Chapter09 subfolder under SBS_Word2007. BE SURE TO display non-printing characters and turn on the printer you will be using before starting this exercise. If you don't want to print the labels, you can proof them on-screen.
1. | Click the Microsoft Office Button, click New, and then in the New Document window, double-click Blank document.
Microsoft Office Button  A new blank document opens.
| 2. | On the Mailings tab, in the Start Mail Merge group, click the Start Mail Merge button, and then click Step by Step Mail Merge Wizard.
 | 3. | In the Mail Merge task pane, select the Labels option, and then click Next: Starting document.
| 4. | With the Change document layout option selected, click Label options.
The Label Options dialog box opens.
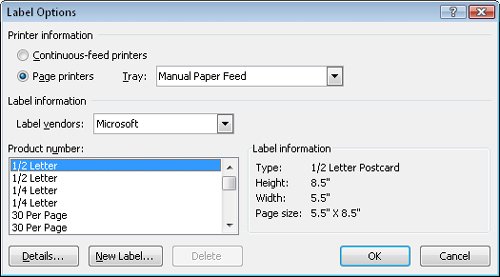 | 5. | Under Label information, click the Label vendors arrow, and in the list, click Avery US Letter.
| 6. | In the Product number list, click 5159, and then click OK.
Word inserts a table that fills the first page of the main document.
| 7. | At the bottom of the Mail Merge task pane, click Next: Select recipients.
| 8. | With the Use an existing list option selected, click Browse, navigate to your Documents\MSP\SBS_Word2007\Chapter09 folder, double-click the 06_DataSource workbook, and then in the Select Table dialog box, click OK.
| 9. | In the Mail Merge Recipients dialog box, clear the check boxes of the two recipients whose addresses are not in Washington State (WA), and then click OK.
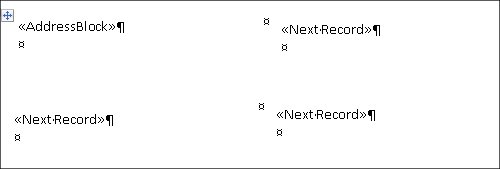
Word inserts a «Next Record» merge field in all the cells in the main document except the first.
| 10. | At the bottom of the Mail Merge task pane, click Next: Arrange your labels, and then scroll the main document so that you can see its left edge.
| 11. | With the insertion point positioned in the first cell, in the Mail Merge task pane, click Address block.
| 12. | In the Insert Address Block dialog box, click OK to accept the default settings.
Word inserts an «AddressBlock» merge field into the first cell.
 | 13. | In the Mail Merge task pane, click Update all labels.
The «AddressBlock» merge field is copied to the other cells, after the «Next Record» merge field.
| 14. | At the bottom of the Mail Merge task pane, click Next: Preview your labels.
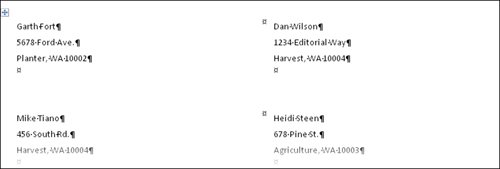
Word displays the labels for the four recipients as they will appear after the merge.
 Troubleshooting If you see only one label for the last record in the data source, under Preview Your Labels in the Mail Merge task pane, click the Previous Record button three times. | 15. | At the bottom of the Mail Merge task pane, click Next: Complete the merge. Then in the Mail Merge task pane, click Print.
The Merge To Printer dialog box opens.
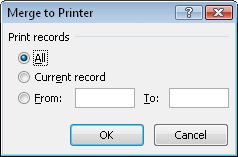 | 16. | With the All option selected, click OK.
| 17. | In the Print dialog box, verify that the name of the printer you want to use appears in the Name box, and then click OK to print the labels.
The labels are printed on regular paper on the printer you selected. If you want to print on label sheets, insert them in the printer's paper tray before clicking OK in the Print dialog box.
|
CLOSE the label document without saving your changes.
|