Starting Documents
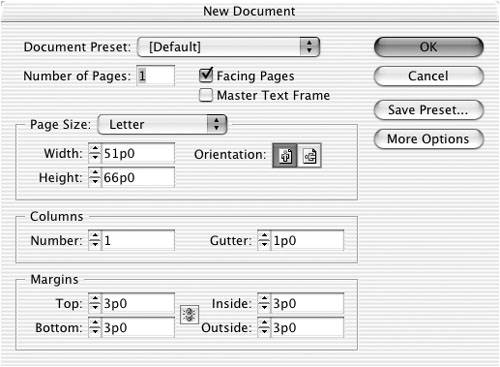
| When you create a new document, you have the opportunity to set many options in the New Document dialog box. To set the basic options for a new document:
Tip See the section "Working with Document Presets" on page 24 for information about the Document Presets and Save Preset buttons. Tip The pages are surrounded by an area called the pasteboard. Like a drawing table, you can set items there for later use. Items on the pasteboard do not print. You can also set the advanced options for a document. The first is the area around the page, called a bleed. When you set a bleed, you define an area outside the trim of the page where objects will still print. The second area is called a slug. This is an area outside the page that may or may not print. Slugs are often used by advertising agencies to list insertion dates and the name of the product, manufacturer, and ad agency. Tip The following exercise lets you set the options as part of the New Document dialog box. See page 23 for how to change the options for an existing document. To set the advanced options for a new document:
|


EAN: 2147483647
Pages: 309
- Using SQL Data Definition Language (DDL) to Create Data Tables and Other Database Objects
- Using Keys and Constraints to Maintain Database Integrity
- Working with SQL JOIN Statements and Other Multiple-table Queries
- Working with Ms-sql Server Information Schema View
- Exploiting MS-SQL Server Built-in Stored Procedures
- Chapter VI Web Site Quality and Usability in E-Commerce
- Chapter VIII Personalization Systems and Their Deployment as Web Site Interface Design Decisions
- Chapter IX Extrinsic Plus Intrinsic Human Factors Influencing the Web Usage
- Chapter XIV Product Catalog and Shopping Cart Effective Design
- Chapter XVIII Web Systems Design, Litigation, and Online Consumer Behavior