Project 3. Faking Photo Filters (Gradient Skies) When I first started taking photographs, I was amazed at the number of filters available. There were (and still are) filters to soften, filters to darken, filters to change the way light of different colors is permitted to affect the film, and so on. 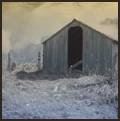 Some of the coolest filters, though, are the ones that have a gradient to them. They can have dark blue blending to a gold, which is good for those ocean sunset shots, I guess. There are also filters that affect part of the image, such as the top and bottom without affecting the middle. Pretty cool stuff. If you like that kind of idea but don't know if you want to spend the money on some of these filters, or even whether they'll fit your camera, stay tuned. I'll show you how to build your own arsenal of photo filters in this project. 1. | To get started, you need to open an image. I'll use the old farm building from the project earlier in this chapter (see Figure 8.15). You can use just about any image for this project, though.
Figure 8.15. The old farm building. 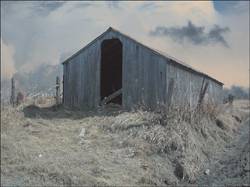
|
Building a Gradient Filter 2. | Click the Foreground and Stroke Properties icon in the Materials palette. In the Material Properties dialog box, click the Gradient tab to display the gradient properties; then click the Edit button to edit the gradient. Doing so brings up the Gradient Editor (see Figure 8.16).
Figure 8.16. The Gradient Editor dialog box. 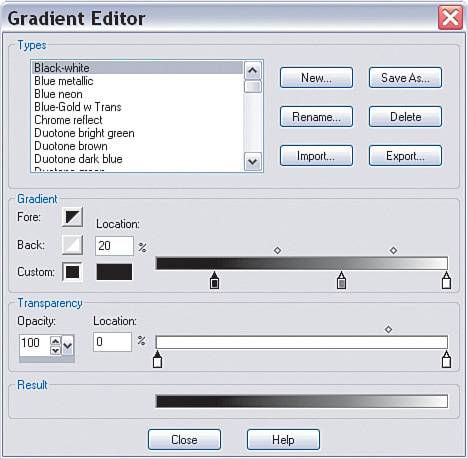
Note In the middle of the Gradient Editor dialog box 'are several sliders to the right. You can change the positions of these sliders by clicking and dragging them; this changes the gradient. Give it a try. You won't break anything, I promise. You can also change the color of a slider and even delete or add it. | 3. | For now, drag one slider to the left and one to the right. If you don't have a slider in the middle, click below the gradient line to add one (see Figure 8.17).
Figure 8.17. Adding a gradient slider. 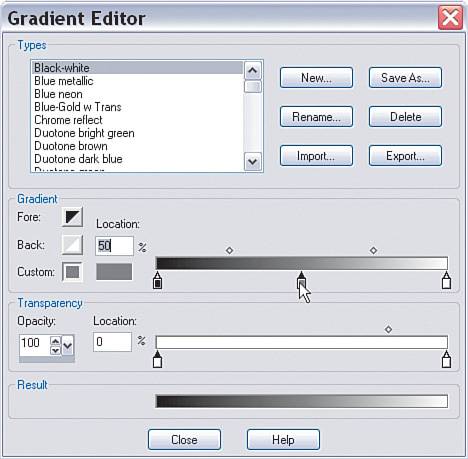
| 4. | Set the color of the left slider to a deep blue by clicking the small, rectangular color icon below the Location option. The Color dialog box opens (see Figure 8.18). I used R: 60 G: 69 B: 142.
Figure 8.18. The Color dialog box. 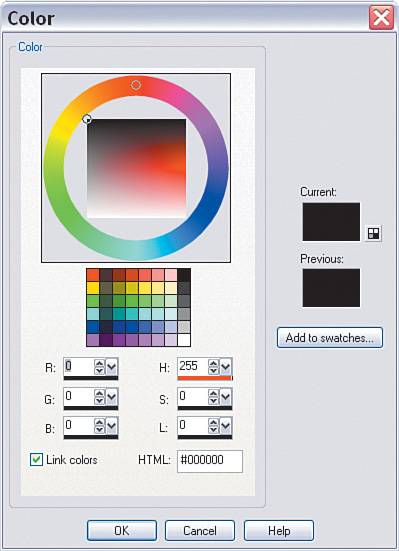
| 5. | Set the color of the right slider to a goldish color. I used R: 252 G: 214 B: 96.
| 6. | Below the color sliders is another slider. Using the settings in this one, you can set part of your gradient to be transparent. You can also control how the transparency interacts with the colors by sliding the small diamond-shaped sliders at the top of the gradient, just as you can affect how the colors blend with those same icons at the top of the color gradient.
Set the Opacity of the end sliders of the Transparency gradient to 100.
Add a slider at Location 50 and set its Opacity to 0.
Drag the diamond-shaped icons in fairly close. I set them to 80 and 20, respectively (see Figure 8.19).
Figure 8.19. Setting the transparency of the gradient. 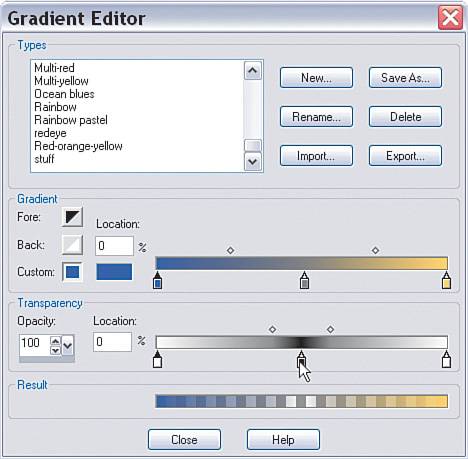
| 7. | Click the Save As button and give your gradient a name. Before you exit the Material properties, set the Angle to 0.
|
Painting with the New Filter Now that the fake photo filter has been created, it can be used to add some atmosphere to the existing image. 8. | Add a new Raster layer by clicking the New Raster icon in the Layers palette. Choose Selections, Select All. This step, although not really needed, makes removing the gradient and starting again (if necessary) easy.
| 9. | Select the Flood Fill tool and click in the image to apply the gradient (see Figure 8.20).
Figure 8.20. Adding the gradient layer. 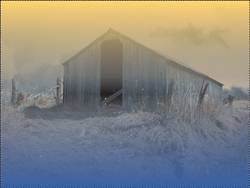
If you're not satisfied with the colors, press the Delete key to remove the gradient fill. Then reset the gradient's values by clicking the Foreground and Stroke Properties icon in the Materials palette and following the same steps as used previously to create the gradient. Don't forget to adjust the transparency, as well, if you feel it's needed.
| 10. | When you're satisfied with the colors, you can also set the blending mode and the opacity of the gradient layer by playing with the sliders at the top of the Layers palette. I set the Blending mode to Color (Legacy) and the Opacity to 50. You can see my final result in Figure 8.21.
Figure 8.21. The final "filtered" photograph. 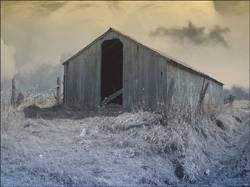
The blending modes can be fun to play and experiment with. Try duplicating a layer and playing with the blending modes. You might be surprised at what you find.
|
|