Creating a Form with AutoForm

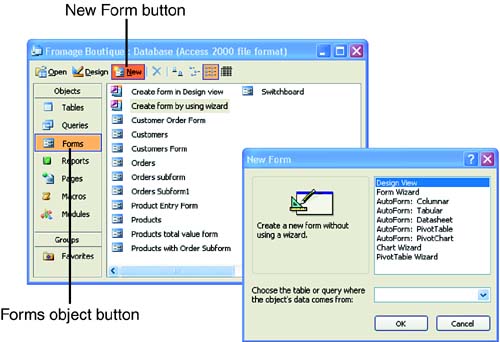
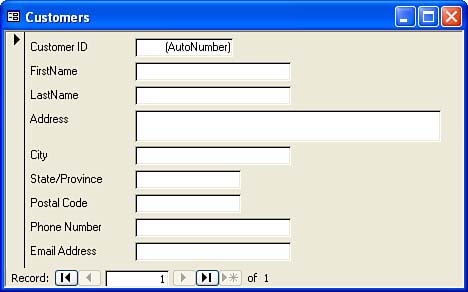
The easiest way to create a form is with AutoForm. AutoForm takes the fields from a specified table and creates a form; it's not very flexible, but it is very convenient . To use the AutoForm feature, follow these steps:

  1. From the database window, click the Forms object type.

  2. Click the New button on the database window toolbar. The New Form dialog box appears (see Figure 10.1).

    Figure 10.1. Choose how you want to create your form.

    graphics/82fig01.jpg

  3. Select a type of form to create. Because we're going to use AutoForm, you can click several types of forms, including

    • AutoForm: Columnar A columnar form (the most popular kind). This creates a form that contains your fields in a single column, from top to bottom.

    • AutoForm:Tabular A form that resembles a table.

    • AutoForm:Datasheet A form that resembles a datasheet.

  4. Open the drop-down list at the bottom of the dialog box and choose the table or query you want to use as the source of the form's fields.

  5. Click OK . The form appears, ready for data entry (see Figure 10.2).

    Figure 10.2. AutoForm creates a form based on a single table.

    graphics/82fig02.jpg

Forms created with AutoForm can be edited using the Form Design view, which is discussed later in this lesson. When you attempt to close the AutoForm, you are asked whether you want to save it. If you do, click Yes. Then, enter a name for the form into the Save As box and click OK.

graphics/tip_icon.gif

Create an AutoForm in the Table Datasheet View graphics/autoform.gif You can also create an AutoForm while you are working on a table in the Datasheet view. Click the AutoForm button on the Table Datasheet toolbar. A new form appears, based on the table's fields.


Microsoft Office 2003 All-in-One
ISBN: B005HKSHB2
EAN: N/A
Year: 2002
Pages: 660
Authors: Joe Habraken

flylib.com © 2008-2017.
If you may any questions please contact us: flylib@qtcs.net