Working with Users and Groups
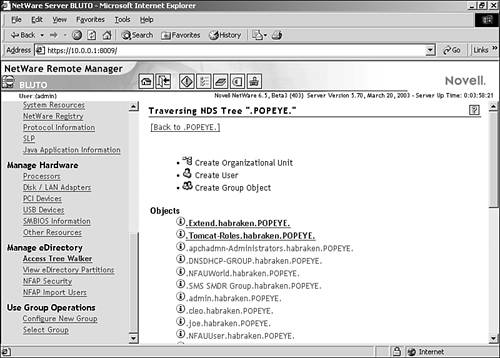
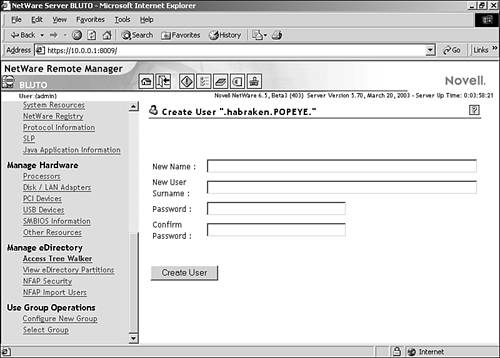
| Managing a NetWare network also requires that you manage your users. User accounts must be created for users and they must be given the appropriate access rights to objects on the network such as directories and printers. A way to manage users who need the same rights and access to the same objects is to use groups, which are really a security container related to the group 's interaction with the other objects on the network. User accounts can be created using the Remote Manager. Let's walk through the creation of a user account:
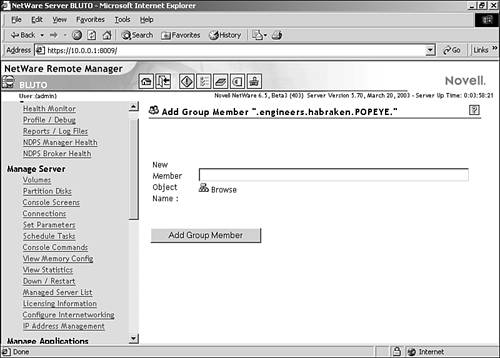
The new user account will be added to the object list. You can add additional user accounts as needed. Groups can also be created from the Tree Walker. At the top of the NDS tree, click the Create Group Object icon. All you have to do is provide the group name and then click the Create Group Object button. The group will be created and added to the object list. Once the group has been created, you can add users to the group. Find the group in the object list (in the Tree Walker) and click its information icon. The attributes of the group object will appear. At the bottom of the window, click the Add Group Member icon. The Add Group Member window will appear (see Figure 8.21). Figure 8.21. Provide the name of the user to be added to the group. Provide the name of the user that you want to add to the group, or browse the eDirectory to find the user. Once you have provided the user's name, click the Add Group Member button. The Group window will reappear showing the group's attributes, including the new member. |
EAN: 2147483647
Pages: 188
- Getting Faster to Get Better Why You Need Both Lean and Six Sigma
- Seeing Services Through Your Customers Eyes-Becoming a customer-centered organization
- Success Story #3 Fort Wayne, Indiana From 0 to 60 in nothing flat
- Phase 1 Readiness Assessment
- Designing World-Class Services (Design for Lean Six Sigma)